You are currently viewing all posts tagged with bicycle.

A Brief Survey in Marin

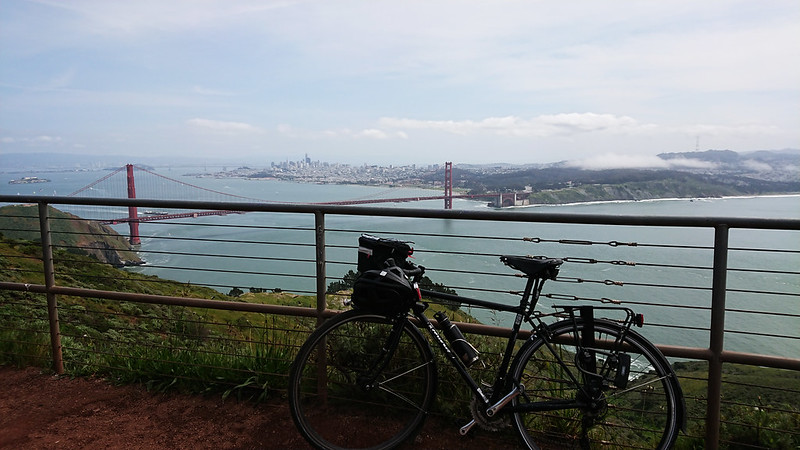
This past Sunday I rode to Mount Tam.

The electrical grid was down throughout Marin county, and for some reason that meant the state had closed some of the roads in the park to motorized traffic. Fortunately my vehicle runs on man-power and works just fine when the power is out. I figured the closure would make the ride more pleasant and I would just slip around any gates.

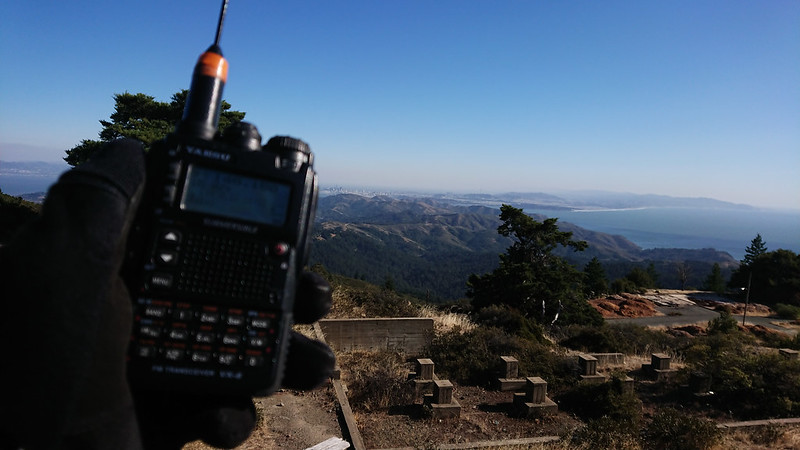
As I was riding in the general direction of fire I decided it would be prudent to throw a radio in my handlebar bag. From past experience I know that my cell phone reception can be spotty at the best of times in the hills and valleys up there. I assumed that the power outages and strong winds wouldn’t do me any favors. (It turns out I was right.)

After much climbing and much wind I reached Ground Equipment Facility J-33. This abandoned Nike missile site on the West Peak of Tamalpais is a reliable site for radioing. It has been host to a couple Field Days and was the destination of last year’s SOTA trip. And it’s a nice spot to bicycle to.

J-33

The Marin Amateur Radio Society maintains an excellent network of linked repeaters that I was able to hit immediately upon turning on my radio. Despite the distance, I was also able to reach back into San Francisco. Line of site to Sutro Tower meant I had a clear, strong signal on the San Francisco Radio Club repeater W6PW. I talked to a guy on there who told me that the Marin Radio Amateur Civil Emergency Service had been activated due to the fires. I keep some of the Marin RACES simplex frequencies programmed into my radio, just in case Godzilla walks through the bridge and we have to coordinate across the bay, so I jumped over to those channels to listen for any action. After that I was able to reach out to the East Bay, and listen to the effects of the fires that had just started that day in Contra Costa County.

Line of Sight to Sutro Tower

  • Radome
  • Tam West Peak

After completing my survey of the airwaves I flew back down to sea level at approximately Mach 3, though I had to stop once for a California Highway Patrol helicopter that decided to use the gated off road as a landing pad.

It’s impressive what you can get done on a little handheld radio with 5 watts and a small antenna, assuming you can get to a good position. A bicycle is a good way to get there.

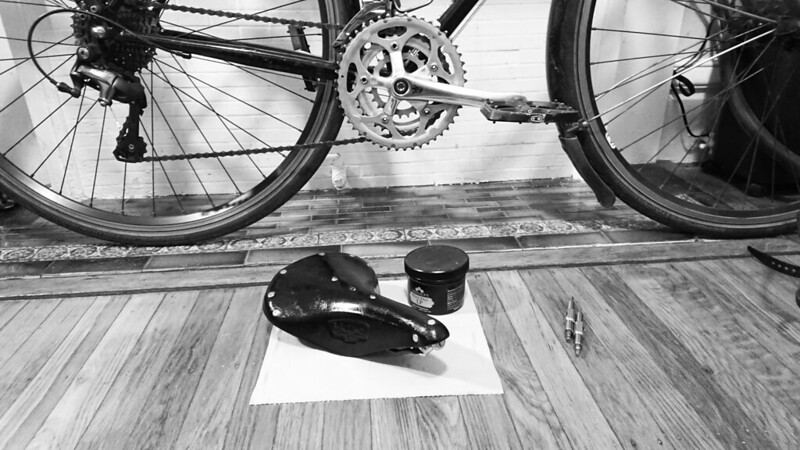
This time of year it is traditional for me to treat my saddle.

While the weather is still warm and pleasant here in Baghdad by the Bay, the hot sun and ass sweat of summer is fading into the past, and The Great Wet is on the horizon. Tonight I took my saddle to the sink and rinsed it off with some Dr. B. I don’t wash it every year, but it looked like it wanted it. After drying, I treat it to a sensual massage with a healthy helping of Obenauf’s LP. Obenauf’s products have served me and my leather well for a while now, and it’s a nice treat for my skin. The saddle will take a couple of coatings tonight. In the morning I’ll wipe off the top, and then give it an ass polishing with the day’s riding.

Obenauf's Saddle Massage

How I Patch

I build my own patch kits, consisting of a small re-sealable bag which holds:

DIY Patch Kit

This is stored in my EDC toolkit which, as previously mentioned also includes two reifenflicken and tire levers. Because these patch kits are so small, I also keep one in the tube roll underneath my saddle.

Rema has been making vulcanizing patches for about a century. They have a long held reputation for being one of the best. I haven’t experimented with much of their competition, but I’ve never had a Rema patch fail, and as a general rule when it comes to bicycle parts and components I find that if the Germans do a thing they probably do it at least as good as anybody else, if not better. So I buy their patches in bulk and I keep an 8 oz can of their fluid for use at home.

A quality vulcanizing patch is a permanent repair. If applied properly, it will leave the tube as good as new. In contrast, “glueless” or “pre-glued” patches have a reputation for being unreliable, temporary fixes. I’ve had good luck with Park Tool’s pre-glued patches from the GP-2 kit, but I still consider them a temporary solution.

The advantage of a pre-glued patch is that it is a nearly instant repair: buff the area with sandpaper, slap on the patch, rub it a bit with your fingers or roll it over your top tube or pump, and you’re ready to go. Patching with a permanent, vulcanizing patch is a longer procedure: buff the area with sandpaper, apply the vulcanizing fluid, wait around 3 minutes for the fluid to become dry and tacky, slap on the patch, rub it in, and then you’re rolling. (Some would argue that you shouldn’t inflate the tube immediately after patching, but I’ve never had a problem doing this. The key is allowing the vulcanizing fluid to sit for enough time prior to applying the patch.) In unpleasant weather, or when you have some place to be, the extra three minutes (or thereabouts) required is unattractive.

Carrying both types of patches, plus a spare tube, provides options. If I get a flat, and it’s a nice day out, and I don’t have any place to be, and I’m in a pleasant area, I’ll fix it with a vulcanizing patch. If conditions are not so idyllic, I’ll quickly swap out the tube and continue on my way. When I get to where I’m going, I’ll patch the punctured tube with a vulcanizing patch, reinstall the newly patched tube and put the new tube away. If I get a second flat before I can fix the tube that was originally punctured, I’ll slap on one of the pre-glued patches until I get to my destination. Then I’ll repair the first tube with a vulcanizing patch, and throw away the tube with the pre-glued patch as soon as I can acquire another spare.

I’ve also successfully used a Park Tool pre-glued patch to repair a leaky Therm-a-Rest mattress. It’s useful to know I can fix a mattress during a multi-day bike trip without needing to remember to pack an additional item.

Of course the best strategy is to not get a flat in the first place. As I am fond of pointing out, I buy good tires, which prevent me from getting a flat more than once or twice per year. A good tube costs around $10, but with proper care and feeding ought to have a service life measured in years.
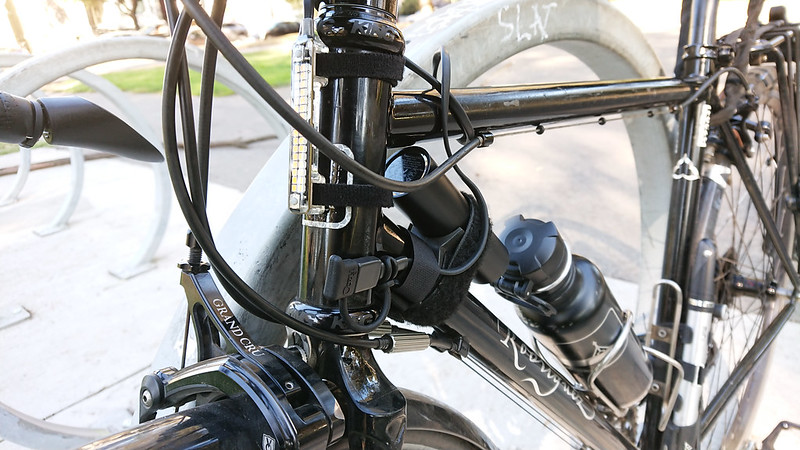
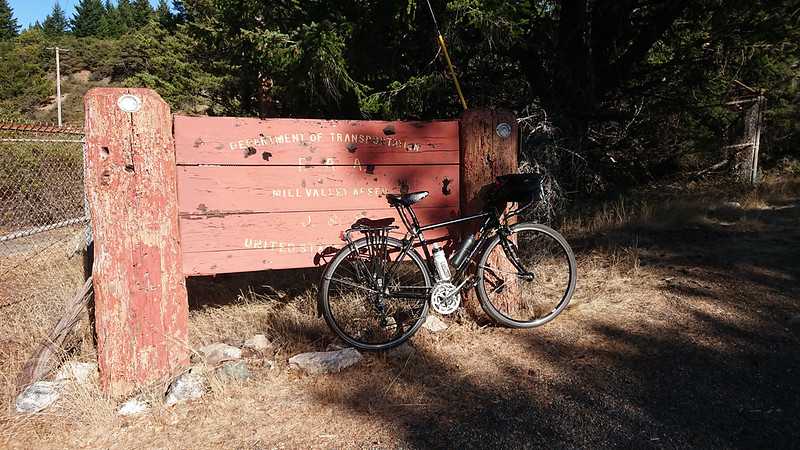
I prefer a steel steed over flesh.

But otherwise I agree with the sentiment expressed by Al-Mutanabbi (translated by Gertrude Bell):

The finest place in the world is the back of a swift horse,

And the best of good companions is a book.

Hawk Hill

I consider the hacksaw marks on my lock to be a seal of approval.

I first noticed the marks a couple of years ago. I don’t know when they first appeared. They’re asymmetric, so I assume they’re from a hacksaw rather than bolt cutters. This real world, unsolicited testing makes me feel good about my choice of the ABUS GRANIT Plus 640.

ABUS GRANIT Plus 640

Bicycle Chain Cleaning

I clean my bike chain with odorless mineral spirits.

Drivetrain Cleaning Tools

I’ve been doing this for about eight years now, after a handful of years of using water and dish soap. The disadvantage of a water-based solvent is that you have to be careful to dry the chain thoroughly, including the area between the links. After cleaning a chain with mineral spirits, the chain can be wiped mostly dry. What’s left after that will mostly evaporate. What’s left after that can just be ignored. Mineral spirits are often used as one of the ingredients in home made chain lubricants; the small amount of residue left over after cleaning isn’t going to hurt anything.

The drawback to mineral spirits is that it is usually considered a hazardous material. Disposal must be completed at special facilities, not your kitchen sink. Fortunately, it can be reused for a long time. When I’m done cleaning my chain, I dump the used mineral spirits into a mason jar for storage. The debris settles to the bottom of the jar. The next time I need it, I can easily pour off the clean mineral spirits without disturbing the debris at the bottom. This same cycle can be repeated for years.

I use mineral spirits in a few different ways depending on how dirty the chain is:

  • Sometimes I’ll break the chain at its reusable link, place the chain in a Nalgene jar, and cover it with mineral spirits to soak. The dimensions of the Nalgene jar are superior to those of the Gatorade bottle mentioned in the previous dish soap post. I can cover the chain using less solvent, and it’s easier to fish the chain out.
  • Sometimes I’ll use a chain tool to clean the chain on the bike. These work just as well with mineral spirits as they do with specialized solvents. The Finish Line Pro Chain Cleaner is the only one of these tools that I don’t hate. I think it is a better design than the Park CM-5.2 Cyclone and Pedro’s Chain Pig.
  • Sometimes I’ll soak the bristles of a brush in mineral spirits and scrub with that. The Finish Line Grunge Brush is the best chain cleaning brush I’ve used. (The Park GSC-1 GearClean is great for the cassette and crank.)

During the less rainy part of the year, I often don’t need to use mineral spirits at all. I just wipe the chain clean with a dry rag.

After cleaning, I’ll lubricate the chain and wipe off any excess (unless I only wiped the chain clean without using any solvent, in which case applying more lube is likely not necessary), and pedal off into the sunset with a buttery smooth and silent drivetrain. This system helps keep vehicular maintenance costs very low.

Mirrors on a bike are no different than mirrors on any other vehicle.

They aren’t a replacement for turning your head, but they can be a useful supplement for maintaining 360 degrees of awareness.

Drop Bar Mirrors

I purchased a pair of Sprintech Drop Bar Mirrors last spring. I had never used a bike mirror before, but I’ve grown fond of these over the past three months of use. The viewport is small, but adequate to identify vehicles of any size. I keep the mirrors canted outboard slightly, which means they move if I lean the bike up against a wall. Sometimes I’ll bump one when straddling the bike at a stop light. But they’re easy to move back into place, and I’ve never had them move on their own – rough roads aren’t enough to rattle them – so I don’t mind this. Having never used any other kind of bike (or helmet) mounted mirror, I can’t compare them against their competition, but I think the Swiss are on to something with these. I’d buy them again.

Virginia Tech rates bike helmets.

The CPSC standard is of limited practicality. It seeks only to test if a helmet can prevent a skull fracture from a direct impact on the top of the head. It was refreshing to find Virginia Tech’s helmet ratings, backed by a test methodology that actually seems to appropriately model reality. I was pleased to see that my Smith Overtake scored 4/5. The Overtake is four years old and still in fine shape, but whenever it comes time to replace it I’ll use these ratings to make a purchase decision.