Bicycle Chain Cleaning
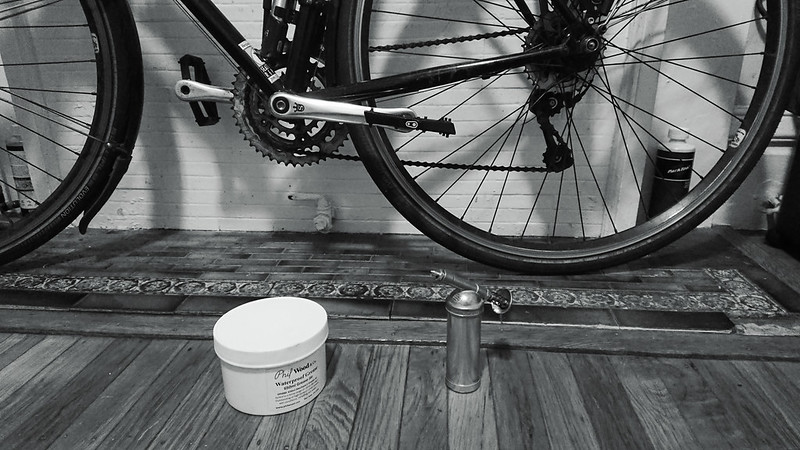
I clean my bike chain with odorless mineral spirits.

I’ve been doing this for about eight years now, after a handful of years of using water and dish soap. The disadvantage of a water-based solvent is that you have to be careful to dry the chain thoroughly, including the area between the links. After cleaning a chain with mineral spirits, the chain can be wiped mostly dry. What’s left after that will mostly evaporate. What’s left after that can just be ignored. Mineral spirits are often used as one of the ingredients in home made chain lubricants; the small amount of residue left over after cleaning isn’t going to hurt anything.
The drawback to mineral spirits is that it is usually considered a hazardous material. Disposal must be completed at special facilities, not your kitchen sink. Fortunately, it can be reused for a long time. When I’m done cleaning my chain, I dump the used mineral spirits into a mason jar for storage. The debris settles to the bottom of the jar. The next time I need it, I can easily pour off the clean mineral spirits without disturbing the debris at the bottom. This same cycle can be repeated for years.
I use mineral spirits in a few different ways depending on how dirty the chain is:
- Sometimes I’ll break the chain at its reusable link, place the chain in a Nalgene jar, and cover it with mineral spirits to soak. The dimensions of the Nalgene jar are superior to those of the Gatorade bottle mentioned in the previous dish soap post. I can cover the chain using less solvent, and it’s easier to fish the chain out.
- Sometimes I’ll use a chain tool to clean the chain on the bike. These work just as well with mineral spirits as they do with specialized solvents. The Finish Line Pro Chain Cleaner is the only one of these tools that I don’t hate. I think it is a better design than the Park CM-5.2 Cyclone and Pedro’s Chain Pig.
- Sometimes I’ll soak the bristles of a brush in mineral spirits and scrub with that. The Finish Line Grunge Brush is the best chain cleaning brush I’ve used. (The Park GSC-1 GearClean is great for the cassette and crank.)
During the less rainy part of the year, I often don’t need to use mineral spirits at all. I just wipe the chain clean with a dry rag.
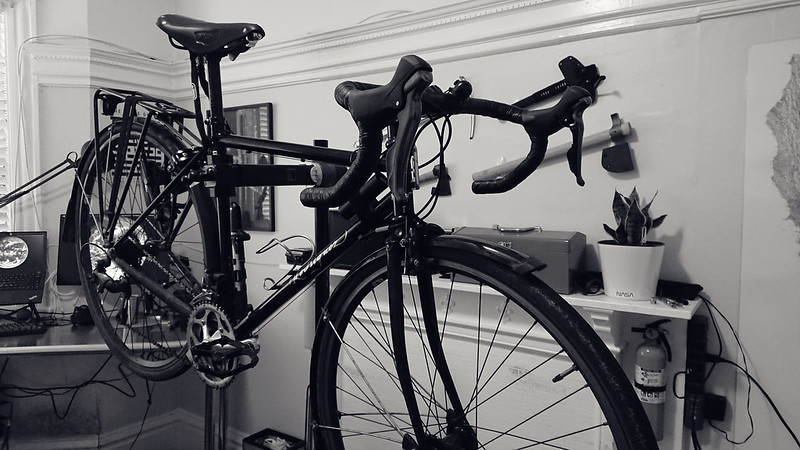
After cleaning, I’ll lubricate the chain and wipe off any excess (unless I only wiped the chain clean without using any solvent, in which case applying more lube is likely not necessary), and pedal off into the sunset with a buttery smooth and silent drivetrain. This system helps keep vehicular maintenance costs very low.