Telephone Armor
I’ve never cracked the screen on one of my phones, and I’ve always used a screen protector and case. I don’t know if those facts are related, or what magic pixie dust gets sprinkled on phone glass these days, but I always feel better after up-armoring my telephone.
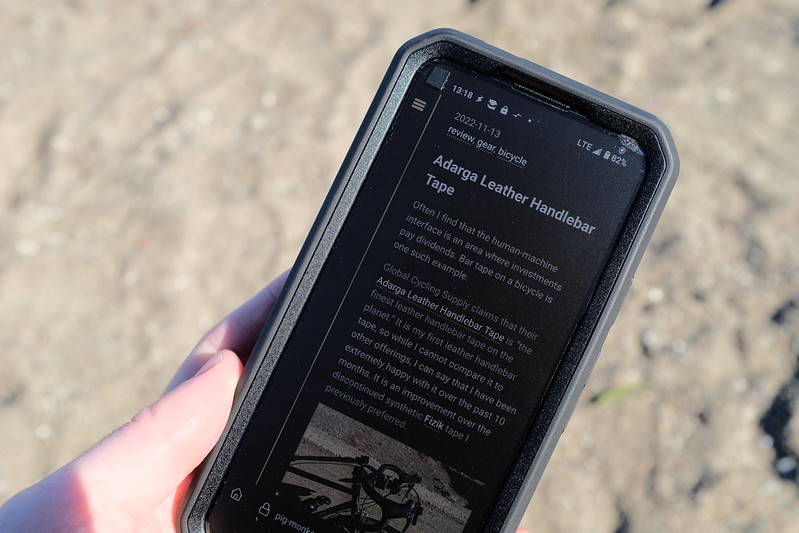
For my most recent phone, I landed on Armorsuit MilitaryShield. The product name is silly, but somewhere in their marketing I saw a reference to the material being used on helicopter blades. “Oh,” I thought. “It’s just helicopter tape for your phone.” Now that I was aware that was an option, I couldn’t think of a single reason I would not want it. Helicopter tape – or more specifically paint protective film – is so called because it was developed to prevent abrasion on helicopter blades from small flying debris. I use it on my bike frame. I am told it is often used on racing automobiles. The idea is that it protects whatever surface it is covering from being chipped by debris travelling at high velocity, thus protecting the aerodynamic properties (or stylish paint job) of the smooth surface underneath. When applied to the screen of a telephone, the takeaway is that it is pretty tough.
Armorsuit MilitaryShield is offered in matte and clear versions. I bought both. I installed the matte version first because I was curious what that would look like. I find it to be excellent. It diffuses glare, making the screen easier to see outdoors, and doesn’t show fingerprints. I think it makes reading text on the screen more comfortable. It makes it look vaguely like an E Ink display.
After running the matte protector for about five months, I peeled it off and installed the clear version. Having become accustomed to the matte display, the clear version seemed to be designed specifically to amplify glare and attract greasy fingerprints and cheek marks. I removed it after a couple weeks and reinstalled the same matte protector I had previously removed. It went on just as perfectly the second time as it did the first time.
If you do a lot of multimedia editing on your pocket computer, you might not like the diffusion of the matte protector. It makes photos less sharp. But I think it’s great.
In the subsequent two years after I installed the matte protector for the second time, the upper right hand corner of the protector has unpeeled itself slightly. This happened after I dropped the phone on this corner. The edge of the case absorbed the shock but forced up that bit of the screen protector. I could probably remove the case and try to spray a little soapy water into that corner to reactivate the adhesive, but I haven’t bothered. The phone was dropped over a year ago and the corner hasn’t peeled back any more in that time.
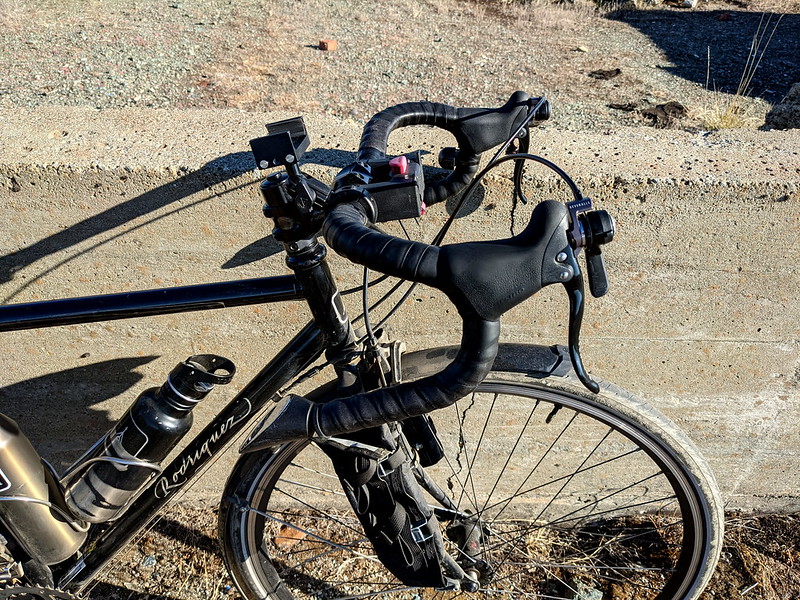
The case I use for my phone is the unfortunately named SUPCASE Unicorn Beetle Pro Case. I dislike its chunkiness. But I like that it has port covers, which were builtin to my previous phone. Port covers keep sand out of the charging port (it’s coarse and rough and irritating and it gets everywhere). The Beetle, so-called, consists of two parts. The upper part comes with a terrible glossy screen cover. I addressed this oversight by dropping that part of the case into a pot of not-quite-boiling-water for a minute or so. This softens the glue holding the screen cover to the frame, allowing it to be peeled away cleanly and easily. The result is a pretty alright case, and a great screen cover.
The matte protector is approaching its third birthday now. But for the aforementioned slight peeling on one corner, the protector looks like new. There are no scratches or other marks. The screen underneath it is pristine. I pay no mind to tossing the phone into a pocket or bag with keys, knives, or other sharp and scratchy objects. I expose it to road debris without concern. All is as it should be.