One component of optimizing for sleep is selecting the right tools. Back in 2010 I went looking for a replacement for the stereotypical feather pillow. Feather pillows work well enough when new, but degrade over time and are impossible to thoroughly clean without damaging them. This limited service life is suboptimal, and I assumed there must be a better solution out there.
I settled on buckwheat hulls. I reasoned that these would be easy to replace, which meant the life of the pillow would be determined by the shell rather than the filling. That the hulls were easily removed also meant the pillow could be washed. These two factors addressed my primary complaints against feather pillows.
I already had a zafu filled with buckwheat hulls, so I had some experience with the material that made me think it would work well for sleeping. Buckwheat hulls are lightweight and springy, making them easy to adjust to the contours of the body. The shape of the hulls means that, even under load, they do not compress flat, but instead leave a path for the movement of air. They are hypoallergenic and aren’t a food source for anything, which minimizes the probability of dust mites or other bugs taking up residency.
About the only negative thing one can say about buckwheat hulls is that they are loud. This was never a concern with my zafu, but I was worried that the noise would be unpleasant for a head pillow that I was trying to sleep on.
The solution to this was provided by a (now defunct) company called Serenity Pillows. They offered a patented dual-chamber pillow, which was filled with buckwheat hulls on one side, and a sheet of felted wool on the other side. By placing your head on the wool side you retained all the benefits of a buckwheat hull pillow, plus the temperature-regulation of wool, while the wool also muffled the sound of the hulls. I was sold on this idea as soon as I saw it.
Serenity Pillows offered two sizes of this dual-chamber pillow: one that we in the Western world would call a normal sized pillow, and a smaller version named the Shambho. The smaller size was about 16” x 10” (with a variable depth, depending on the amount of hulls you added or removed), which they claimed was closer to the traditional size of buckwheat hulls pillows used in Japan. I had never questioned the size of a pillow before, but when presented with this choice I couldn’t come up with any rational argument to support the larger size. I purchased the Shambho.
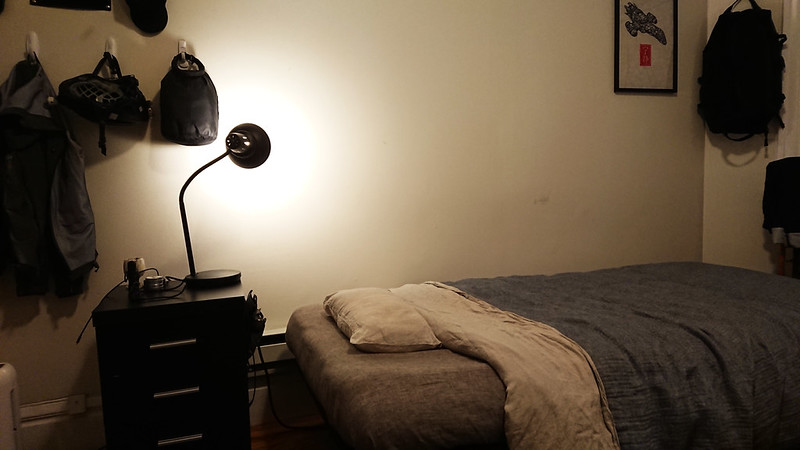
I’ve been sleeping on that same pillow for close to a decade now. It is never too hot or too cold. The amount of hulls can be adjusted to user preference. The shape of the pillow can be molded to support back or side sleeping. And I’ve never thought of a reason to want a larger size. It’s the perfect pillow.
I wash pillow cases regularly, and the pillow shell itself once or twice per year. This is a simple matter of dumping the hulls into a bucket, removing the felted wool sheet, and tossing the empty shell into the laundry machine with a bit of bleach.
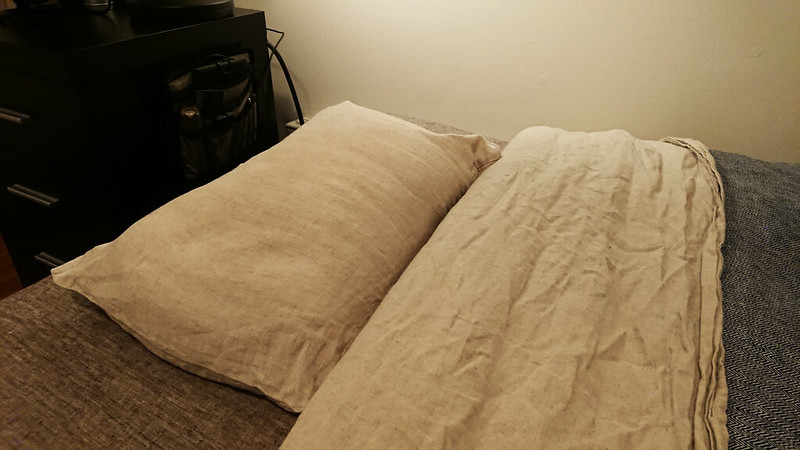
Initially, the unusually small size of the pillow did make it difficult to find pillow cases, but I found that you can search for “toddler pillow cases” and find a plethora of appropriately sized (around 20” x 14” flat) options. Or you can have them made. I prefer linen – as in flax – for bedding, which I acquire from the large number of Eastern European sellers on Etsy. Since these products are usually made to order, I’ve found you can just send them the proper dimensions and they’ll sew up whatever you want. I always request a pillow case with an envelope closure, since the non-closing pillow cases more common in this country are dumb and their existence can only be justified by laziness. For this style of pillow case, 18” x 14” is about the right size.
At one point a few years ago I heard that Serenity Pillows had gone out of business, and was disappointed that I would never be able to replace this pillow – until last year, when I discovered a company called Sachi Organics had purchased the designs to both sizes of the Serenity dual-chambered pillows. They sell both the Shambho and the larger model Rejuvenation.
At the end of 2017 I purchased the Sachi Shambho during a sale at one of their dealers. It is identical to the original pillow, except for the tag. The small size of the Shambho makes it easy to store, so I was able to justify to myself the purchase of a second pillow both as a spare for guests, and against the day when the original Shambho must be replaced (if that day ever comes – today it is as good as new, but for some discoloration from use). I also purchased a replacement wool sheet for the original pillow. On top of its comfort, the serviceability of the pillow – that you can rejuvenate it by simply replacing the buckwheat hulls and wool – is another factor that attracts me to the Shambho. I expect I’ll be sleeping on the same pillow for at least another decade.