The tourniquet market is dominated by the SOFTT-W and CAT tourniquets, and for good reason. I prefer the SOFTT-W. There is always one in my bag. Some people can make the SOFTT-W or CAT work for everyday on-body carry, whether through ankle holsters or always wearing cargo pants. Neither tourniquet, however, is something that I can fit into my on-body EDC. To solve that problem, I have to look at what Jonathan Willis refers to as secondary tourniquets.
The SWAT-T is likely the most popular offering in the secondary tourniquet market. It tries to function as both a tourniquet and an emergency bandage, and ends up being mediocre in both roles. In its role as a tourniquet its largest failure is its difficultly to apply one-handed. If I can’t self-apply a tourniquet with one hand during training, the tourniquet is pretty much useless to me. I’ve heard some people claim the ability to apply the SWAT-T with a single hand (with the assistance of a wall to hold it in place), but I’ve never figured it out.
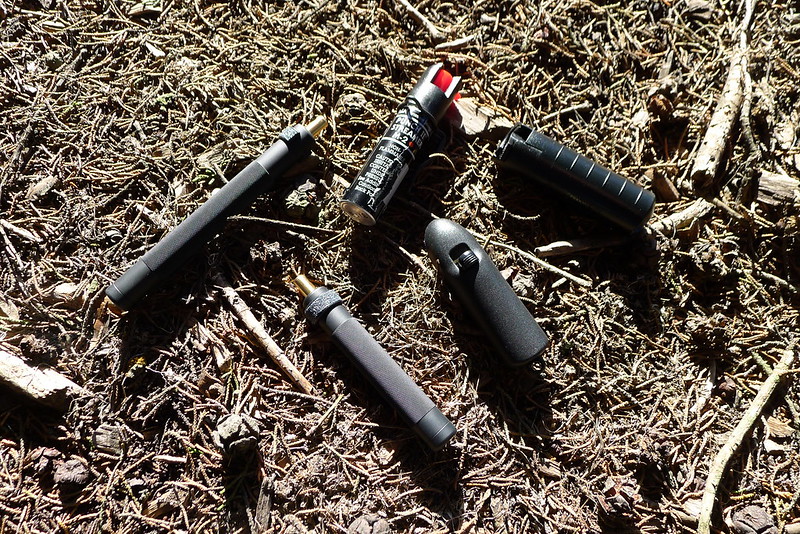
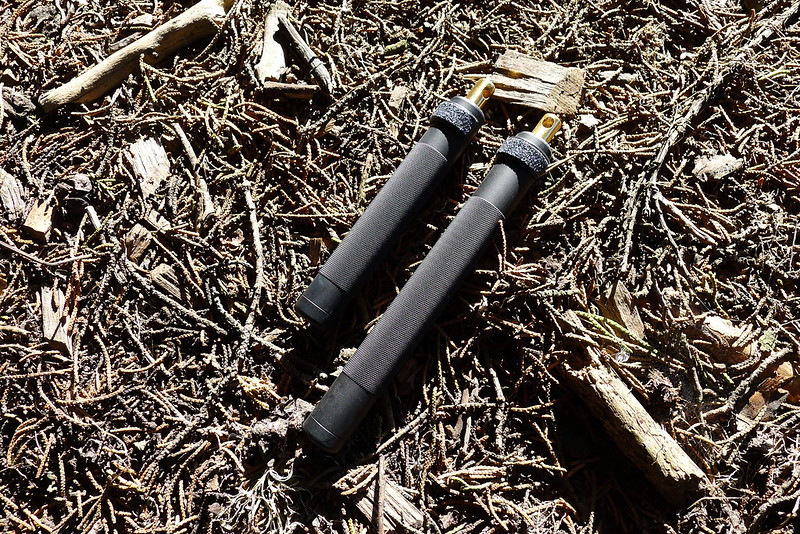
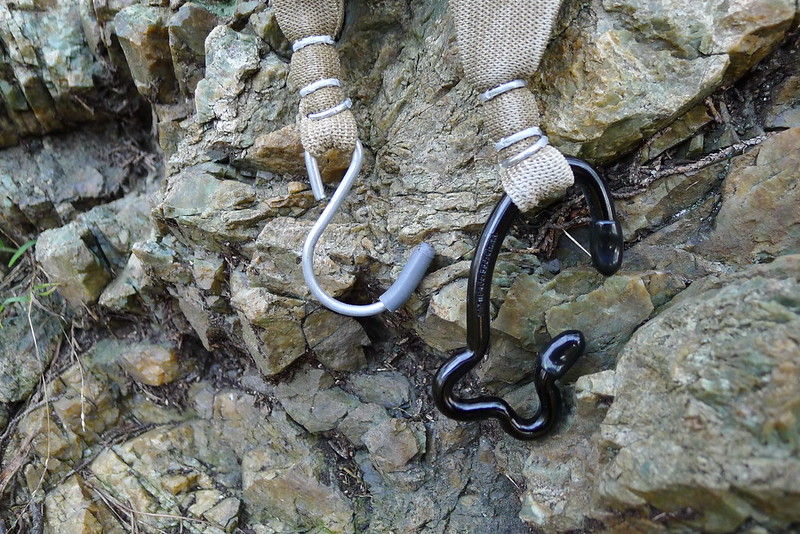
At first glance, the TK4 appears like it could be a promising solution. It is an elastic strap, roughly 36” long by 2” wide, with 2” metal hooks on either end. It folds to a compact size and easily fits in a pocket. Unfortunately the hooks are only 1” wide, which doesn’t work so well with the 2” wide strap. In my trials the strap would often pop out of the hook when attempting to start the wraps. I find it much more effective if used as an improvised tourniquet, with two overhand knots and a pen as a windlass, which is a terrible thing to say about any product that bills itself as a tourniquet.
The TK4-L is identical to the TK4, except one of the hooks is replaced by something akin to a gateless carabiner. This carabiner is shaped such that the elastic strap will actually fit inside of it and not pop out. The result is a product that is compact, not too difficult to apply, and effective.
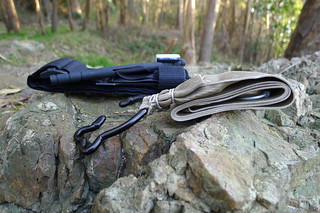
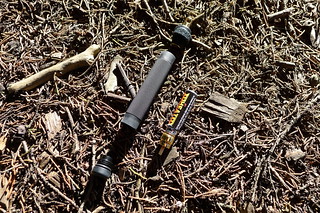
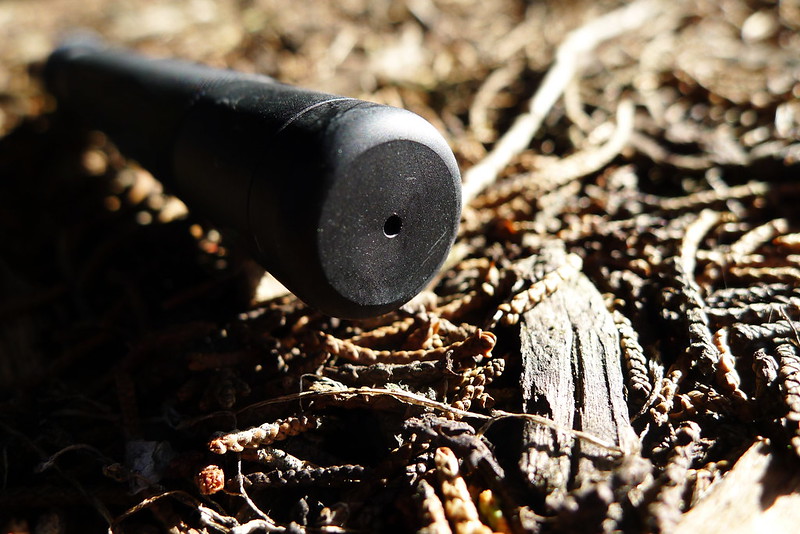
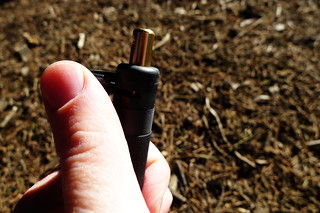
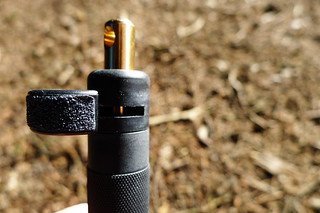
The RATS is made from a heavy duty, bungee-type strap and a unique buckle which locks the strap in place. The strap is around 45” in length but only 0.5” wide. With any tourniquet, you want a wide strap to avoid causing tissue and nerve damage. The idea with the RATS is that you get the desired width by performing parallel wraps, distributing the pressure over an area closer to 2” in width. This requires some care to be taken when applying the tourniquet, and it makes it less useful on larger limbs. On my leg I only get 3 wraps with the RATS.
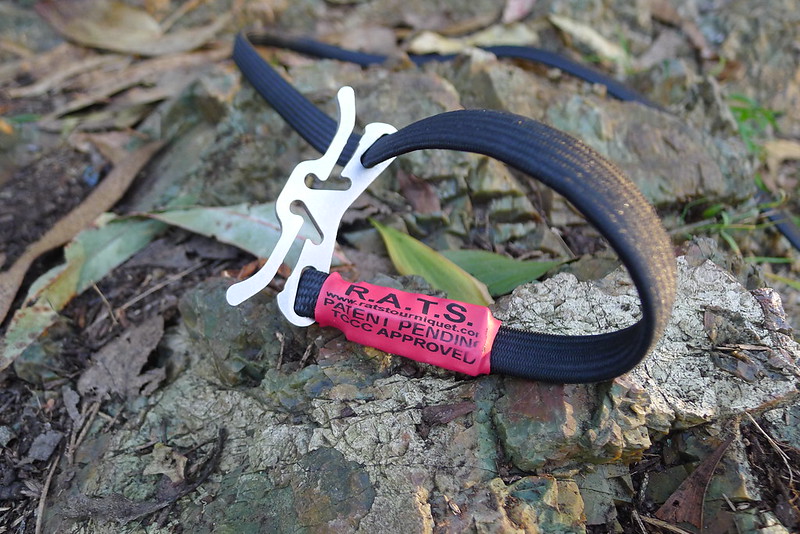
Of these 4 secondary tourniquets that I’ve experimented with, the RATS is the most durable and, with the exception of the issue of parallel wrapping, the easiest to self-apply. However, the TK4-L folds up better for pocket carry, and its 2” wide strap inspires more confidence. I feel better carrying it and have been doing so for the past month and a half. It sits in my left rear pocket, with the carabiner hooked over the top of the pocket so that it can be easily grabbed without any fishing around.
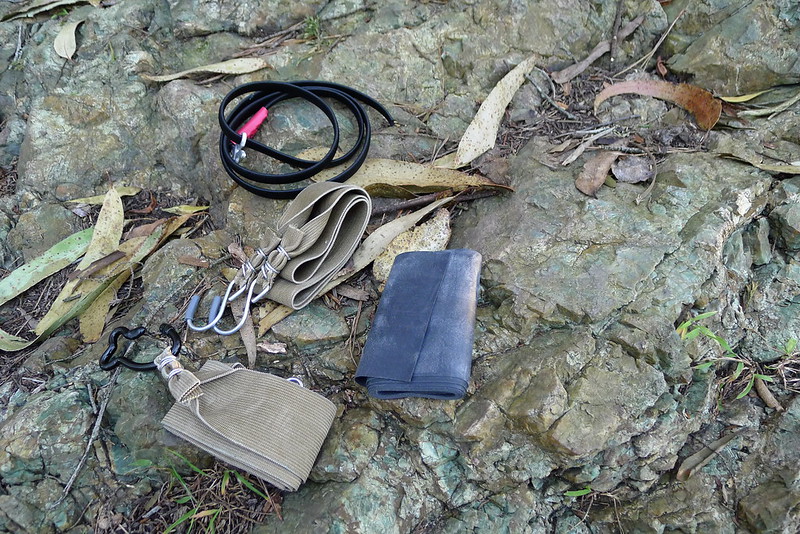
Choosing a secondary tourniquet is an exercise in trade-offs. Without a windlass, pressure is achieved through tight wraps only. They certainly cannot replace a primary tourniquet, but may supplement it in areas where size or weight present limiting constraints. Given the choice between carrying no tourniquet on my body or carrying one that works but is less than ideal, I’ll choose the latter. Coupled with an H&H Mini Compression Bandage and a package of z-folded QuickClot Combat Gauze, you can build a compact blow-out kit that is easy to distribute across your body.