I broke the drive-side crank on my New Albion XDT crankset. I have strong legs.
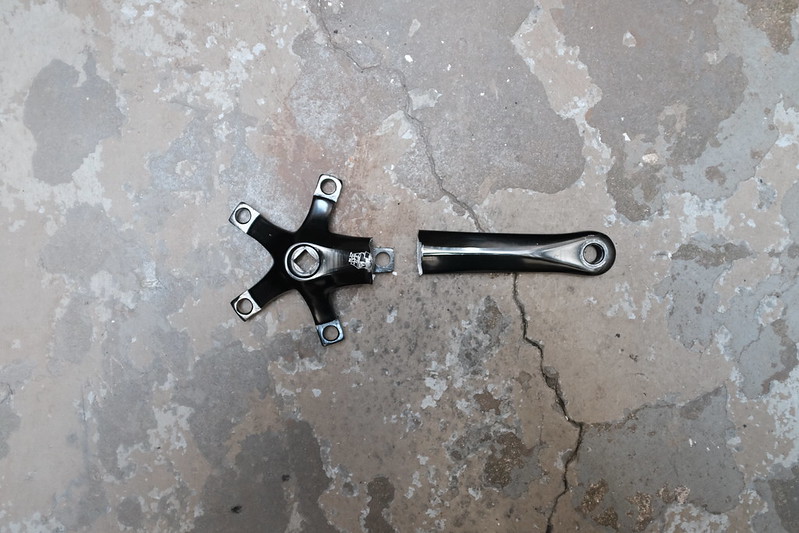
The crankset was only 5 years old. I don’t track distance, so I don’t know what sort of mileage it had – more than 10,000 miles and less than 100,000, on a healthy mixture of pavement and dirt – but it is certainly too new for these sorts of shenanigans.
New Albion is one of the many brands of local company Merry Sales. They are responsible for bringing a number of Japanese bicycle components to the American market, and are usually associated with quality equipment. The New Albion XDT is basically a clone of the Sugino XD – made from the same molds, in the same factory, out of the same 6061 aluminum. I also have a lot of miles on an actual Sugino XD (and I put an old one back on after this break so I could limp around town while deciding on a more permanent fix). I’ve never had any problems with that crank. So I’m prepared to accept that this was just a fluke, and it probably would not happen again, but I still wanted to replace it with something I could have more confidence in.
Unfortunately the dystopian hellscape that is the modern bicycle industry means square taper triple cranks are few and far between.
Fortunately Rivendell is still fighting the good fight. The best option I found was their Silver crank. These are made of 7075 aluminum, and Rivendell claims that they pass the EN 14766 mountain bike fatigue standard. They use a 110 BCD for the middle and outer rings, and 74 BCD for the inner. That makes them compatible with any triple chainrings a reasonable connoisseur would want to use.
I bought their full triple crankset with 44x34x24 chainrings. But as I was waiting for it to ship, I sat staring at my broken New Albion crankset and decided that its 48x36x26 chainrings were all still in pretty good shape (if in need of a cleaning). And while I was prepared to try Rivendell’s gearing, I do really like the big 48 ring for flying down mountain roads, and I’ve never really felt like I need anything lower than a 26 granny gear on this bike. So when the Silver crankset arrived, I broke it apart, stored its chainrings for later use, and installed the (cleaned) rings from the New Albion.
The Silver seems to have a slightly wider Q factor than a Sugino or any of its clones. I run a Phil Wood bottom bracket with a 113mm spindle, just like God intended. After slapping on the Silver, I was getting some chain rub on the big chainring when in the two outermost sprockets on the cassette. I was able to adjust the derailleur to account for this, but that makes me think that a couple millimeter shorter spindle would be needed to maintain the same Q factor as I had before. The difference is minor enough that I don’t notice it when actually pedalling. It rides great. And it looks pretty good too.

The other options that turned up in my search all disappointed in one way or another.
The Velo Orange Grand Cru 110 is pretty, but they recommend a 124mm bottom bracket. I didn’t want to buy a new bottom bracket.
The Rene Herse Triple is pretty and passes the EN 14781 racing bike fatigue standard (which I’m guessing is lesser than the mountain bike standard), but is prohibitively expensive, and they too recommend a wider bottom bracket. Their instructions also state that “if you have broken cranks in the past, we recommend that you do not use lightweight components like the Rene Herse cranks.” I now belong to that rarefied coterie, so they’re not for me.
Sugino triples are still to be found here and there, but can be difficult to locate. I wanted something stronger than the 6061 aluminum of the XD, if only for my own psychological comfort. Some years ago I ran a Sugino Alpina 2 Triple. I don’t remember what kind of aluminum it was made of. I stripped the threads on the drive-side after I wore down the bearings on my previous Phil Wood bottom bracket until they were mush and rounded the spindle (they said it couldn’t be done – I took that as a challenge). So I didn’t really want another one of those.
If I had been displeased with the Silver, I would have purchased a Spa Cycles TD-2. This is another Sugino clone – made in the same factory, out of the same molds – but it is made of 2014 aluminum, so ought to be plenty strong. (It’s also a clone of the Alpina 2 rather than the XD. That means the 5th bolt is easy to access, rather than hidden behind the crank, which makes swapping around rings easier.)
But as it is I’m very happy with the Silver cranks. If you need a well designed and well built square taper triple crank – and who doesn’t – I’d say just buy one of those and be done with it. I see no reason why the cranks shouldn’t last me forever. When I need new chainrings, if I don’t want to go with the 44x34x24 gearing from Rivendell, I’ll probably buy the Spécialités T.A. rings that Spa Cycles sells. (I’m pretty anal about staying on top of chain wear, so it may be a while.)


