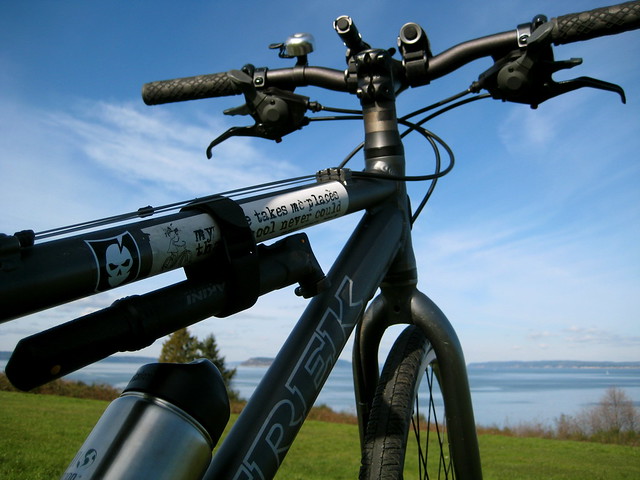
Other projects prevented an overnight trip.
But I did get out for a ride along the Snohomish and Skykomish rivers on Saturday.
You are currently viewing all posts tagged with bicycle.
But I did get out for a ride along the Snohomish and Skykomish rivers on Saturday.
She quit her job as a London bike messenger and left the UK in September of 2011. Currently she is in Korea, having cycled across Eurasia. I was made aware of her blog a couple months ago and was immediately hooked. I went back to the very beginning and read the blog all the way through. There are not very many blogs out there that I can say that about.
Late Saturday morning I loaded up my bike and took off for the mountains. The plan was to head out to Granite Falls, pick up the Mountain Loop Highway, and spend the night somewhere around Barlow Pass. The following day I would continue along the highway to Darrington and head back to Everett to complete the loop.
The way out of town is an unremarkable ride along the shoulders of two state highways. It doesn’t take long to reach Granite Falls, where the Mountain Loop Highway begins.
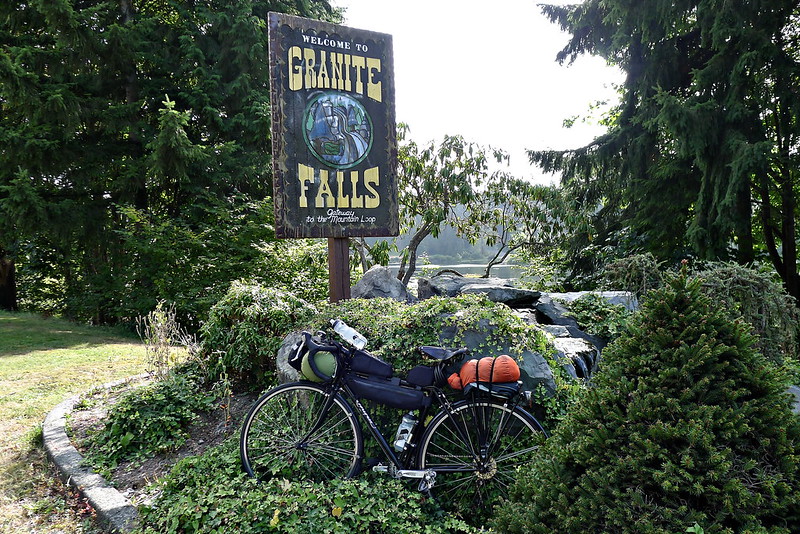
I’ve driven the highway into the mountains countless of times – many of my favorite trailheads are located off of it – but this was the first time I had pedalled it. The highway itself doesn’t get too high. The highest point is probably a little under 3,000 feet, but I was starting from sea-level, so there were a few hills to climb. I shifted down to my granny gear and prepared to spin my way up, past the quarries and mines and the masonic park that always gives me a slight feeling of discomfort. The National Forest begins near the top.
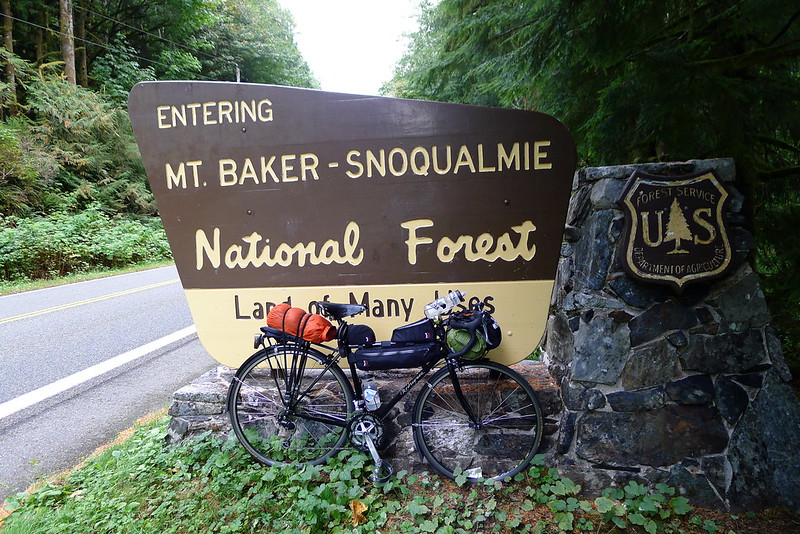
After entering the forest the highway follows along next to the south fork of the Sauk, which makes for a pleasant, flat-ish ride, with very little motorized traffic to interfere. Most of the established camp grounds are closed this time of year – “closed” being National Forest Service code for empty and free.
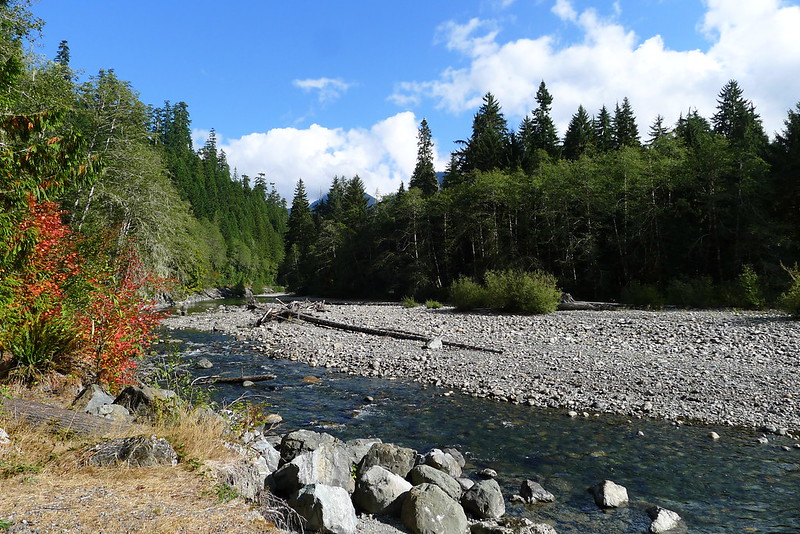
I had initially intended to spend the night somewhere along this stretch, but it was only mid-afternoon. I decided to head a bit further and camp around Barlow Pass. The pavement ends at the pass and the highway loops down and out of the mountains along a narrow gravel road. When I reached the pass the Sheriff was there, sorting through his ring of hundreds of keys, attempting to locate the one to unlock the gate at the start of the road to Monte Cristo. Apparently a young boy was hiking out there with his family and cut himself on a piece of old mining equipment. The search and rescue team were on their way up but would need to get through the gate. It must have been some cut to warrant the response.
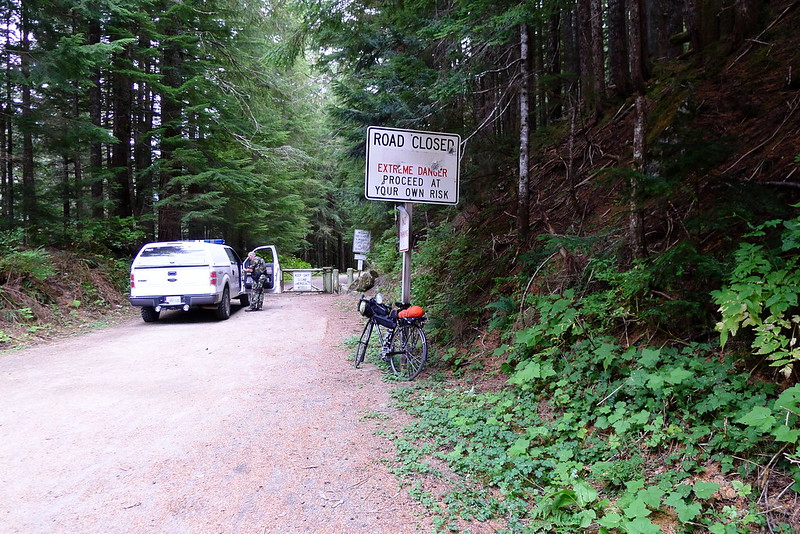
There was plenty of light left at the pass. I amended my plan once more and took off down the unpaved section of road, deciding to camp somewhere in the woods below. The road is in pretty decent condition, by Forest Service standards. There aren’t too many potholes and the gravel isn’t layed on too thick. It makes for a bumpy ride, but my skinny 700x25 tires handled it fine. I pulled over for a quick dinner at 6PM and then got back on the road, intending to ride till 7PM. That would give me about 30 minutes to make camp before it got dark.
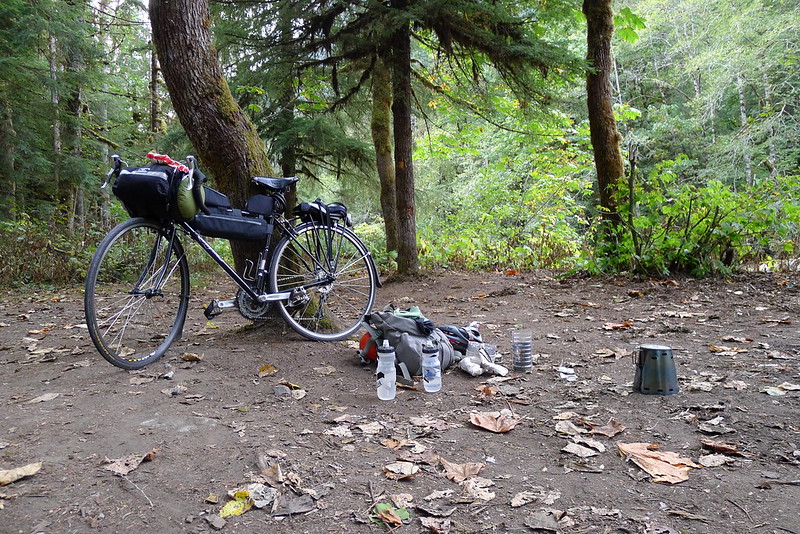
At 7PM I found myself near a picnic area with a short trail that led into the woods to a small clearing with a table and enough room for a tarp. I pitched camp there and went to bed not long after.
The morning was chill. I rose with the sun. After fueling up with oatmeal I shook the frost off my tarp and packed everything back on the bike. I only had a couple bumpy miles to pedal before reaching the pavement again.
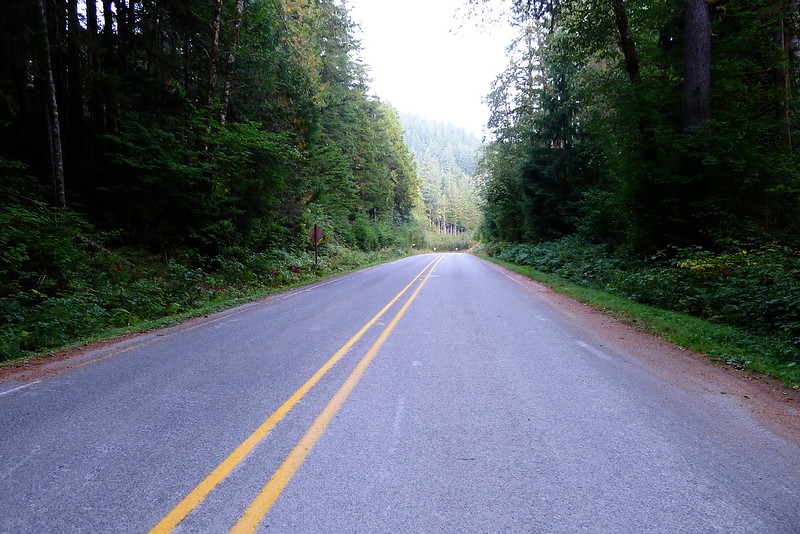
I was perhaps too optimistic when I packed only fingerless gloves. The cold air caused a sharp pain in my fingertips. I stoked the furnace a bit by breaking off a few hunks from a bar of dark chocolate that I kept readily accessible in my frame bag. Either the chocolate or the rising sun worked.
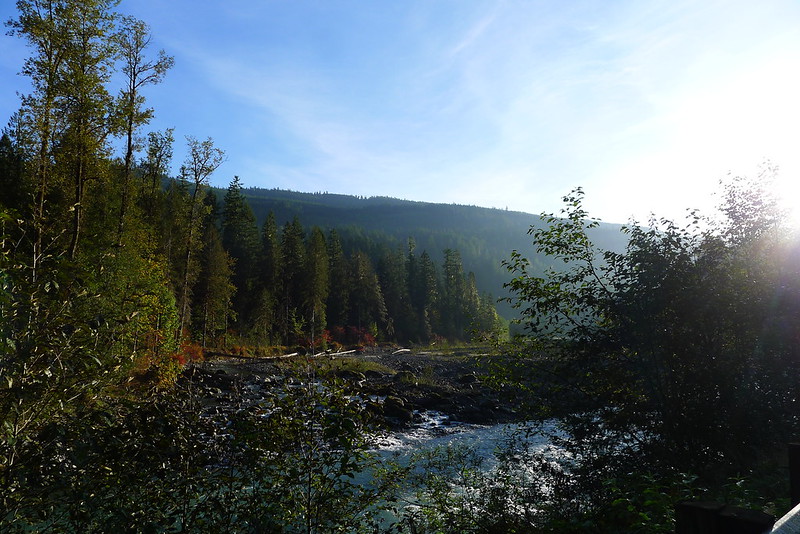
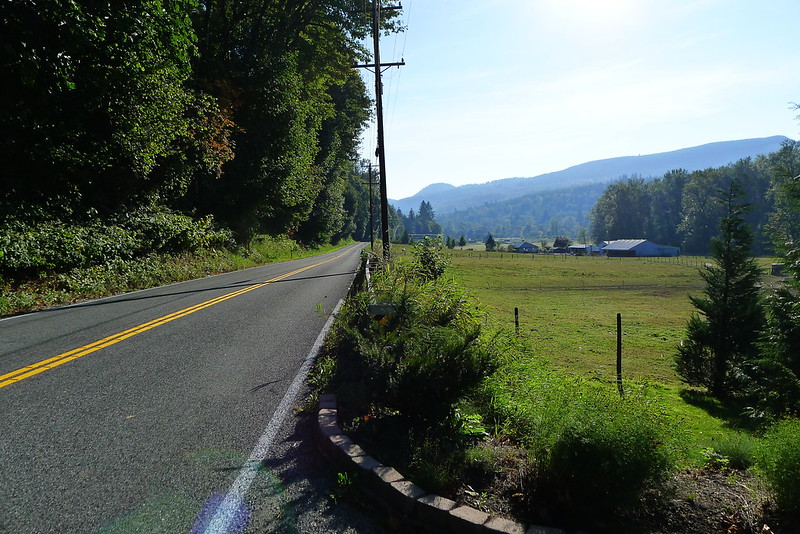
At Darrington I reached the end of the Mountain Loop Highway. The next leg of the trip would be along SR 530. It was the stretch I was looking forward to most. I had never ridden it before, but each time I drove along it the road struck me as a wonderful stretch of pavement to pedal. It travels through the foothills of the Cascades, along pastoral scenes set against mountain backdrops. Horses and cows outnumber motorized traffic.
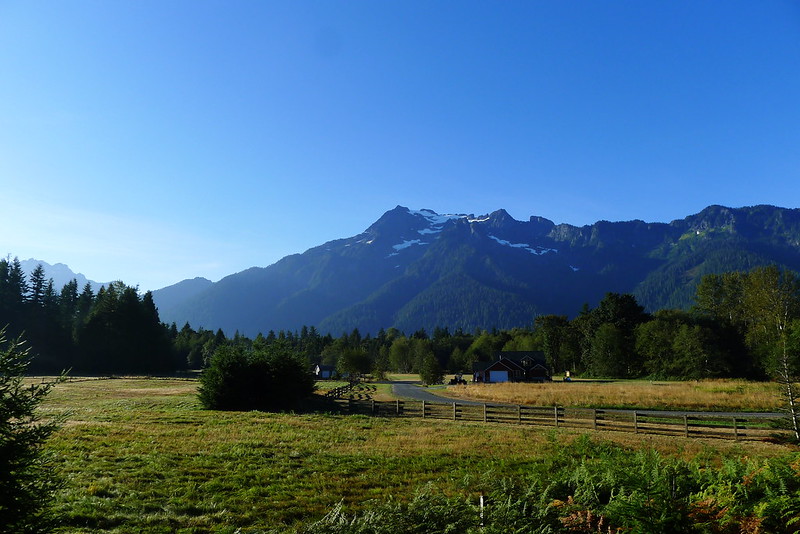
The road lived up to my expectations. I cruised along the meandering highway until reaching Arlington in the late morning. There I stopped at the Shire Cafe (in the same building as the Mirkwood game store, Mordor tattoo, and Rivendell hair salon) for a breakfast burrito – enough fuel for 53 miles. A block away I picked up the Centennial Trail.
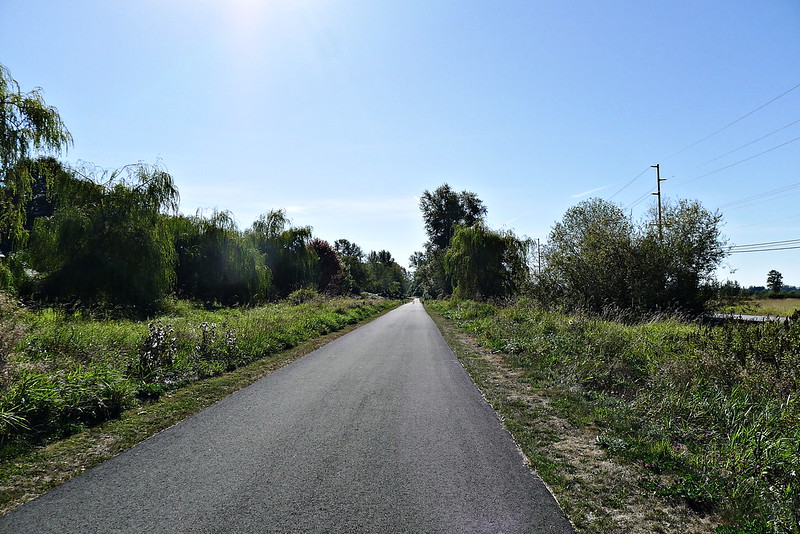
I pedalled down the trail, though the woods of the county, before cutting west out to Marysville, from where I went over the sloughs and the Snohomish river to complete my loop back in Everett. In town I detoured to the waterfront farmer’s market to conclude the trip with an apple and baguette of victory.
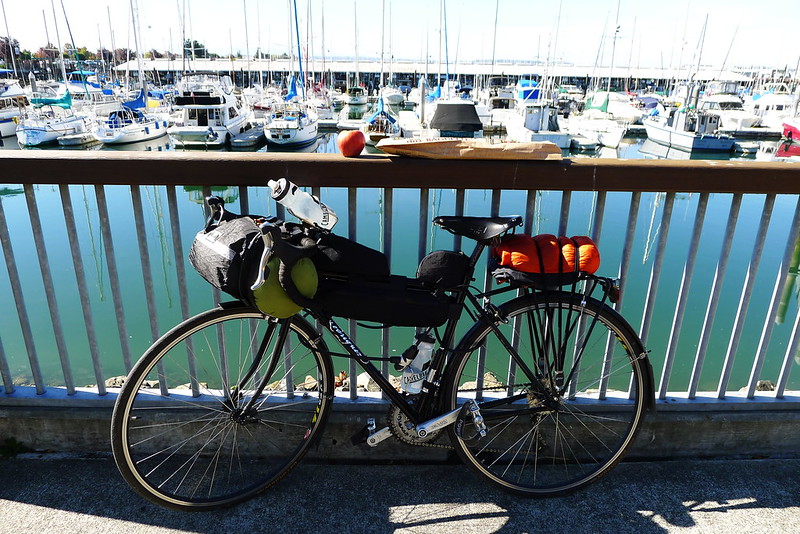
This is the best ride I’ve yet to do all within Snohomish County. The route looked roughly like this. I think that my mileage was closer to 130 miles. The trip could probably be done in a full day, but I enjoyed it as a leisurely overnight trip. It took me 26 hours, door to door.
If you’re at all interested in bikes, lightweight backpacking, or a combination thereof, you must read this book.
In 1986, Dick and Nick rode lightweight, steel race bikes from the Bay of Bengal across Bangladesh, up and over the Himalaya, across the Tibetan Plateau, and through the Gobi desert to the point of the earth furthest from the sea. They were sawing their toothbrushes in half and cutting extraneous buckles off of their panniers before “bikepacking” (or “ultralight backpacking”) was a thing. The appendix includes a complete gear list and relevant discussion.
The book is currently out of print, but used copies can be found. A PDF version is available here.
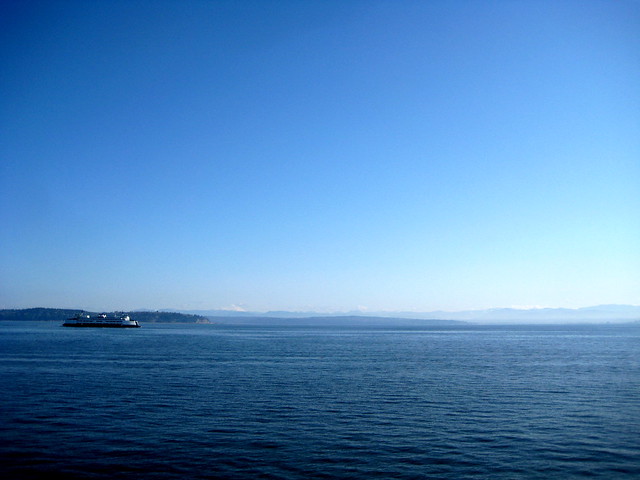
I’ve toured Whidbey Island before by bus, car and foot, but never by bicycle. I decided to remedy that today. It was forecast to be warm and sunny (only the third day of the year I can say that about), so I woke up early to make the 9:00 AM ferry sailing.
Whidbey is a pleasant mixture of forest and pastoral farmland. I decided to confine my explorations to the south end of the island, as that’s the area I know least.
I logged about 45 miles in the saddle over a leisurely 6 hours, plus about 2 hours of breaks, including lunch in Langley.
For the past few years I have been using a cheap headlight from Cateye on the front of my bike. When turned on to the blink setting, it did an acceptable job of making me seen, but it did very little to light up the road. Last January I decided that I wanted to replace or supplement it with a better light.
I looked at the lights carried by various bike shops for a while, but none of them impressed me. The high end bike-specific lights are bright, to be sure, but they tend to be much more expensive than a hand-held light of comparable output.
I thought it would be neat if I could somehow attach a normal light to my handlebars. Not only would this be cheaper than purchasing the equivalent bike headlight, but the light would be multifunctional: appropriate either for my bike or my belt. None of my own hackish attempts to mount a normal light on the handlebars satisfied me, so it was with relief that I heard about a company called Twofish.
Twofish – not the cipher – is a company that makes a series of mounting devices for bikes. The two products that I purchased are the Lockblock and Bikeblock.
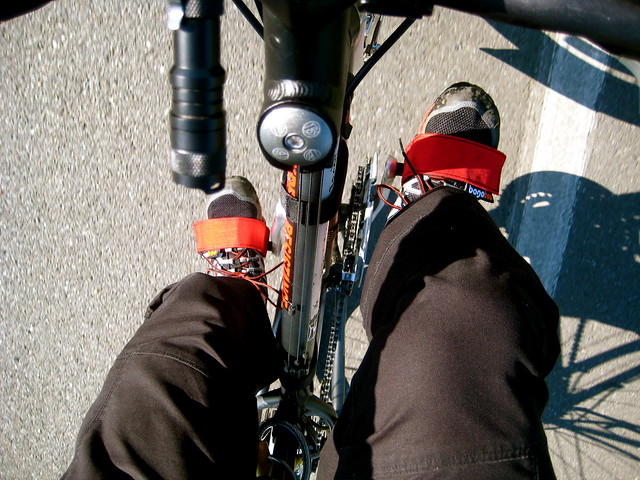
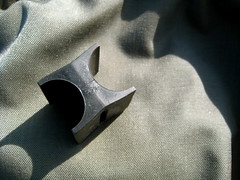
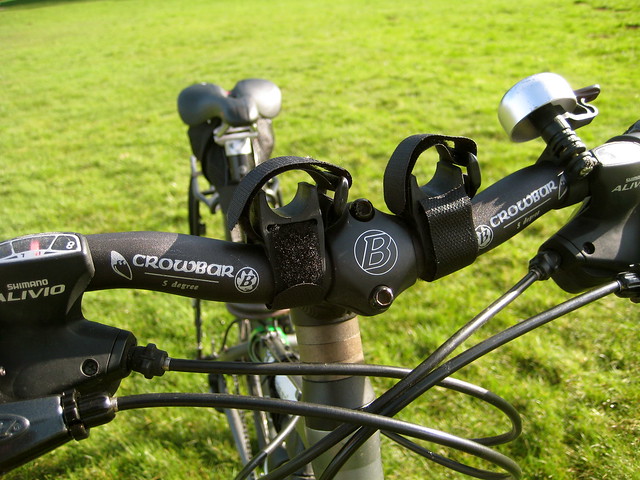
The Lockblock is a piece of rubber with perpendicular “U”s on either side. Each side fastens to an object with a small piece of hook-and-loop webbing. The Bikeblock is similar, but the two “U”s are parallel, and each side fastens to its respective object with a single continuous piece of hook-and-loop webbing. Lockblocks are to be used when you want to mount an object perpendicular to something else, such as a light on handlebars. Bikeblocks are appropriate when you want to mount the object parallel to something else, such as a pump to a frame. I bought three of each.
My first use of the Lockblock was to replace the Cateye headlight with my old Novatac 120T. The difference was immediately noticeable on my first night-ride. The 120T lights up the road, both bringing me to the attention of motorists and bringing potholes to the attention of me.
But I still thought it could be better. I wanted a second light.
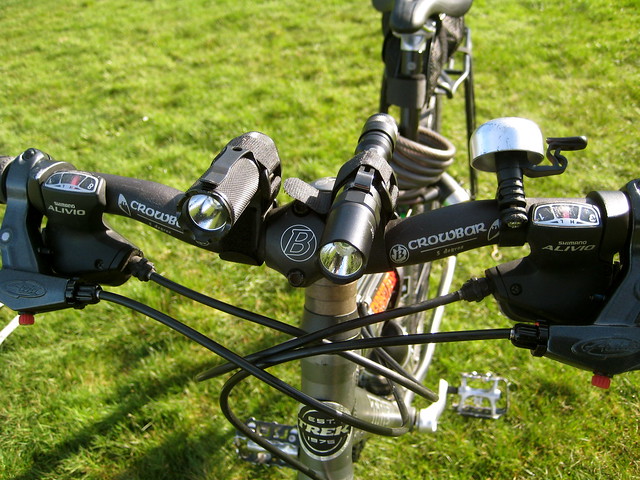
Research showed that the Fenix LD20 was a popular choice to use in conjunction with Lockblocks. It blasts out a fair number of lumens and I liked that it ran on AA batteries rather than CR123s, so I picked one up.
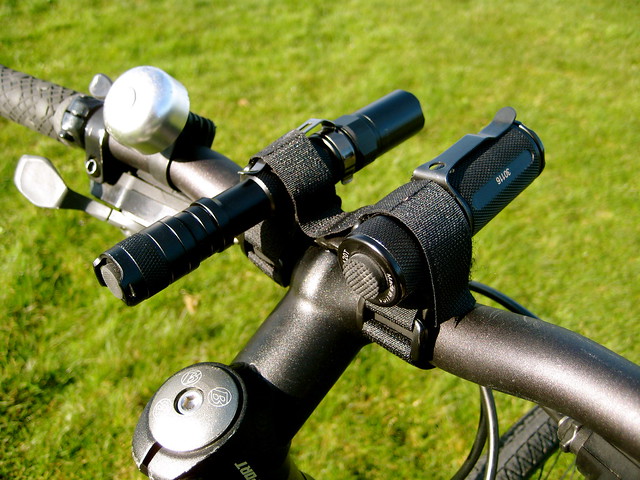
The combination of the Fenix LD20 and Novatac 120T really light up the road. The Lockblocks hold both lights securely, and they make for a safe commute on long winter nights.
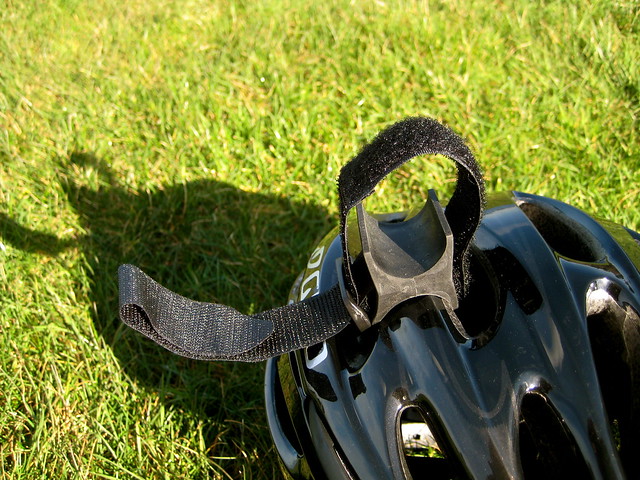
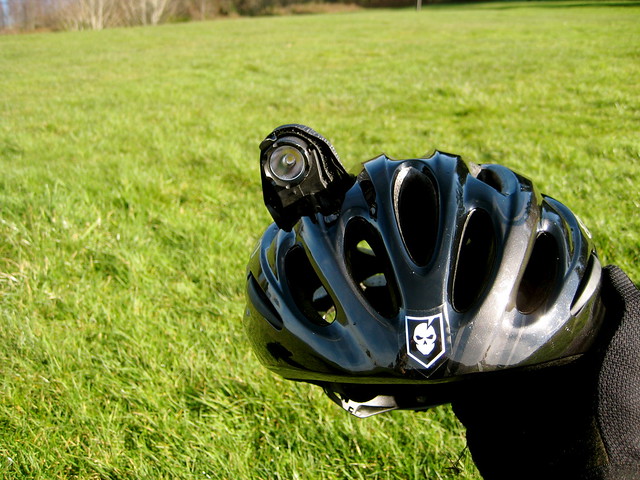
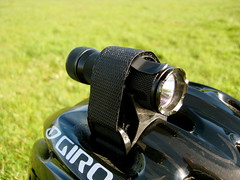
Although I was happy with this setup, I wanted to try using the parallel mount of the Bikeblock to add a helmet light into the mix. The Bikeblock fastens easily and securely across the vents of my Giro Stylus. Between my two lights, the shorter profile of the Novatac 120T made it more appropriate for a helmet mount.
I’ve been running the 120T on my helmet for about a week now. It’s nice to have the light point wherever I’m looking – and the ability to flash inattentive drivers is appreciated – but the light does add a noticeable weight. It’s annoying enough that I don’t keep the light on my helmet during the day, but so far I’ve been steadily putting it back after the sun sets. I haven’t decided if I’ll keep it up there, or if I’ll ditch the helmet light idea. I think that as winter turns to spring and the days lengthen, the Bikeblock will come off of my helmet.
I also use a Bikeblock for its intended purpose – to hold a pump to the bike frame. This is much more secure than my previous method, which consisted only of two pieces of hook-and-loop webbing.
Twofish’s mounts offer a serious challenge to the standard bike-light market. I’m pleased with both the Lockblock and Bikeblock and cannot see any reason to move back to a bicycle-specific headlight.
Those chain cleaning tools sold at most outdoors stores tend to pretty useless in my experience. They run around $30, but end up being cheap and ineffective pieces of plastic. I’ve given up on them in favor of cleaning my chain manually via a method discovered on Sheldon Brown’s chain maintenance page (any man with a beard like that must be infallible).
All that’s needed is a chain tool, a bottle, some sort of degrease-ing dish soap, and water.
The process is simple. Break the chain with the chain tool and drop it into the bottle. (I use an old Gatorade bottle.) Then put in a small dollop of the soap. Fill up the bottle with water, shake it around a bit, and let it sit. The water becomes black immediately. After it has sat for about 15 minutes I’ll dump it out, rinse off the chain, and put it back into the bottle with fresh soap and water. I do this until the water stays clear, which generally takes about 3 cycles.
When it’s done, you should have a chain that’s relatively clean-ish. Dry it, toss it back on the bike, lube up, and start cruising! If the chain was really dirty, you might also want a cheap brush to scrub it down.