Gear List
I’ve had a few requests to do a gear list for some of my recent trips. Since it’s been over a year since the last one, I thought I would acquiesce. What follows is the list from my recent journey to the Goat Rocks. Though that was a short trip, my gear has varied very little on any trip this year. I’ll take warmer clothing earlier (and later) in the year, and of course the amount of food varies based on the length of the trip, but most everything else remains static. This is quite the change from even just a year ago, where it seems like my gear would change drastically from trip to trip! Perhaps I know what I’m doing a little better now.
Some of the gear is light, some of it isn’t. Regular readers know that I always struggle to find a balance between lightweight, functionality, and durability. Certain items that I carry – like, say, the saw – are not likely to be found in the pack of an average backpacker, but are suited to my method of travel. In all, my base weight for this trip was right at 20lbs. I’m not too ashamed of that. In fact, considering that my pack alone weighs 6lbs when empty, that base weight is pretty darn good.
If you have any questions or comments about the items, feel free to get in touch.
Packed
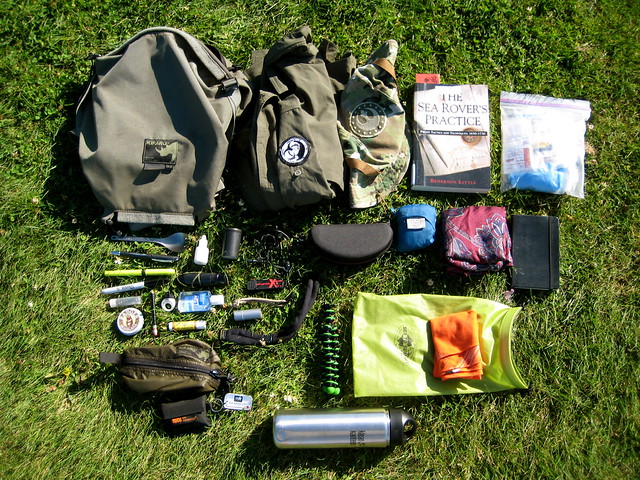
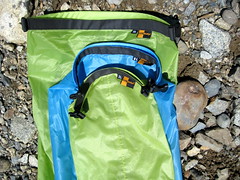
- Kifaru ZXR
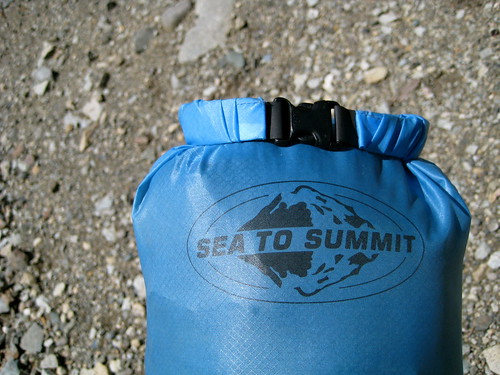
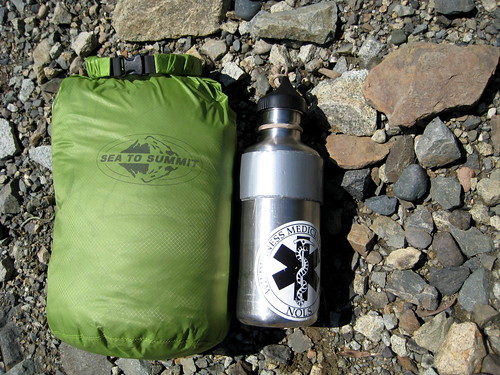
- Sea to Summit Ultra-Sil Dry Sack (13 liter)
- Kifaru 20F Slick Bag
- Coccoon Silk Mummy Liner
- Sea to Summit Ultra-Sil Dry Sack (8 liter)
- Ex-Officio Boxer Briefs
- Fox River AXT Wick Dry Off Road Crew
- Ibex Woolies Bottoms
- Icebreaker L/S Inca
- Bandana (22" x 22", cotton)
- Montbell U.L. Down Inner Jacket
- MSR Packtowl UltraLite (large)
- Mountain Laurel Designs Spintex EXP Stuff Sack (XLarge)
- LOKSAK OPSak (20 x 12.5)
- 4 days of food
- REI nylon mesh bag (5" x 6")
- Mountain Laurel Designs Super Glide Bear Bag Line
- Mountain Laurel Designs SuperFly Mini Biner
- LOKSAK OPSak (20 x 12.5)
- Mountain Laurel Designs Silnylon Stuff Sack (8" x 12")
- Outdoor Research Rocky Mountain High gaiters
- Marmot Precip Full-Zip pants
- Gatorade Bottle
- 2+L Platypus w/ hose, mouthpiece, and bite valve cover
- Cut down Platypus scoop
- 2x ~25ft paracord
- Stake bag
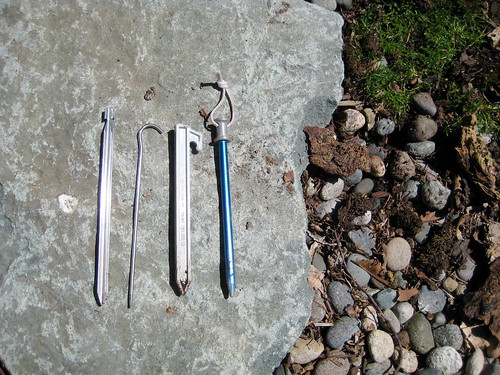
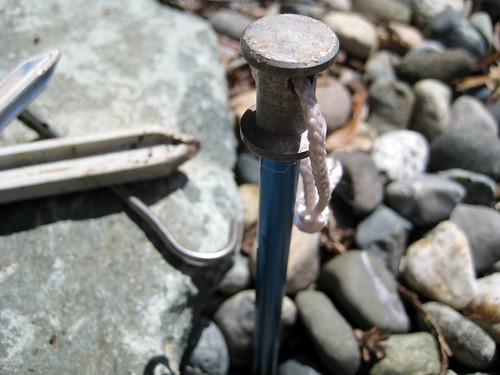
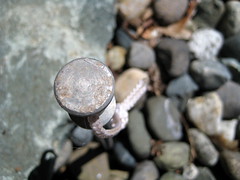
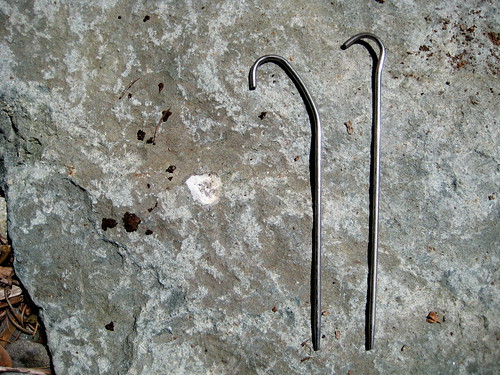
- 4 Durapegs, 2 Eastons, 2 X-pegs, 2 Nite-Ize Figure 9s
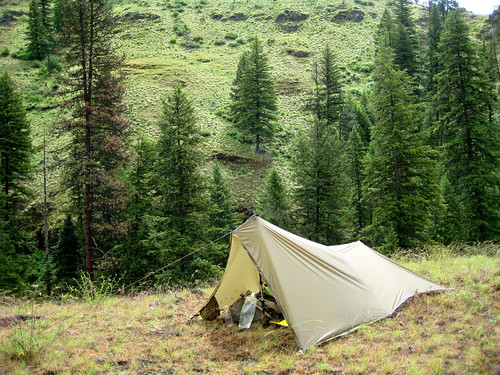
- Kifaru Paratarp
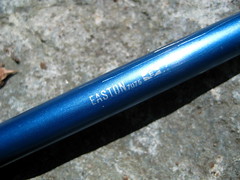
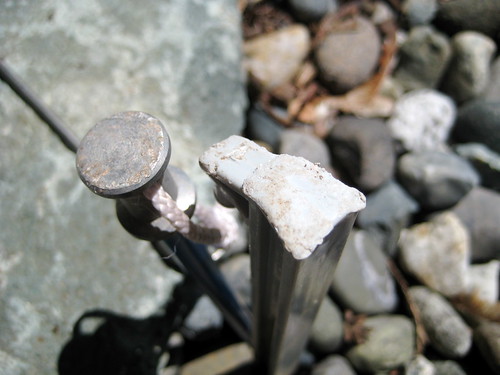
- Black Diamond Alpine Light Carbon Cork Trekking Poles
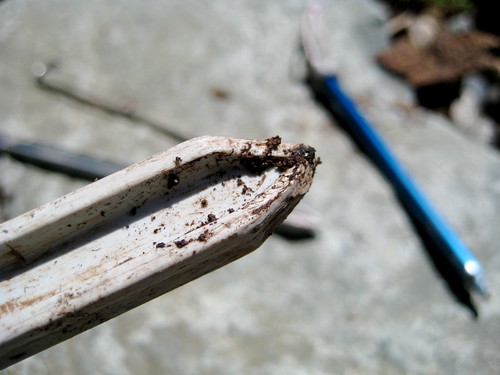
- Kershaw Folding Saw
- Barefoot Ted custom huaraches
- Kifaru Ultralight PullOut (small)
- Aquamira water treatment chemicals (liquid)
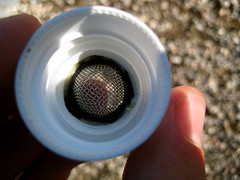
- Platypus Pre-Filter
- Sawed-off toothbrush
- Small travel floss
- 1 oz All-Terrain Weathershield (SPF 30)
- 0.5 oz Dr. Bronner's Peppermint soap
- Reflectix sit pad
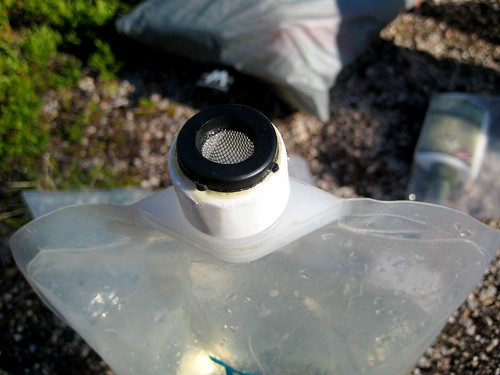
- Trail Designs Ti-Tri with 900mL pot and accessories
- Therm-a-Rest Z-Lite
- TAD Gear BC-8
- Silva Ranger CL compass
- ACR Whistle
- MapTools.com 1:69,500 Grid Tool
- Outdoor Research Foray Jacket
- Kifaru PackLock Windshirt
- Sea to Summit Ultra-Sil Dry Sack (13 liter)
- Kifaru Longhunter Lid
- Shoulder strap
- 1 quart ziploc
- Toilet paper
- 1 oz Hand sanitizer
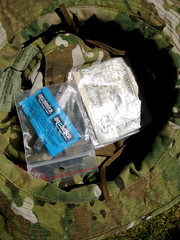
- Emergency fire kit
- First aid kit
- Kifaru Ultralight Pullout (small)
- REI Keychain Thermometer
- K & M Industries Match Case
- Croakies Glasses Retention Lanyard
- Jetstream ballpoint pen
- Sharpie
- Highlighter
- #2 Pencil
- All-Terrain Lip Armor (SPF 25)
- 4x safety pins
- Duct tape (length unknown, .75" diameter roll)
- StickPic #3
- Badger Healing Balm
- Sea to Summit Headnet
- Petzl Tactikka headlamp
- Tyvek Stuff Sack
- Rite in the Rain No. 393-M
- Large garbage bag
- 1 quart ziploc
- 3x Green Trails maps
- Plastic vial-type container (found on street)
- 16x cotton balls w/ petroleum jelly
- Hard glasses case (unknown brand/model)
- Oakley soft lens cloth bag
- Julbo Micropores (Rx)
- Sea to Summit Ultra-Sil Dry Sack (2 liter)
- Bandanna (22" x 22", cotton)
- Spare camera battery
- Joby Gorillapod
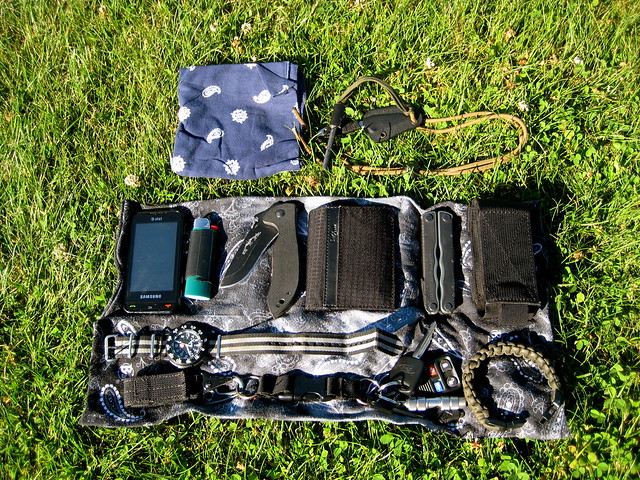
On Body
- Smartwool Medium Hiking Socks
- Railriders Weatherknickers (old Weatherpants cut to knicker length)
- Patagonia Friction Belt
- TAD Gear S1 Sheath
- Leatherman Blast
- Mora Carbon #1 (w/ modified sheath)
- TAD Gear S1 Sheath
- Snot rag (22" x 22" cotton bandanna)
- Rubberized BIC lighter
- Patagonia Friction Belt
- Mountain Hardwear Canyon Shirt
- Buff
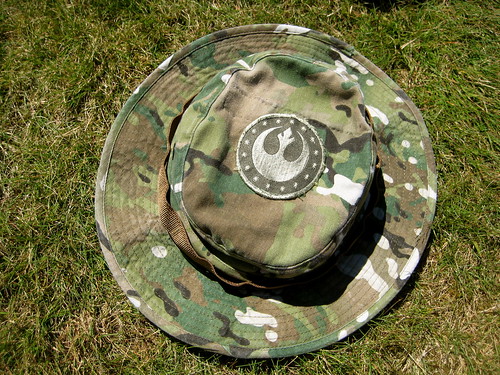
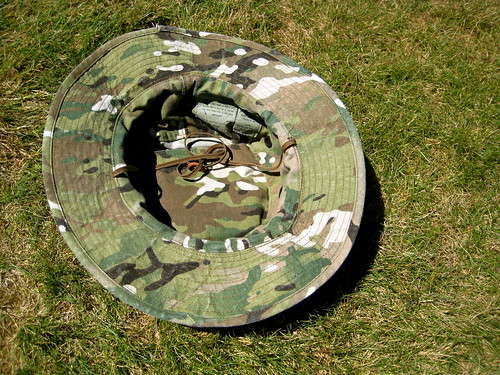
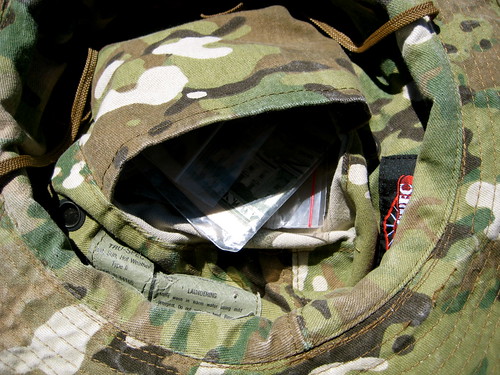
- Boonie hat
- Lowa Renegade II Gtx boots
- Luminox 3001 watch w/ Maratac Bond Regimental NATO band
- Suunto Micro Clipper Luminous compass
- Paracord necklace
- Nemesis Hellion
- Ferrocerium Rod
- Photon Freedom Micro LED
(I do hope that I haven’t forgotten anything. If you notice anything conspicuously absent, please let me know!)