Route Highlighting
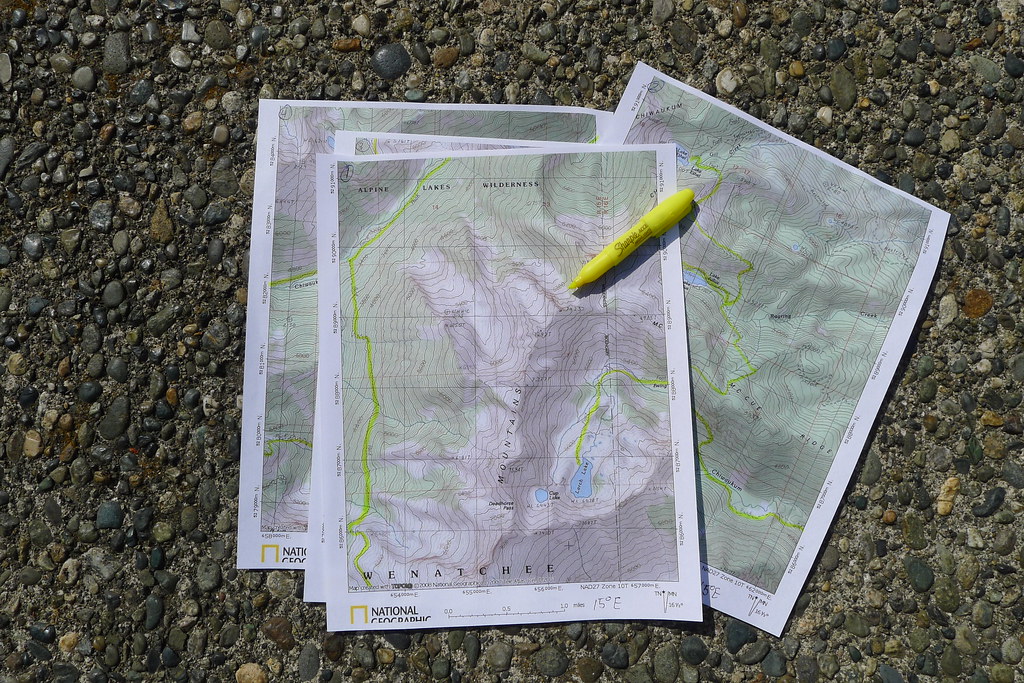
A 4 gram highlighter makes route planning much easier. Carry one.
You are currently viewing all posts tagged with navigation.
A 4 gram highlighter makes route planning much easier. Carry one.
I’ve had a few requests to do a gear list for some of my recent trips. Since it’s been over a year since the last one, I thought I would acquiesce. What follows is the list from my recent journey to the Goat Rocks. Though that was a short trip, my gear has varied very little on any trip this year. I’ll take warmer clothing earlier (and later) in the year, and of course the amount of food varies based on the length of the trip, but most everything else remains static. This is quite the change from even just a year ago, where it seems like my gear would change drastically from trip to trip! Perhaps I know what I’m doing a little better now.
Some of the gear is light, some of it isn’t. Regular readers know that I always struggle to find a balance between lightweight, functionality, and durability. Certain items that I carry – like, say, the saw – are not likely to be found in the pack of an average backpacker, but are suited to my method of travel. In all, my base weight for this trip was right at 20lbs. I’m not too ashamed of that. In fact, considering that my pack alone weighs 6lbs when empty, that base weight is pretty darn good.
If you have any questions or comments about the items, feel free to get in touch.
(I do hope that I haven’t forgotten anything. If you notice anything conspicuously absent, please let me know!)
One should always carry the knowledge and skill to navigate in your place. Always in my pack is a Silva Ranger CL compass – a light, compact compass, for which I can use to navigate either with the terrain or with a map. The compass is stored in a TAD Gear BC-8 pouch, which I picked up on my pilgrimage to TAD while passing through San Francisco earlier this summer. The pouch can be attached to my belt, pack, or any other piece of webbing, assuring the compass always has a place on my person, without taking up precious pocket space.
In the field, I also carry a Garmin Etrex Vista Cx GPS device. The GPS is unessential and shouldn’t be relied upon for primary navigation. Its error is larger than that of a compass; it depends upon a clear line of sight to the sky, making it more of a hassle than a help to use in forested areas; and, of course, it depends upon batteries. I’ve had one occasion this summer where the GPS insisted that North was South and South was North, implying either a sporadic pole shift or shaky satellite reception. My primary use of the GPS is the trip computer – the odometor, my moving time, my stopping time, my average speed, and elevation shift. I’ll also use it for a quick reading of my coordinates to get a rough idea where I am, and occasionally the Tracks program, which can be used to retrace my steps.
Always carry a map. USGS 7.5” topo maps are the best. On my backcountry trips here in the Park, I carry a minimum of 3 maps: a Tom Harrison Map of the entire Park, a Tom Harrison Map more specific to my location in the Park, and the USGS maps for each quadrangle I plan to walk through. The map I primary reference is the second Tom Harrison, which is clear and easy to read and has mileage printed directly on the trails. The USGS maps I carry for cross-country travel or in case I get lost. The large Tom Harrison map is carried more for a sense of place and planning other trips.
Learn to read a map. I’ve never had a class in the subject, nor read a book, but I’m confident in my ability to utilize a map. The best way to learn is practice. Here’s what to do: buy the USGS 7.5” quadrangle for the area you live in. If you live in an urban area, try to buy a quadrangle for a nearby park or forested area – someplace that isn’t flattened and paved. (But buy the maps for the urban areas too! I have the 7” quadrangles for the city I live in, covering my home and commute, taped on my wall, for exploration and post-Apocalypse survival.) Now take your new map and wander into the woods. Figure out where you are. Find a feature on the map, such as a hill or a ridge, and then find it in your place. How steep are the contours in real life? Here’s a hint: contours “V” upstream.
Even if you’re unable to triangulate your position or perform other minute calculations, you should have the confidence to read a map and have a rough idea of what that means in real life. A few weeks ago, a visitor came in to the Visitor Center in the Park while I was working. He was interested in a backcountry permit. After glancing at the map, he asked how much water he should bring. I hate giving someone like that a permit. If you’re unable to read the steepness of the trail and the locations of water sources, you have no business in the backcountry. And everybody should have business in the backcountry. So learn to read.
Pictures of my gear may be found here.