Everyday Carry OC
This past summer I attended Paul-E-Palooza. One of the courses I attended was Chuck Haggard’s Less-Lethals for the Concealed Carrier, which was all about OC (oleoresin capsicum) or pepper spray. Chuck is a Lieutenant in the Topeka, KS Police Department. He’s been training with OC for a long time and has a lot to say on the subject. I’ve been sprayed with OC before in training, but have not consistently carried it myself or incorporated it into any of my defensive training. After Chuck’s course I decided to rectify that.
I’ve tried a handful of different cans from brands like Sabre Red, Fox Labs and Aerko. They’re all effective products, but I failed to find one that both came in a pocketable form-factor and had a safety design that I felt comfortable with – until I tried an ASP Defender.
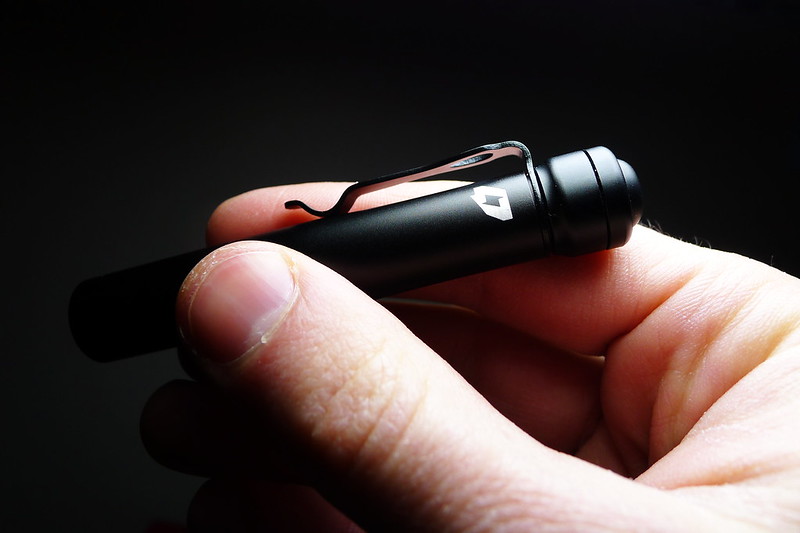
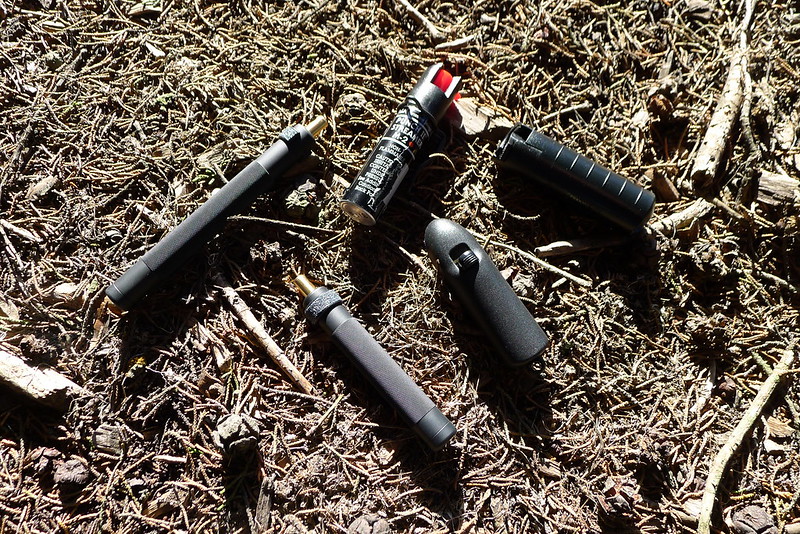
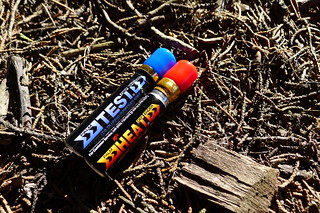
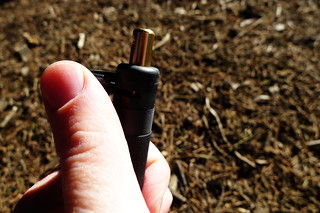
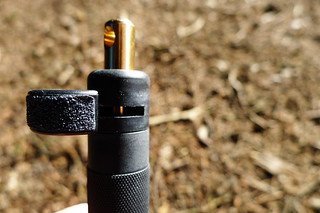
The Defender series come in a variety of sizes, but are all long and skinny. This roughly pen-like form factor makes them easy to carry and also usable as a lightweight Kubotan. They feature a safety that inspires confidence in its ability to prevent an accidental discharge, while still being easy to actuate when needed. The capsules are replaceable, and ASP sells inert capsules for training in addition to the live “heat” capsules. They discharge a solution of 10% of 2,000,000 SHU oleoreson capsicum.
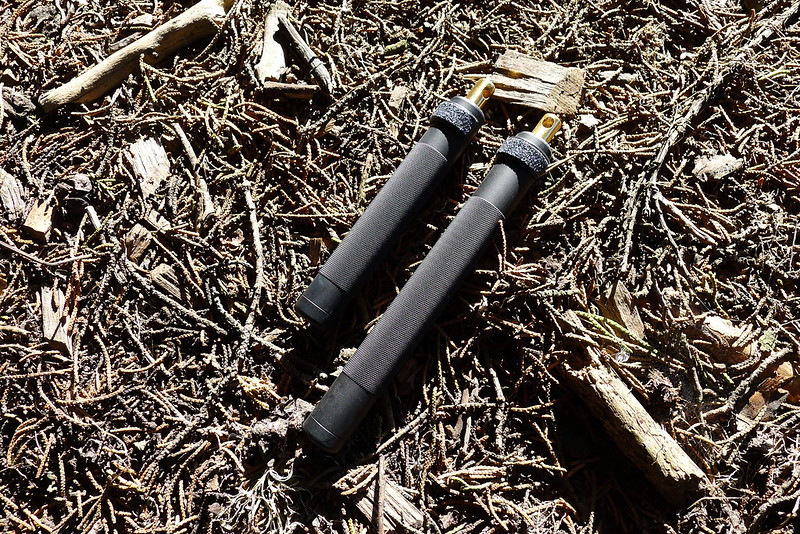
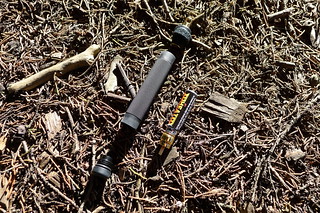
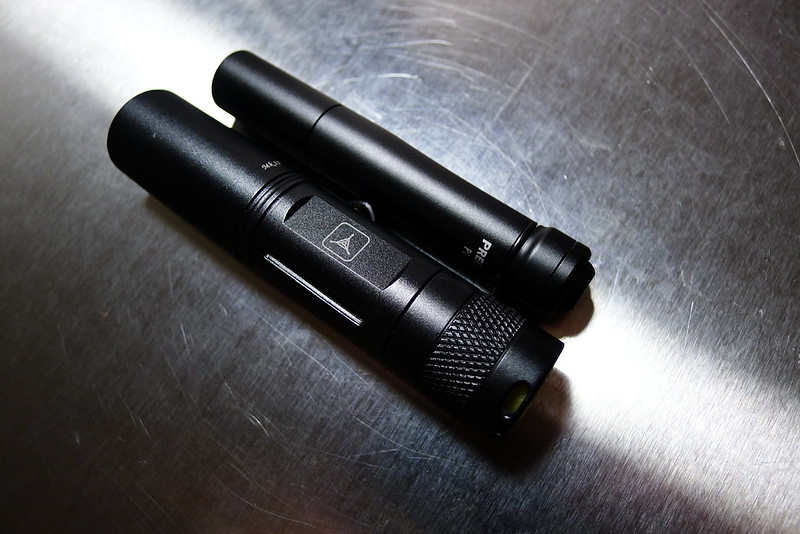
I purchased both the Key Defender and Palm Defender models. Both are 0.6” inches in diameter. The Key Defender is 5.75” long, while the smaller Palm Defender is 4.5” in length. The Key Defender capsule contains 4 grams of solution. The Palm Defender capsule contains 3 grams.
The stated range for the Key and Palm Defenders are 5 feet and 3 feet, respectively. In my trials I found that the difference in range between the two models was negligible: I achieved 4-5 feet with the Palm Defender, and about 5 feet with the Key Defender. This was outdoors, with the heat cartridges and a small amount of wind. The primary difference was in the number of shots. While the Palm Defender offered 4 cone-shaped bursts of about 1/2-second each, the Key Defender gave me 7.
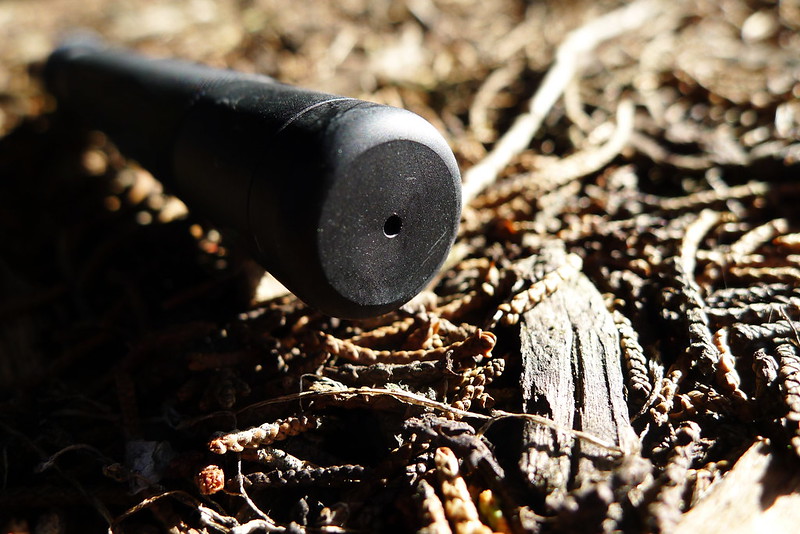
Given the small differences between the Key and Palm Defender, I personally opt for the smaller form-factor of the Palm Defender for my EDC. My only complaint about this model is that, given the length, I find that I need to grip the body slightly lower so that my fingers do not interfere with the outward swing of the safety. This puts the opposite end of the Defender into my palm. Because of this, once I have disengaged the safety I need to readjust my grip slightly, so that the business end of the Defender is just beyond the edge of my hand – where it needs to be for both striking and discharging the OC. Ideally I would like to see a model in between the Key and Palm Defenders in length. As it is, this is a minor complaint, which I can train around and which does not dampen my enthusiasm for the Palm Defender.
While the aluminium body of the Defenders is knurled for grip, the safeties are smooth. I addressed this by placing a small strip of grip tape over them, making it easier for me to disengage the safety with my thumb.
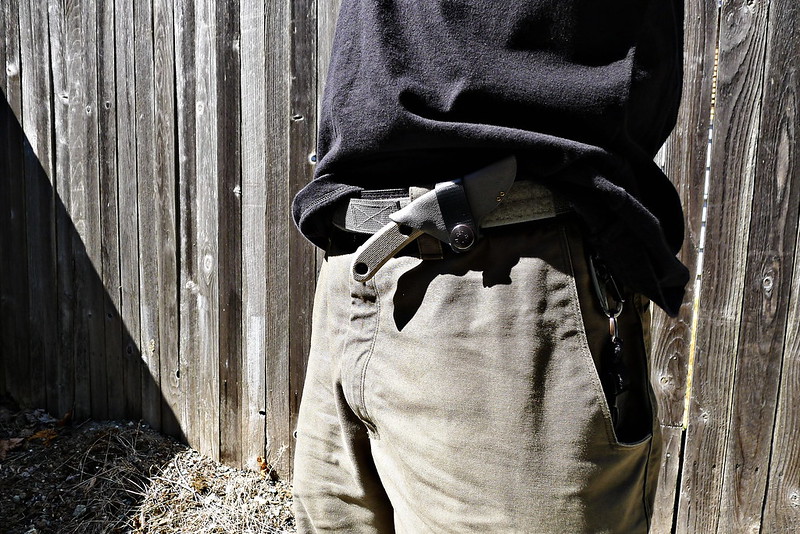
I have been EDCing the Palm Defender in the front, support-side welt pocket of my pants. My preference would be to find a pocket clip for it – which I imagine is doable, since the Defender is roughly the size of a large pen or marker – so that I could have the option of moving it to other pockets or onto a belt. I’ve also experimented with carrying it on one of Chris Fry‘s Pocket Shields (via a tactical hair tie), but as of yet I have not integrated the Pocket Shield into my daily carry.