DIY Water Measuring Doohickey
When I purchased my Trail Designs Ti-Tri Titanium Stove System, I bought it with a 900mL pot from Titanium Goat. I like the pot, but it has one shortcoming: there are no measuring marks on it. I’m not comfortable just pouring a little water into a pot and saying “Well, that looks like 2 cups.” I prefer a slightly higher level of accuracy.
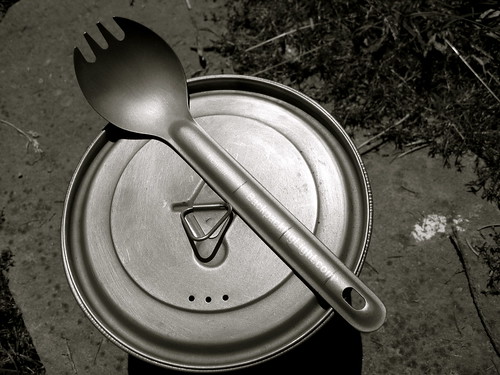
Originally I addressed this by scoring the handle of my spork to mark 1, 2, and 3 cups measured in the pot – an idea which I think originally came to me from somewhere on the BackpackingLight Forums. This method works ok – though making the marks deep enough to be visible on the titanium was a bit tough with my knife – but I’ve never felt that it is very accurate. It will tell me if I have roughly 1 cup of water in the pot, but I could really be anywhere between 3/4 of a cup to 1 1/4 cups. That’s the difference between nice, fluffy couscous and overly soggy (or dry and undercooked) couscous, you know.
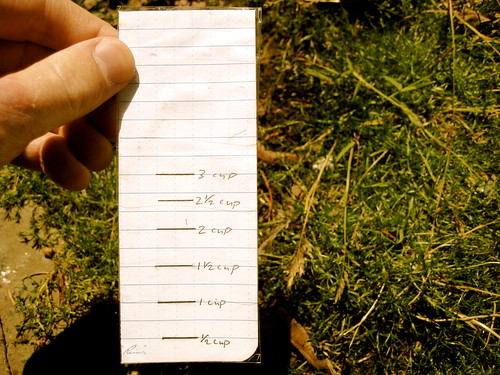
As a more accurate replacement, I came up with the idea for the Water Measuring Doohicky: a piece of paper with marks on it. Ingenious, isn’t it?
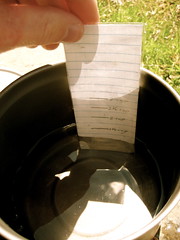
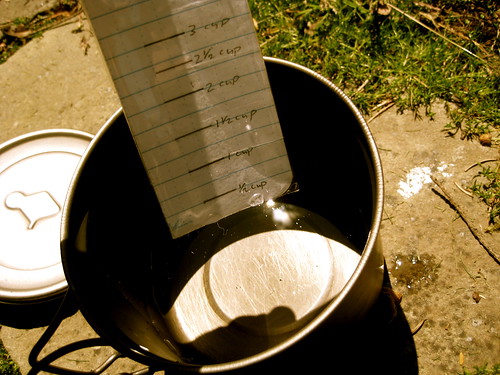
For the paper, I chose a cut a piece out of a page in one of my Rite in the Rain notebooks. Then I put 1/2 cup of water into the pot, set in the paper, noted the water line, took out the paper and marked the water line. This was repeated at 1/2 cup increments up to 3 cups. (The pot holds 4 cups when filled to the rim, so 3 cups is the most I would ever want to cook with.) After I had all the marks determined, I cut an identical piece of paper and put marks at the same levels. Then I tossed the soggy paper and was left with a fresh, dry piece of waterproof paper with the appropriate marks.
As a poor-man’s lamination, I wrapped it with clear packing tape. Even though the Rite in the Rain paper is waterproof, it gets a little soggy when submerged and takes a while to dry out. Water doesn’t cling to the tape at all. I can give it a shake or two after taking it out of the pot and it is immediately dry. The tape also adds a little stiffness, which helps achieve more accurate measurements.
I made two of these doohickeys at the same time, but have been using only one since last Fall. It works great. I am somewhat embarrassed it took me almost a year to come up with the idea. Even though I only made marks at 1/2 cup increments, the grid on the paper allows me to easily measure with 1/4 cup accuracy. As opposed to the marks on the spork, this paper is one extra thing to carry, but when placed on my scale it doesn’t register. I don’t think it weighs me down any.
I had done the lamination before I thought of this, but next time around I think I will write common cooking ratios on the back: water to couscous, water to dehydrated brown rice, etc. Usually I write those ratios on the ziploc freezer bags that hold my food, but the bags get replaced and rotated fairly frequently. The Water Measuring Doohickey has proved that it will last for a longer period of time.


