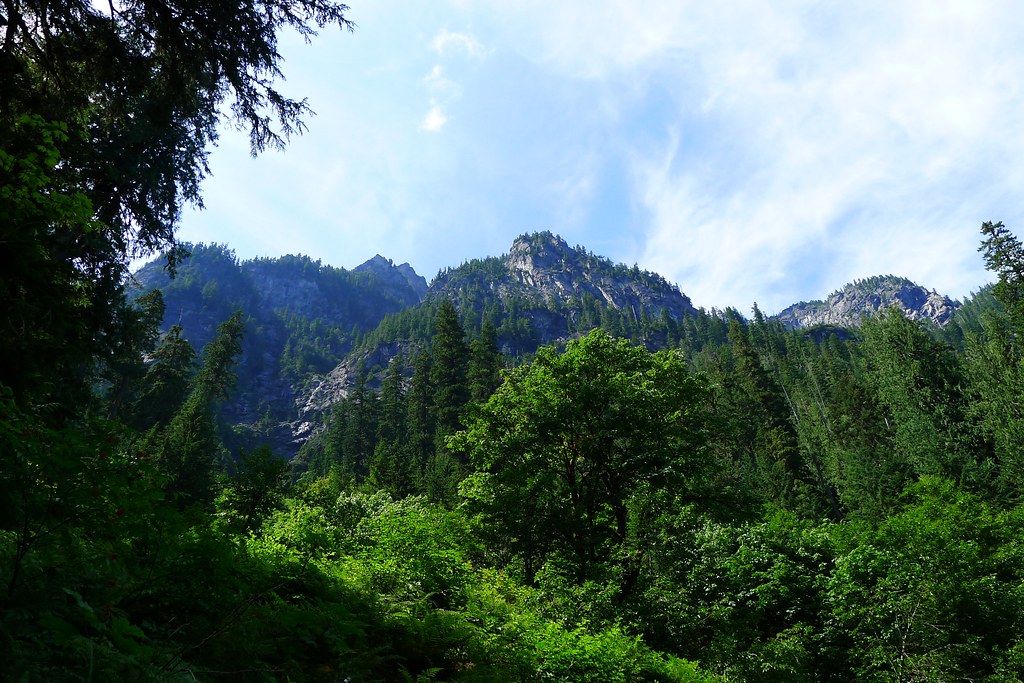
The Valleys and Ridges of Glacier Peak
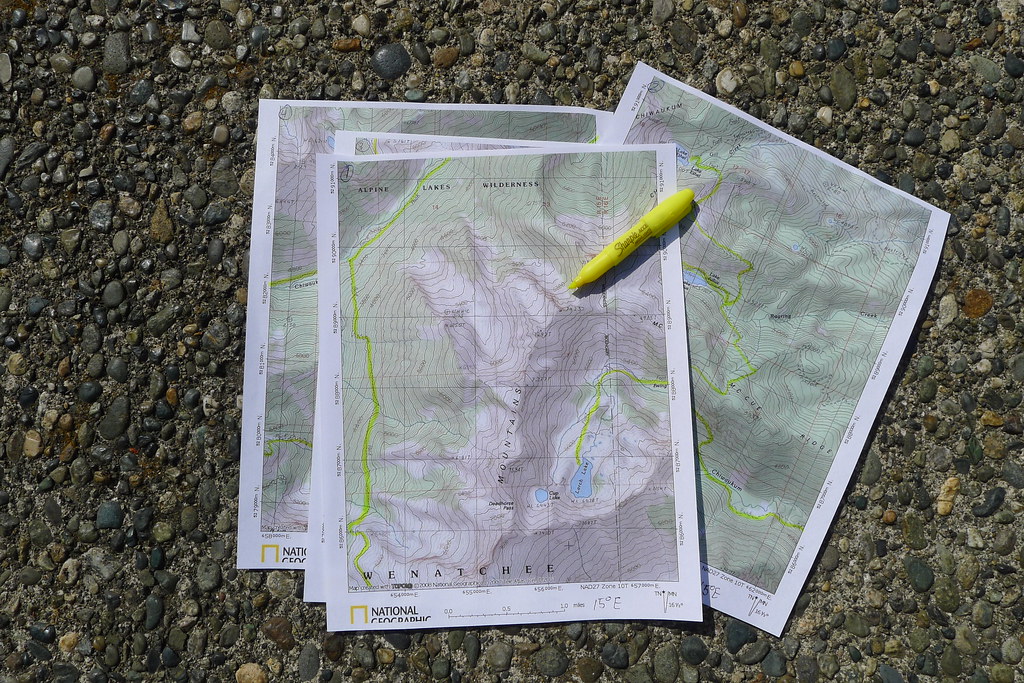
The Spider Gap – Buck Creek loop is one of the most popular trips in the north Cascades. For 40 miles the trail winds through the Glacier Peak Wilderness. It takes the traveler through low, emerald valleys and atop high alpine ridges.
Spider Gap
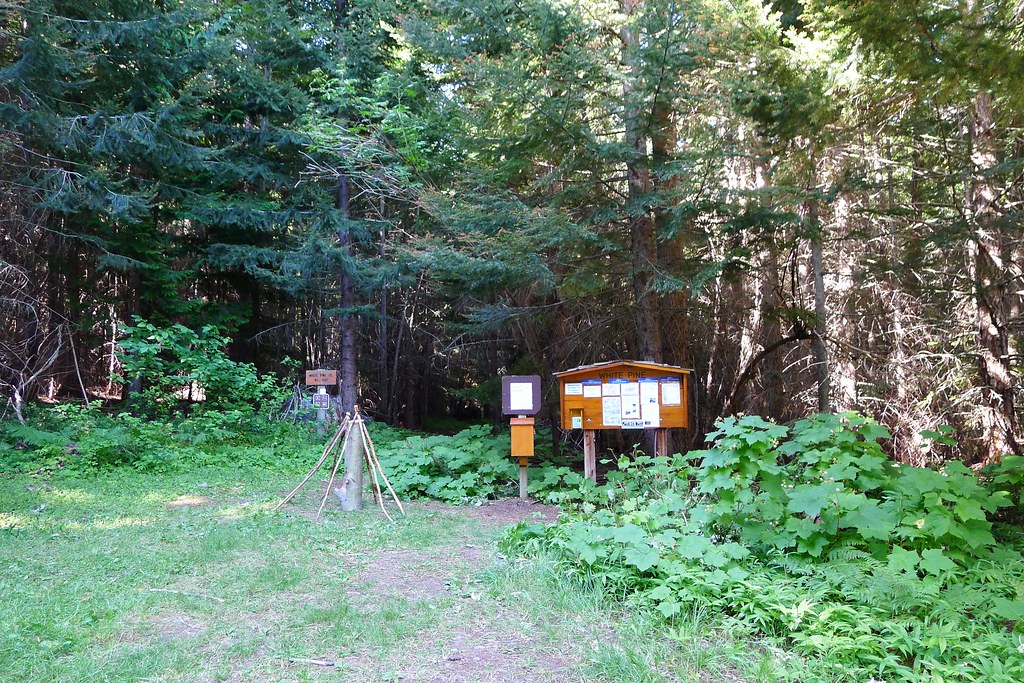
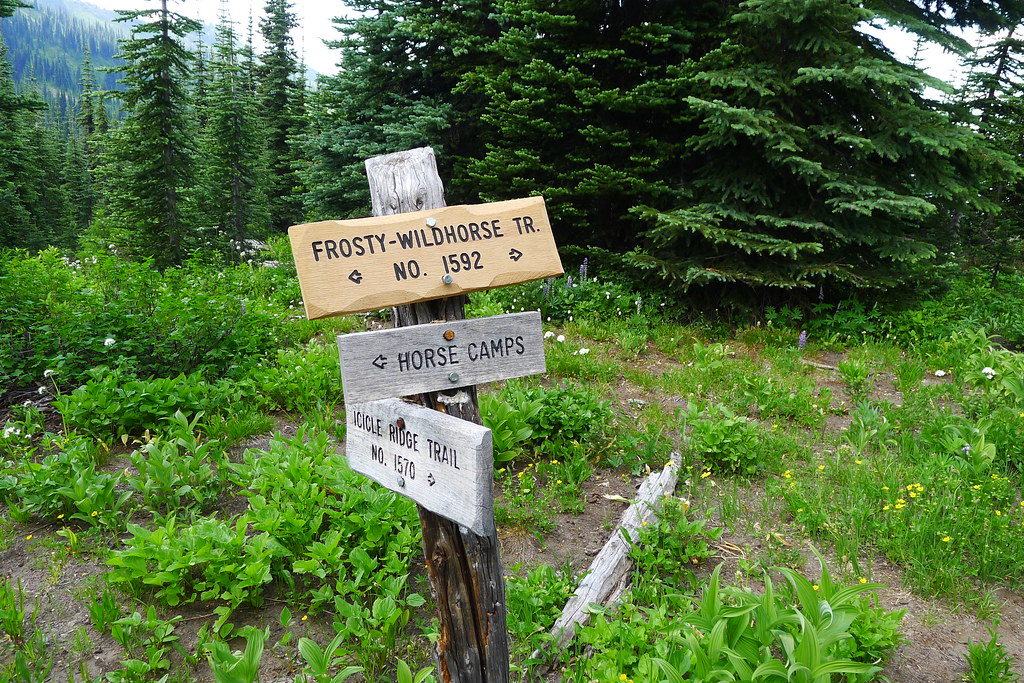
The trail along Phelps Creek is well used by hikers and hunters. It is a wide horse road, leading through thick woods. When I arrive in the middle of the week there are three different groups heading out, but no one else going in. It looks as if I have hit a lull in the summer crowds.
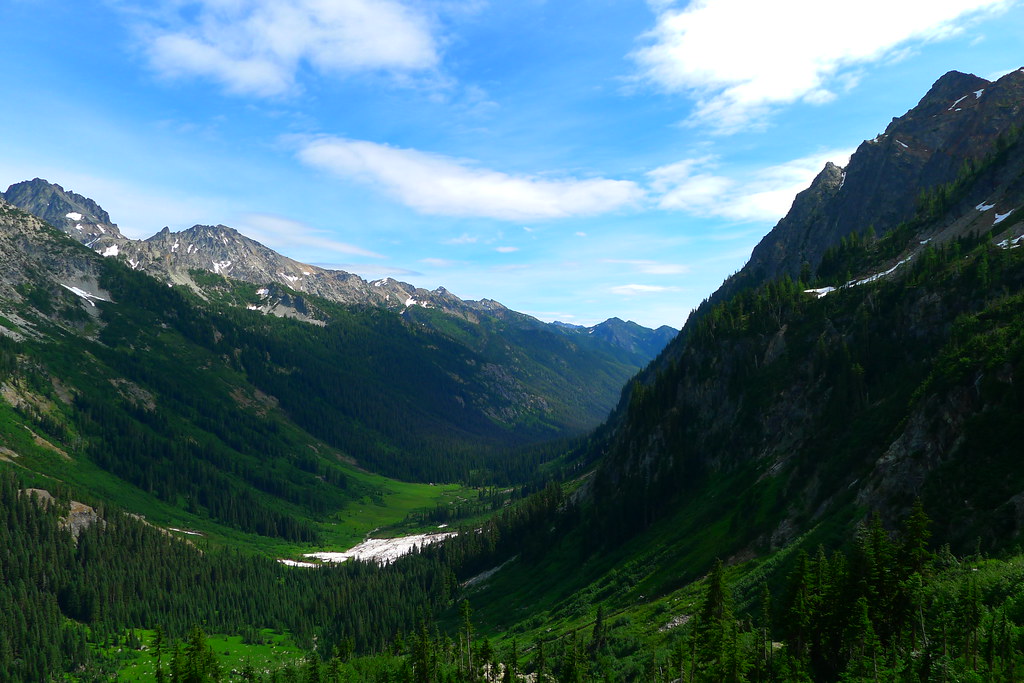
At the head of the valley the forest thins, giving way to wide meadows, good camps, and the remnants of avalanche slides. Two grouse hunters were tramping through the meadows, and one person hunting the opening of archery season for deer. None of them had so far had any luck.
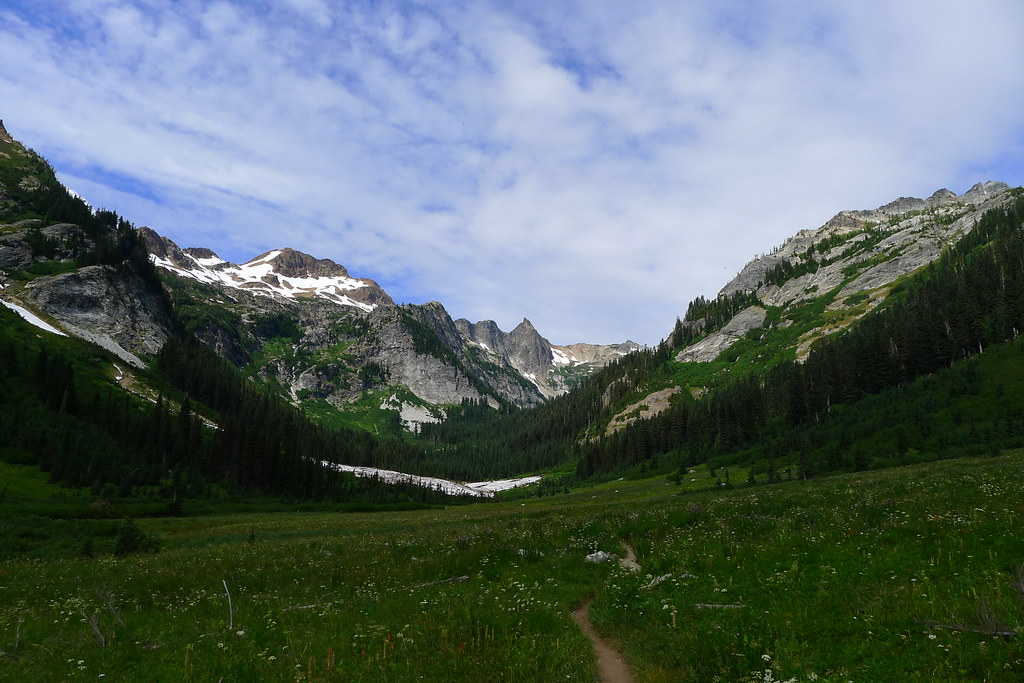
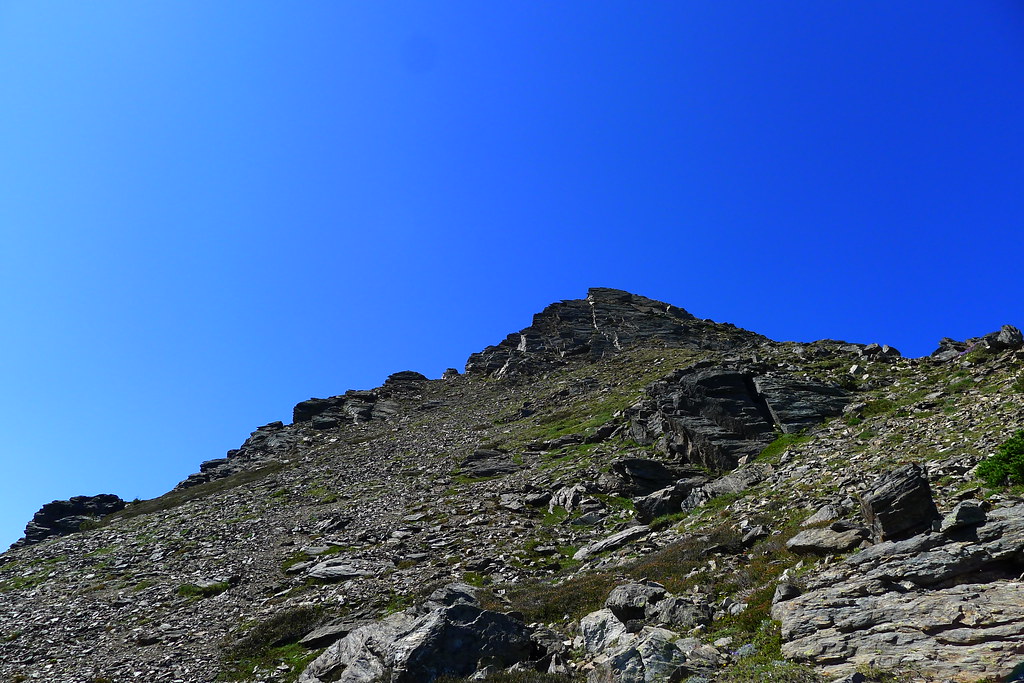
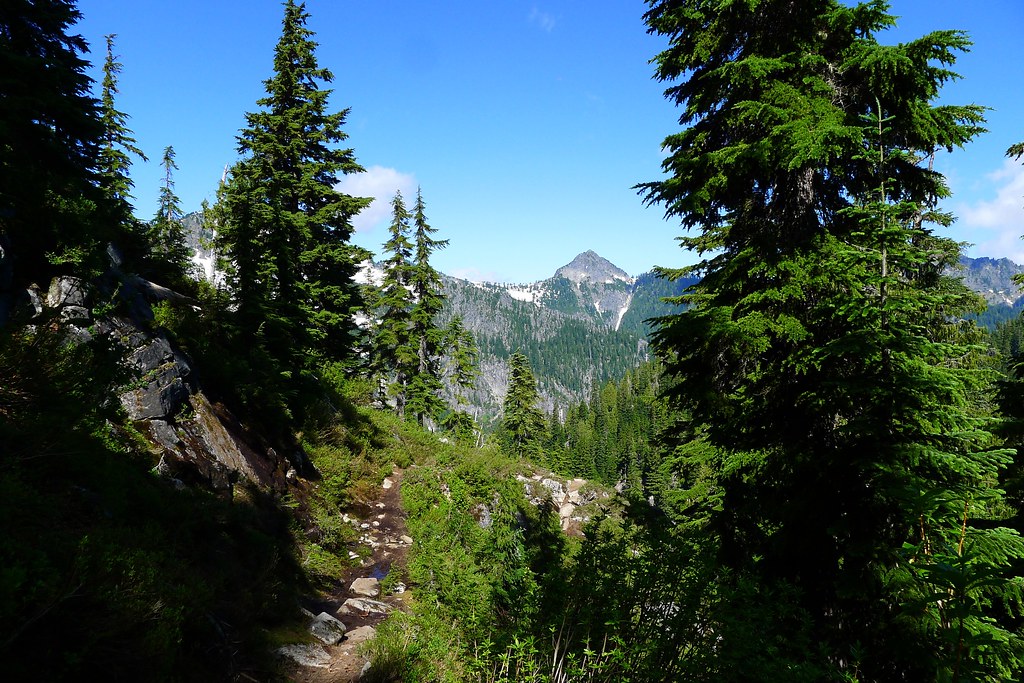
From Spider Meadows my route climbs up the first of many ridges. I was aiming for Spider Gap, a small pass between towering rock, carved by the small but powerful Spider Glacier. The trail is steep. The noontime sun strikes it hard. Trees are soon left behind in the valley bottom, and any shade left with them. An occasional cooling breeze gives reason to stop and gaze back down to the valley of Phelps Creek below.
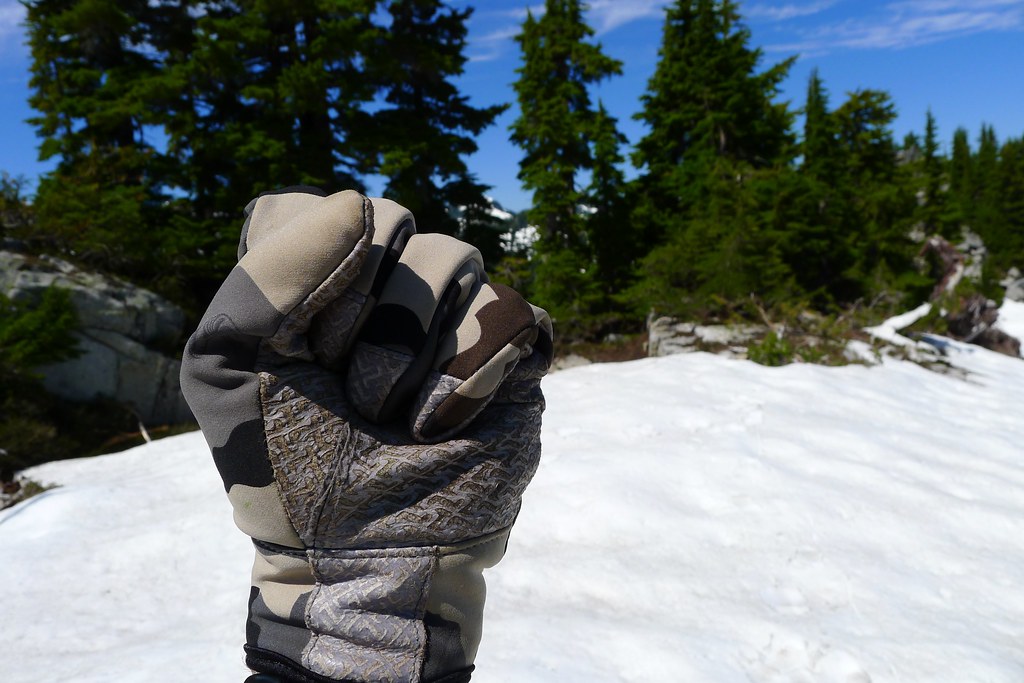
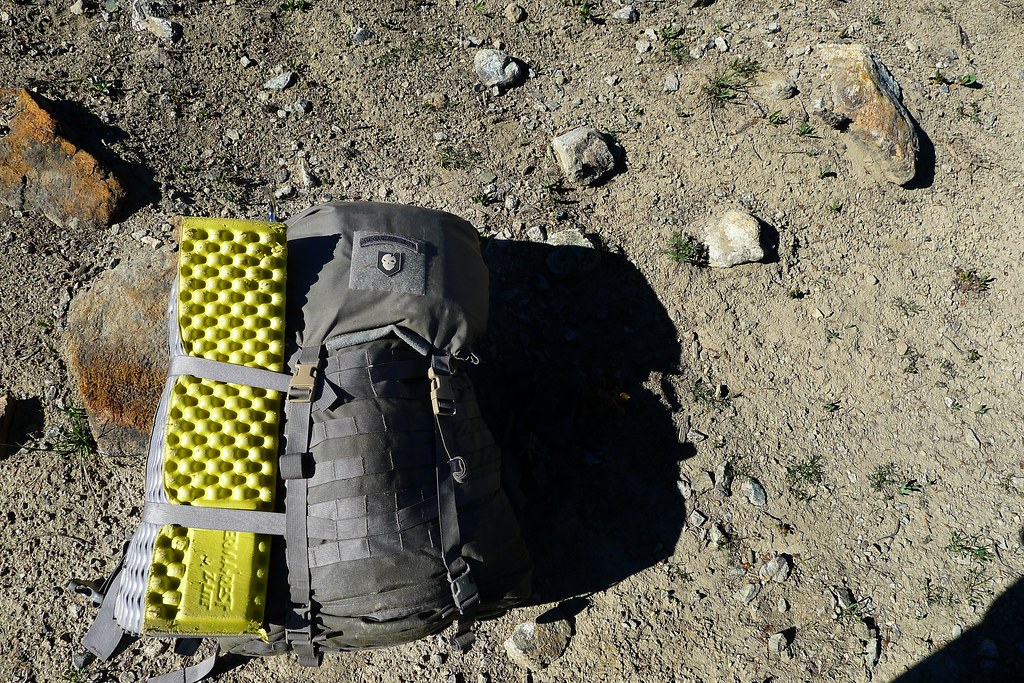
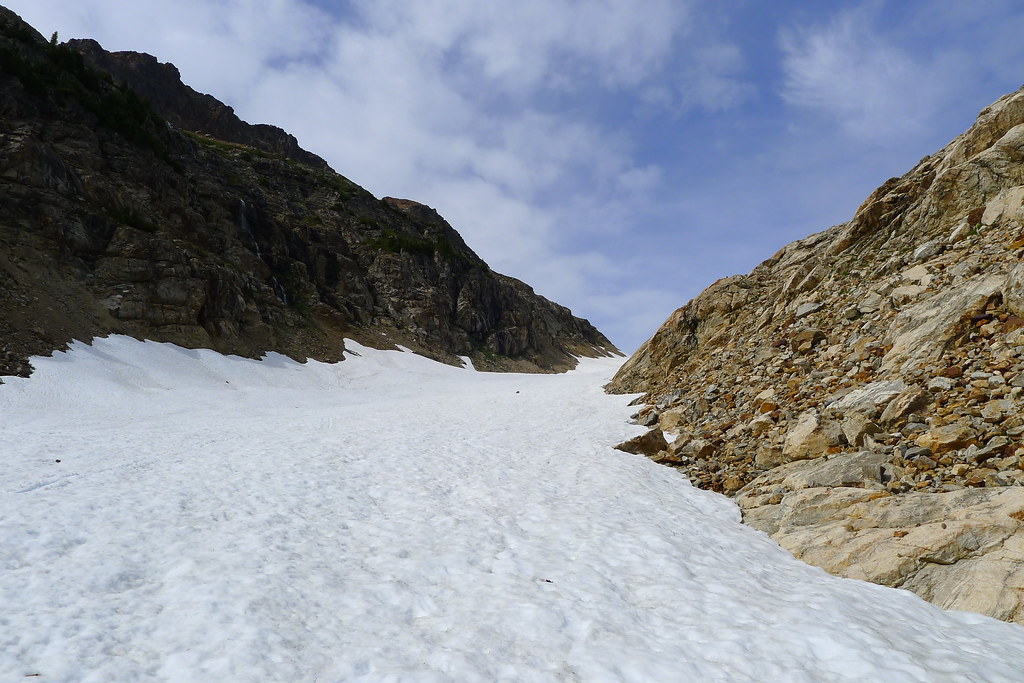
Soon I hit talus. Soon after, the source. Spider Glacier: narrow but long, and uphill to the Gap. I put my trekking pole into the pack, trading it for an ice axe. The year’s heavy snow and late melt-off means that the glacier is still covered with a coat of snow. I progress slowly, but the snow allows for a relatively easy walk up without the traction devices that would be necessary had I been walking on the ice itself. All the way up, I think to myself that I should have done the loop in reverse, so that I could glissade down the glacier rather than walk up it. (Later, I shared my observations with others I encountered on the trail. None seemed to agree. “You have a different idea of fun that I do,” said one.)
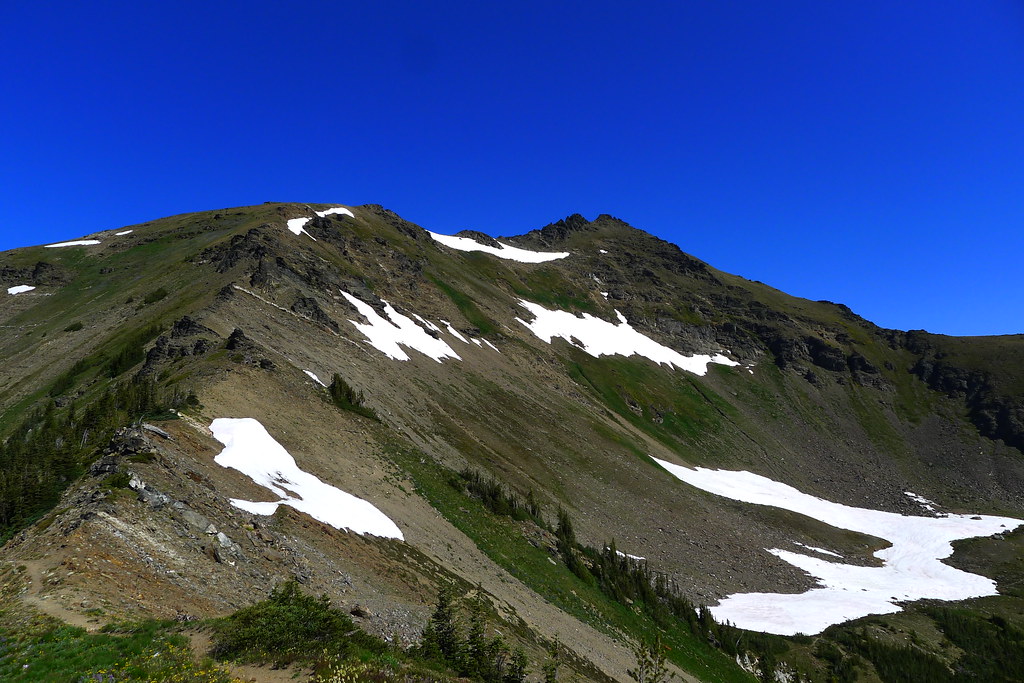
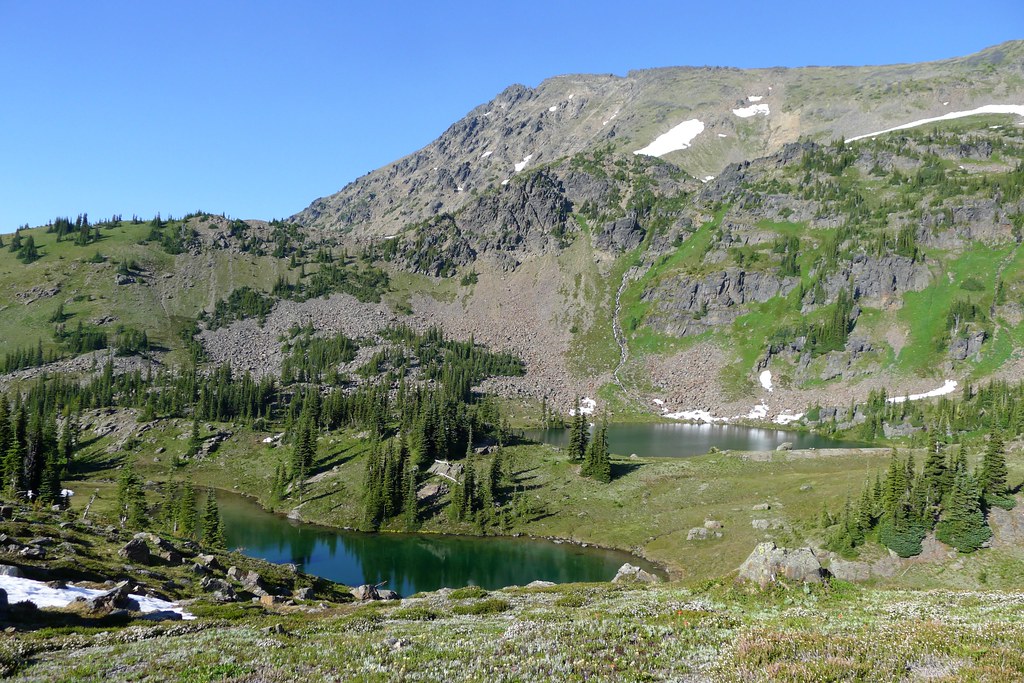
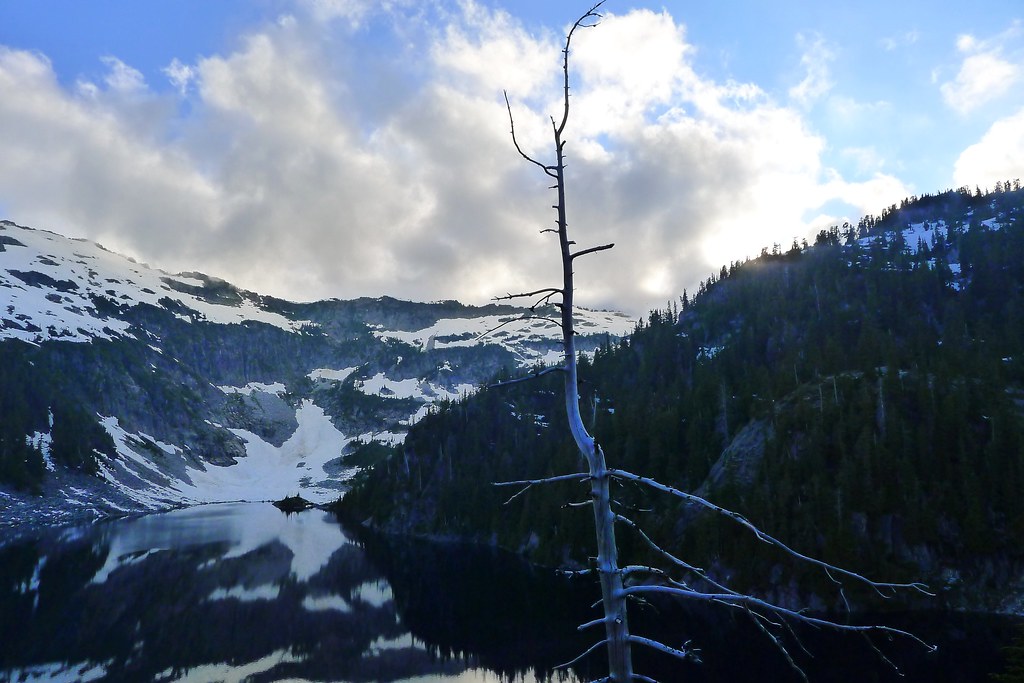
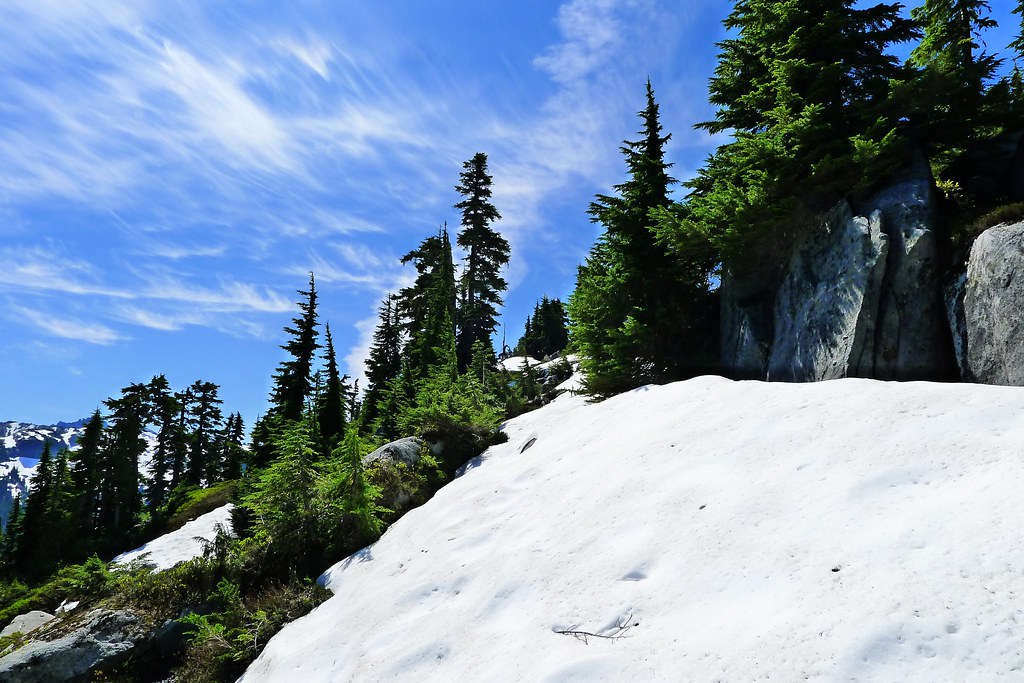
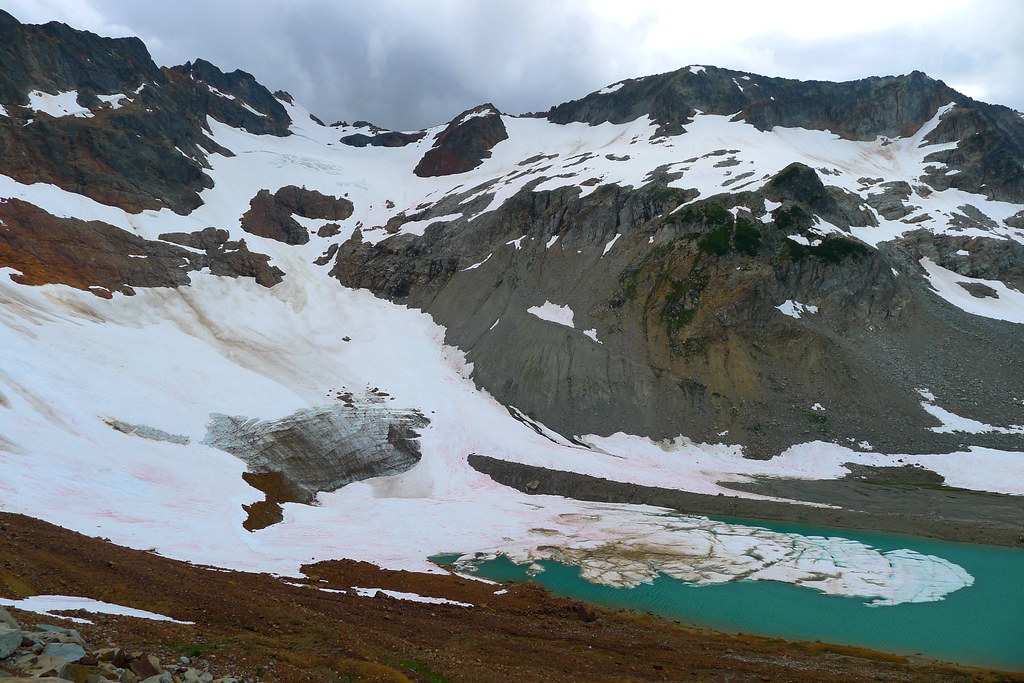
At the head of the glacier and the top of the gap I drop pack to hydrate and take in the views. This is surely mountain goat country – bare, carved rock and spiring peaks abound. Peering down the other side I spot the ever diminishing Lyman Glacier and the relatively young Upper Lyman Lakes. My goal for the day is the lower Lyman Lake, hidden in the trees beyond.

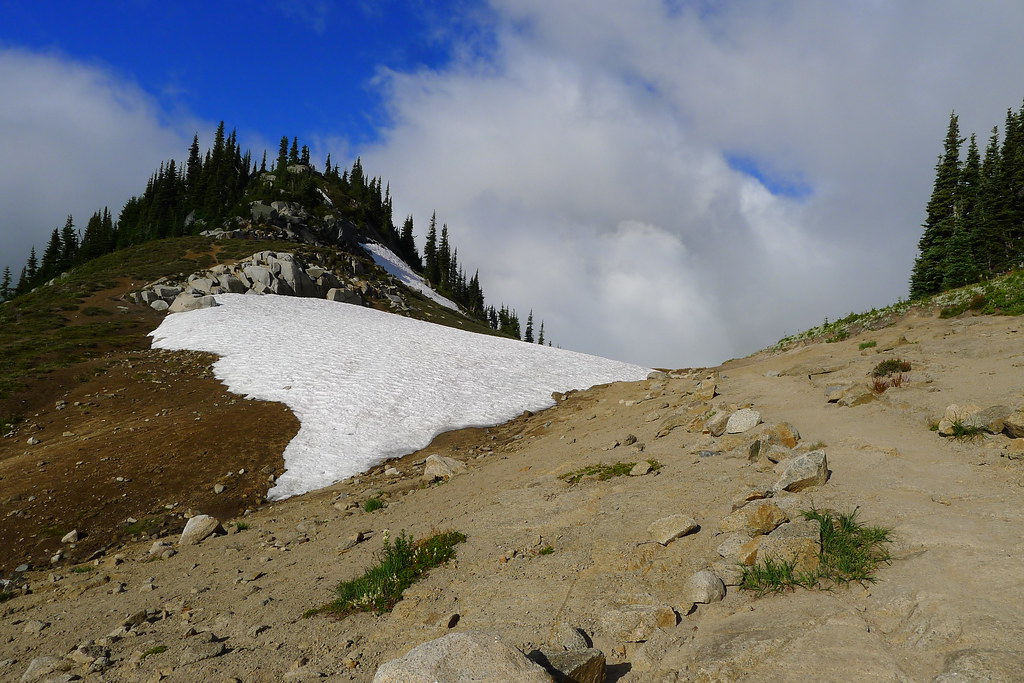
Snow fields occasionally cover the rocky north facing slopes on the other side of the Gap, but I can see faint outlines of a trail where the snow has melted, traversing the western slope of Dumbell Mountain. Ice axe still in hand, I make my way in that direction.
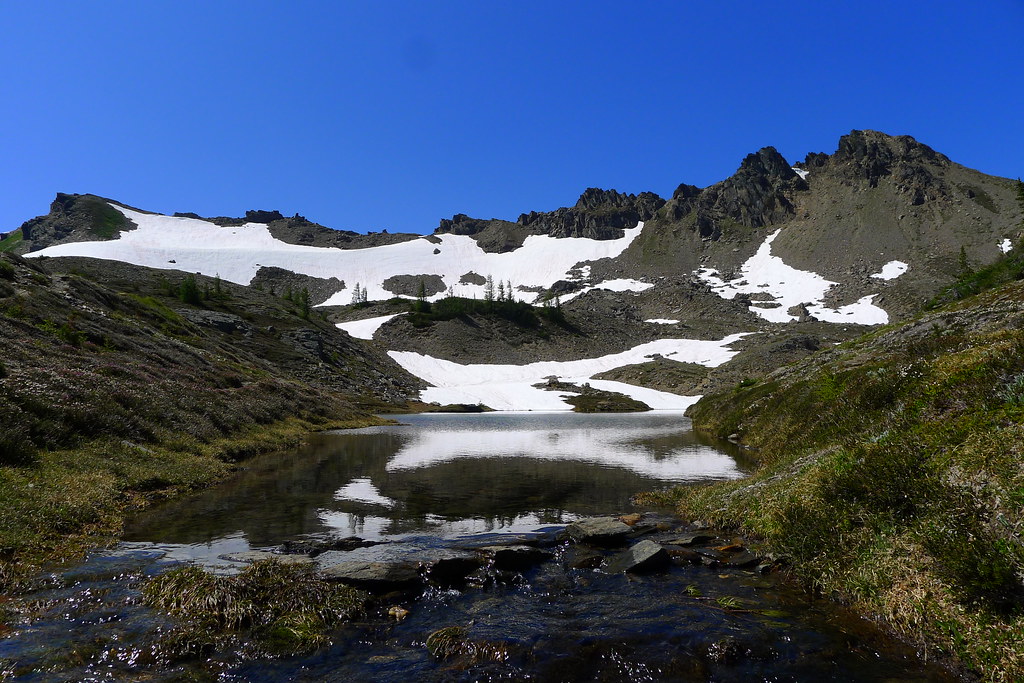
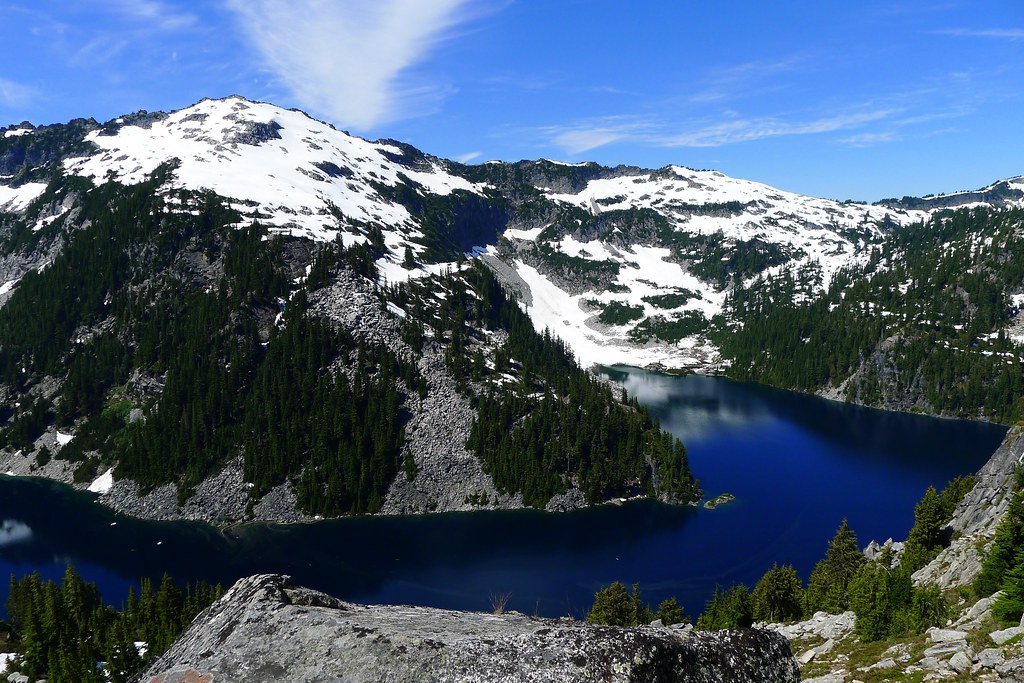
As I reach the opposite side of a field of snow, I find myself among scree and boulders. No longer can I make out the previously spotted trail. I peer ahead, but I cannot see its relief anywhere along the slope. I’m not sure what the trail was making for, anyways. When I did see it, it looked to keep the slope of the mountain, heading off perhaps to Rubin Creek on the other side. It is definitely not the obvious route given the topography. A few hundred feet below me I can see Upper Lyman Lakes, and the bare fields surrounding. It looks easy enough to just walk along the edge of the lakes, following the drainage down to lower Lyman Lake itself. Simpler than fooling around on the side of the mountain.
So I begin the descent, lowering myself down large boulders, occasionally loosing my footing as I kick loose small rocks that go tumbling down. After some time I reach another snow field, steep and perhaps forty or fifty feet down to the other side. I could go around it, but it has been slow going, making my way among the rocks. “Ballsy,” I think, but what’s the point of packing an ice axe if you aren’t going to really use it? I carefully step onto the snow, sit down, and push off.
The late season snow is hard packed and crusty, more like ice, which makes for a faster acceleration than I had planned. I cannot dig in with my heels or the spike of the axe enough to slow the descent. Nearing the bottom, I’m forced to roll over and arrest with the pick of the axe to avoid flying into the talus below. That done, and feeling quite pleased with myself, I merrily make my way down the remaining hundred feet to the lakes below. Reaching the bottom, I spot good tread, and even a few cairns here and there. I don’t know what route the path took down from the Gap – it certainly wasn’t the same as mine – but there it is.
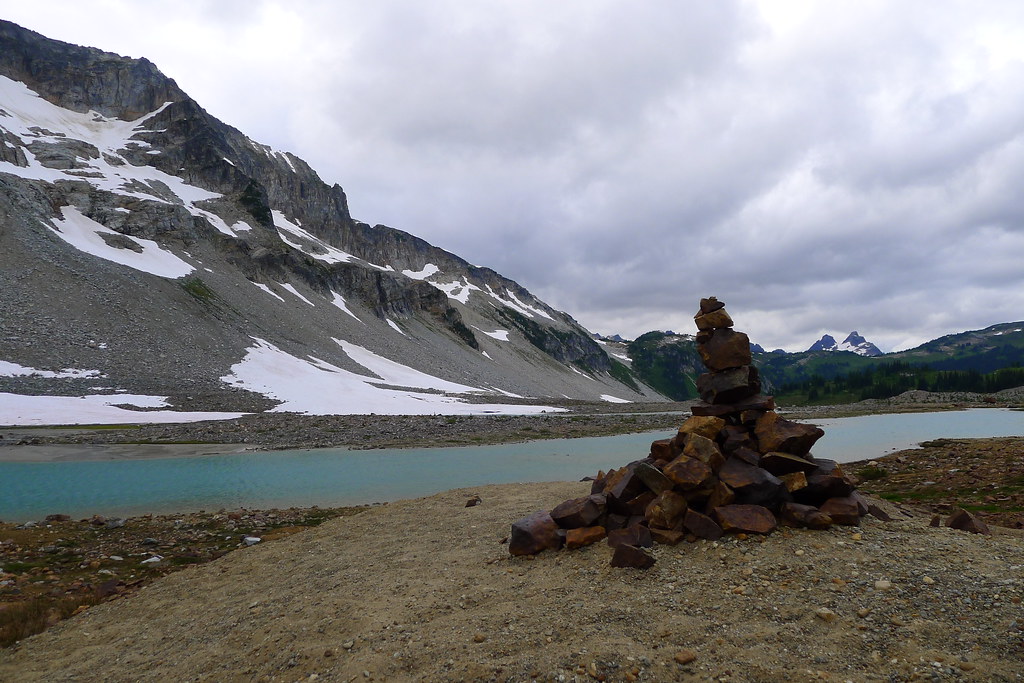
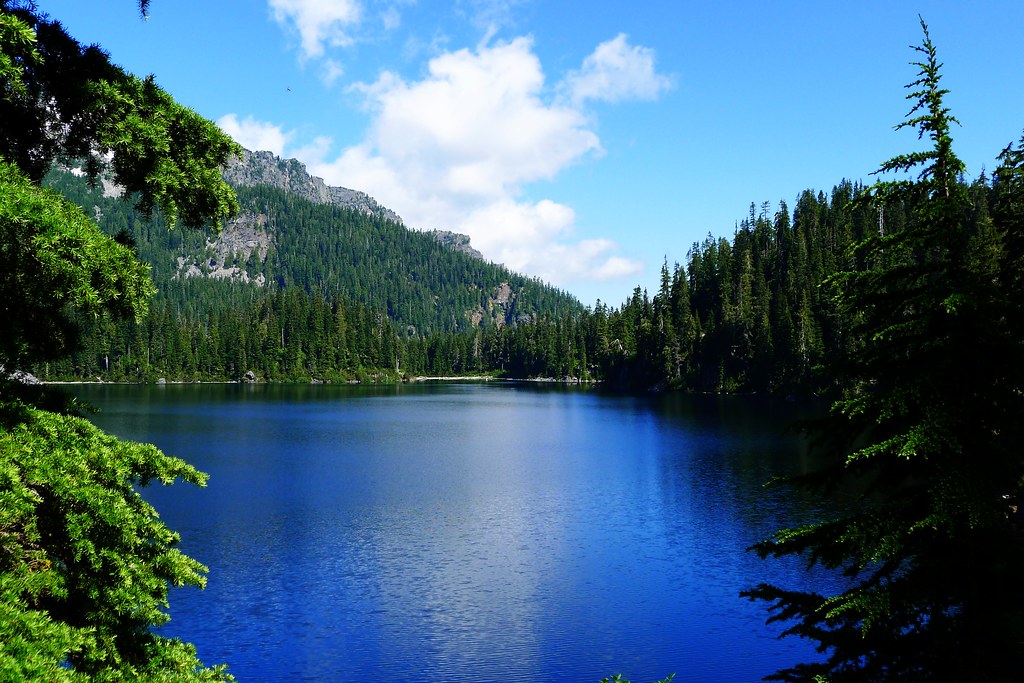
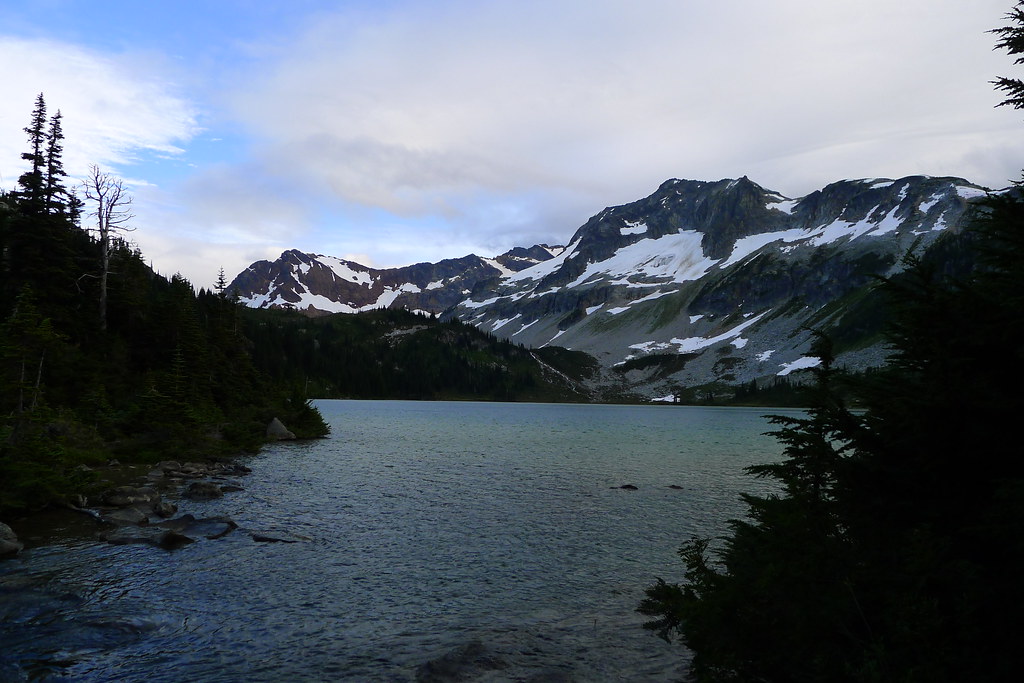
The tread soon turns to trail. Clouds begin to move in and, as I make my way to the lower lake, I feel drops of rain on my face. The trail descends into trees, reaching Lyman Lake itself soon thereafter.
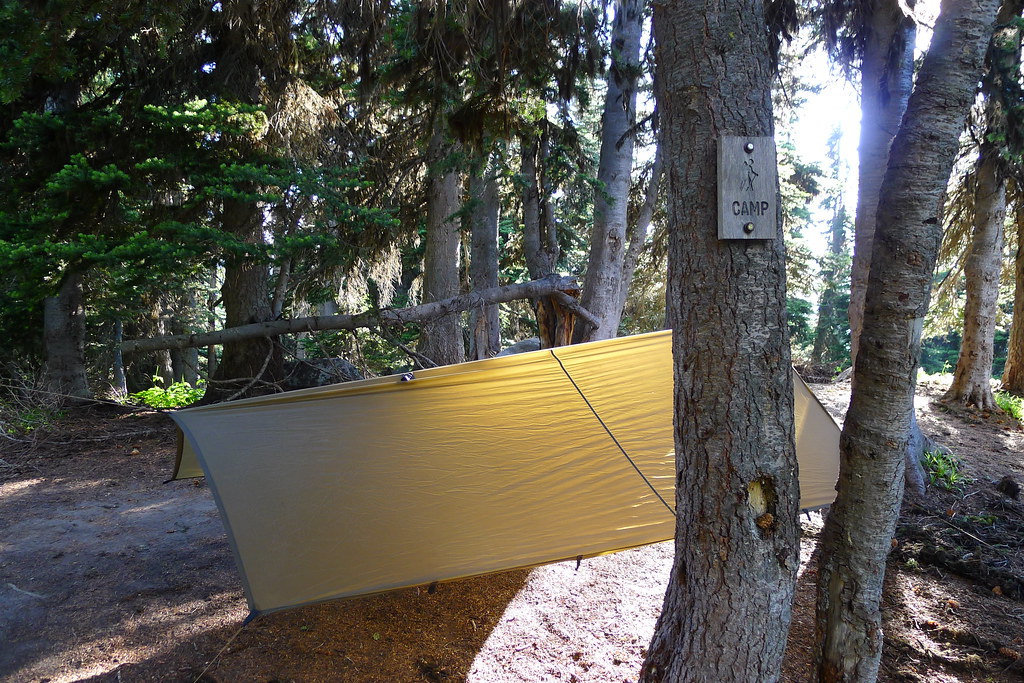
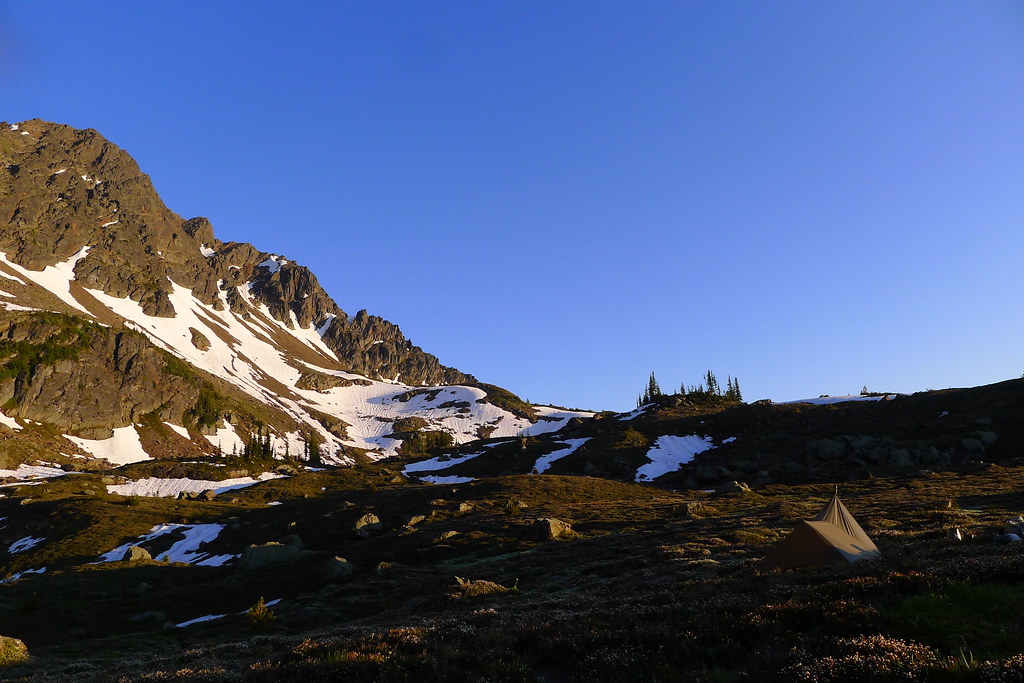
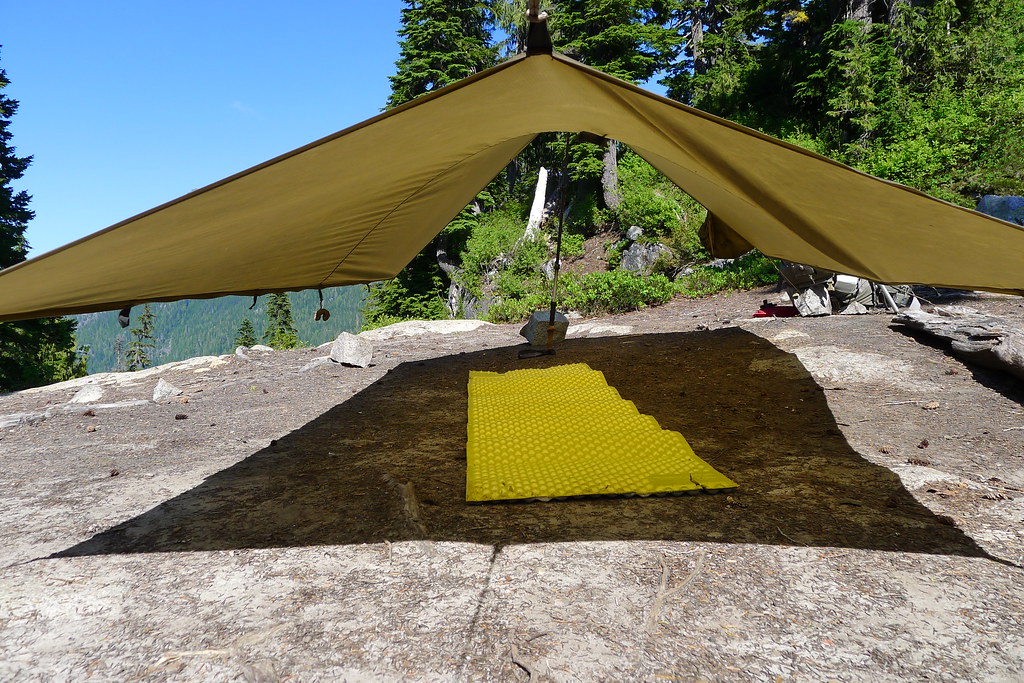
At the lake there are a few other people already camped. I find a likely looking spot and pitch the tarp before the rain increases. It does not last long, soon diminishing to only occasional sprinkles. That and the accompanying breeze are enough to keep down any bugs.
A downed Hemlock tree next to my camp provides plenty of slightly-damp wood. I break off a few branches and after three minutes of processing have enough to fire up the Inferno. After dinner I have plenty of fuel left over, so I boil some water for hot chocolate. The fire is still going as I finish the drink, allowing me to heat a bit of water for cleaning and then dry the pot before putting it away. Then to bed.
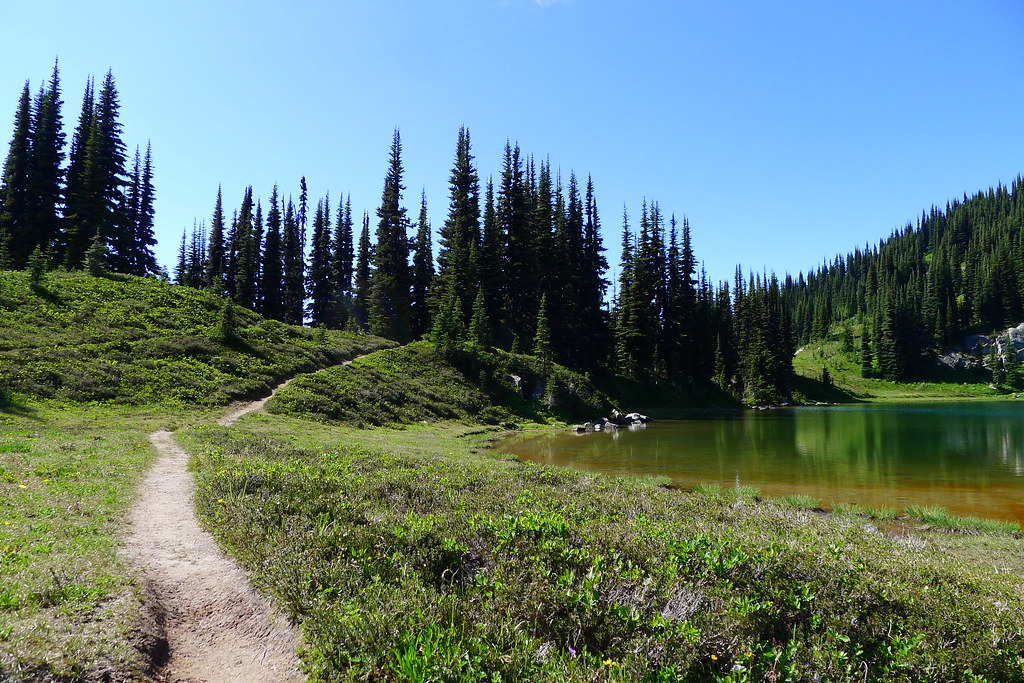
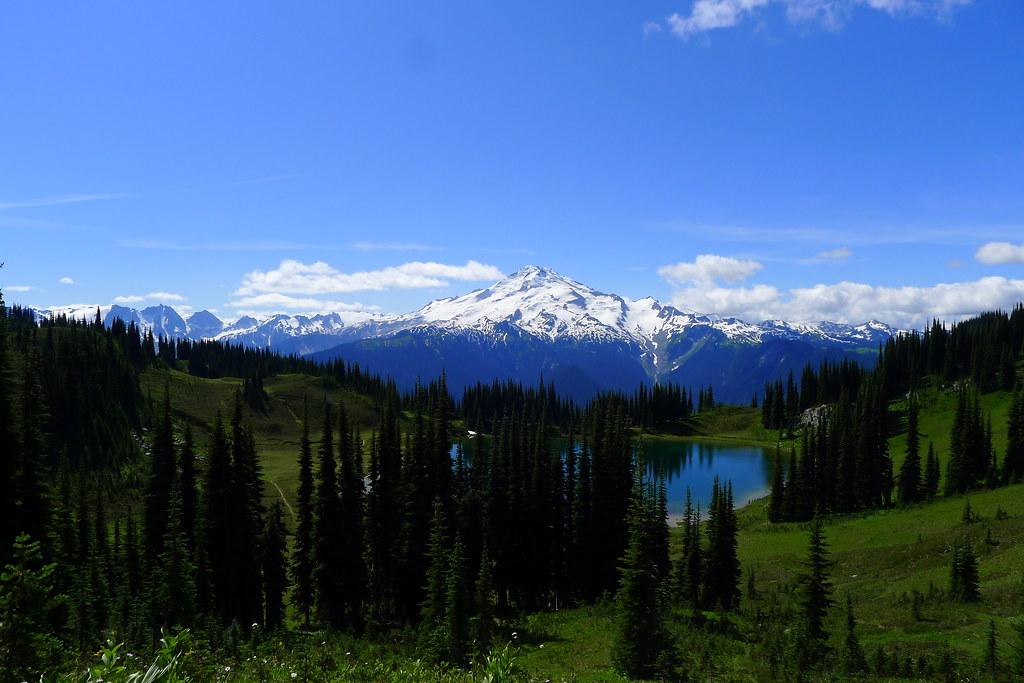
Image Lake
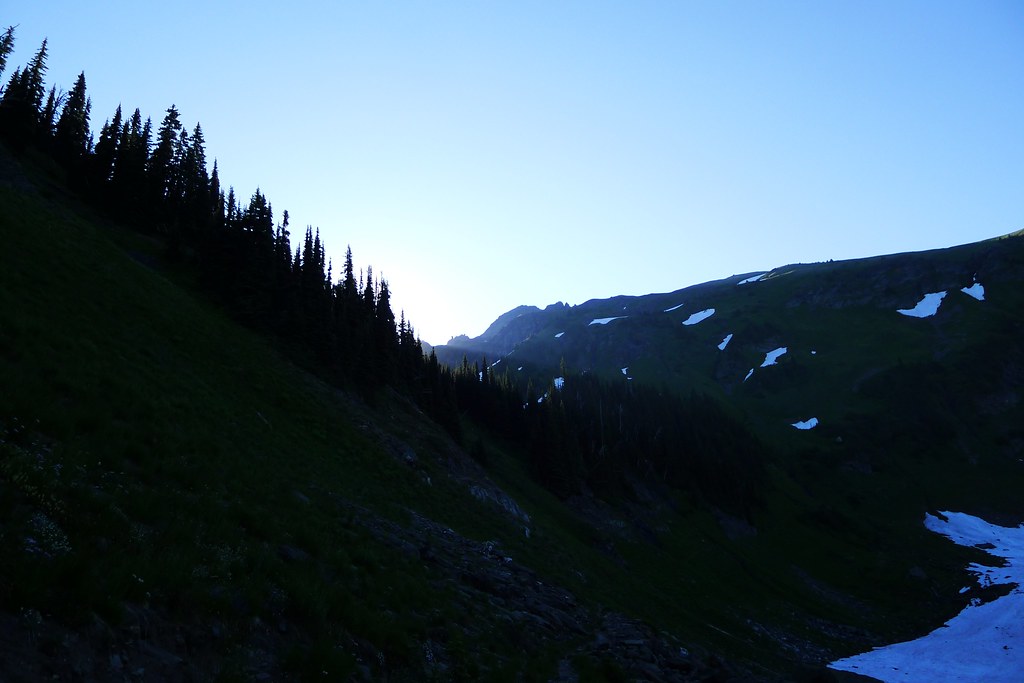
I rise early, break camp, and walk a couple hundred feet through the woods to the shore of the lake. Breakfast, and water, and then I’m gone. I want to get on the trail ahead of the others, whom I assume are doing the same loop as I. The trail winds along the shore of the lake for a short while before breaking off to head north and west. It climbs out of forest, into the meadow below Cloudy Pass. Here I spook deer and marmot, the latter collecting grass for their winter holes. (Already, the temperature dropped to freezing last night.) I spotted blue sky as I woke, but now Cloudy Pass is living up to its name. Looking back, I see clouds moving in to veil Lyman Lakes and the Gap.

Low clouds obscure the country by the time I reach Cloudy Pass. Descending to the other side I catch tantalizing glimpses of massive walls of rock all around me. I rather enjoy this hiking, walking through the mists in country that is new to me. It is fitting for the second day of September, being in stark contrast to the sweaty hikes under strong sun that defined much of August.
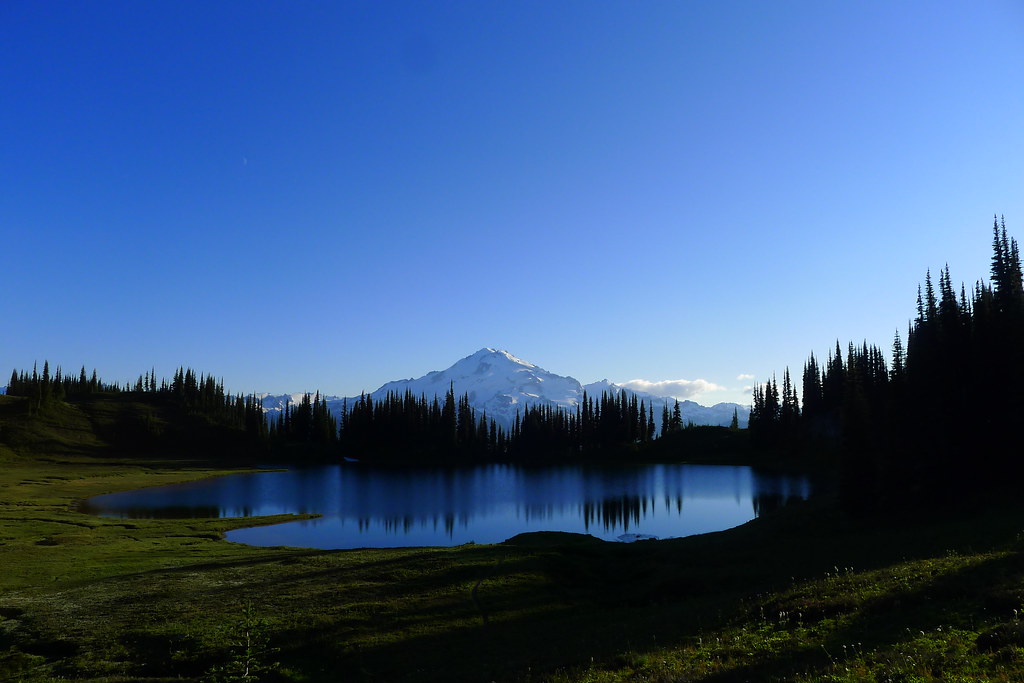
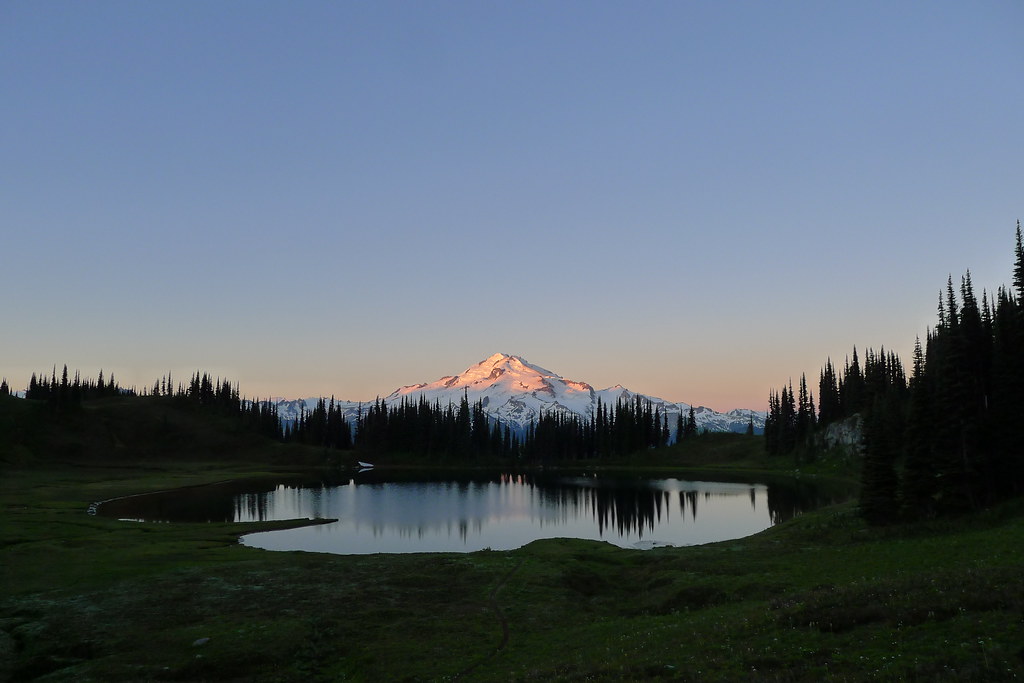
After Cloudy Pass, I avoid the descent all the way into the valley bottom just to rise again by taking a shortcut along the side of a steep ridge to Suiattle Pass. At the top of the pass I look forward and can see mammoth slopes of snow obscured by trees and clouds. Glacier Peak is in front of me, but still only allowing glimpses of its noble flanks. I step onto the Pacific Crest Trail and descend lower into thick trees, reaching the junction with the trail to Miners Ridge. Here the classic loop continues south along the PCT, but I intend to make the detour to Miners Ridge and spend a night at the famed Image Lake. There, the summit of Glacier towers over the lake and is reflected in the still waters, giving the lake its name.
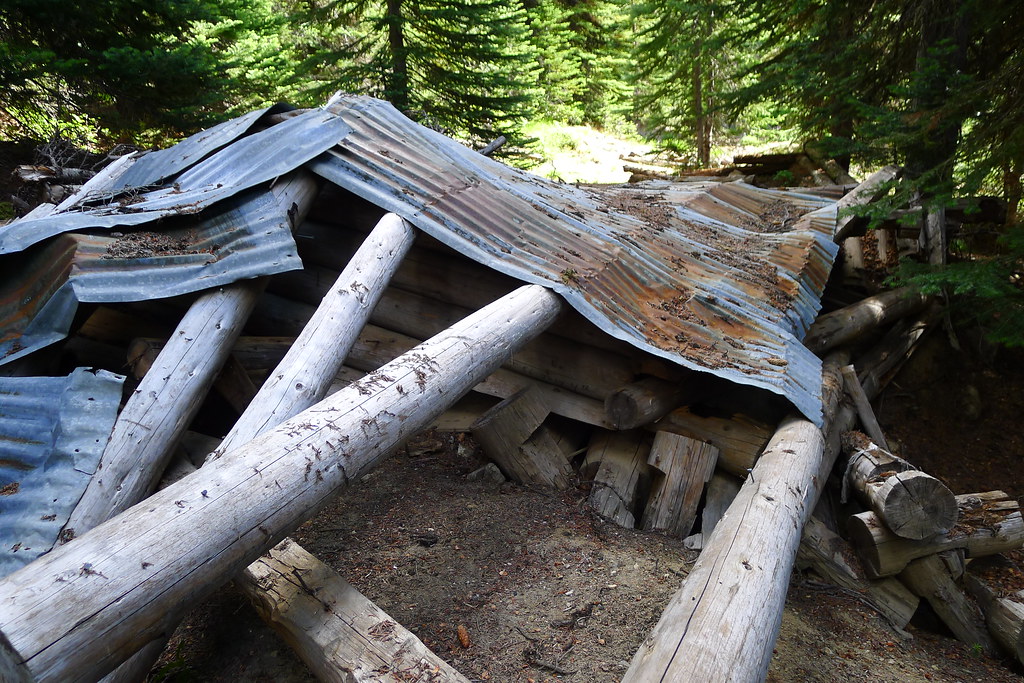
It is late morning now. The sun has begun to burn off the clouds as I start the climb to the top of the ridge. Mining artifacts from the sixties liter the trail, making for interesting archaeological pauses. (The ridge was largely saved from being destroyed by copper mining thanks to William O. Douglas.)
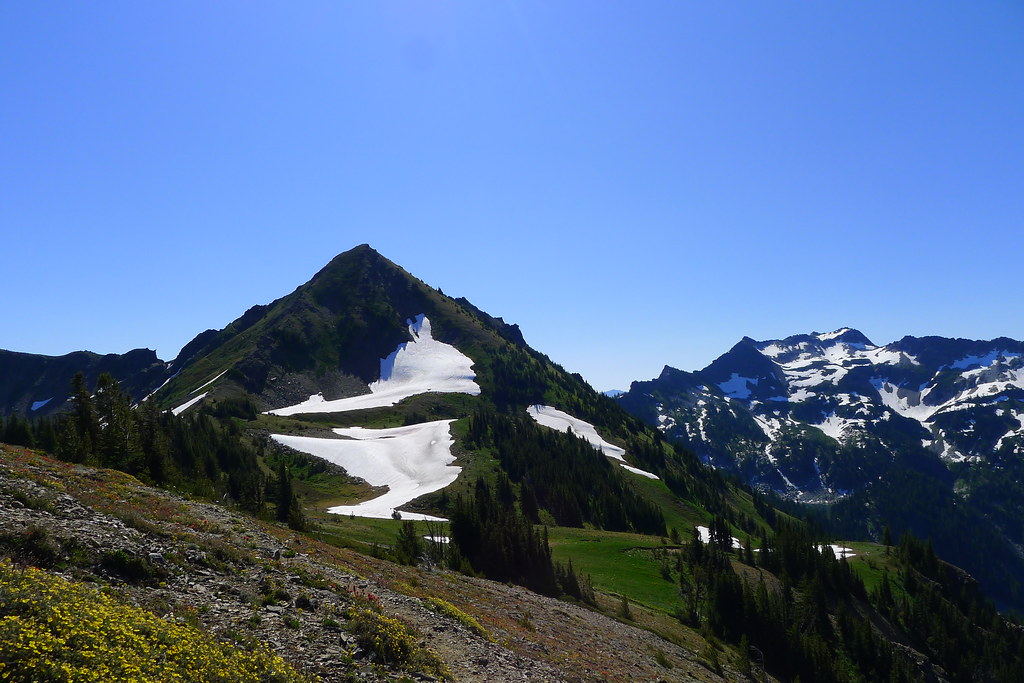
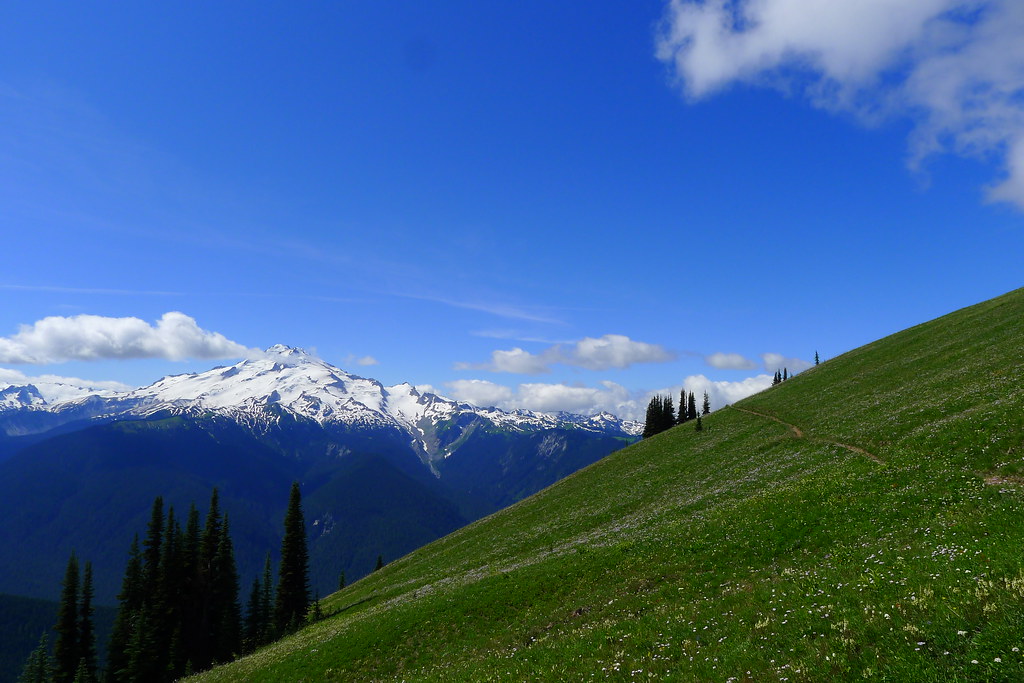
As the trail climbs, the day warms, and the trees are once again left behind, revealing meadows which carpet the upper slopes of the ridge. The clouds are all but gone now. Under a blue sky, green fields roll out before me and, to the south, Glacier Peak, the Wilderness Sentinel, stands in all its glory, surrounded by its court of lesser peaks.
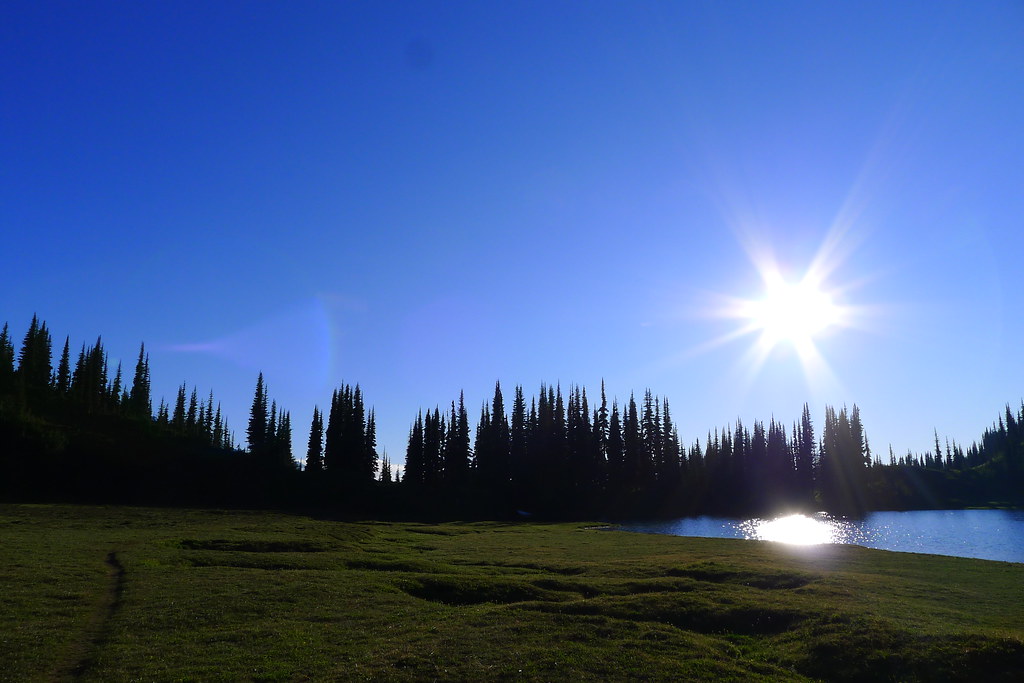
The trail leads along the southern face of the ridge and descends to the small basin that holds Image Lake. There are good camps just south of the lake, where I drop my pack. It is just shortly after noon now, but I plan to spend the night here so that I may catch the sunrise over the lake the following morn. The rest of the day is spent exploring the basin and taking in the views.
Buck Creek Pass
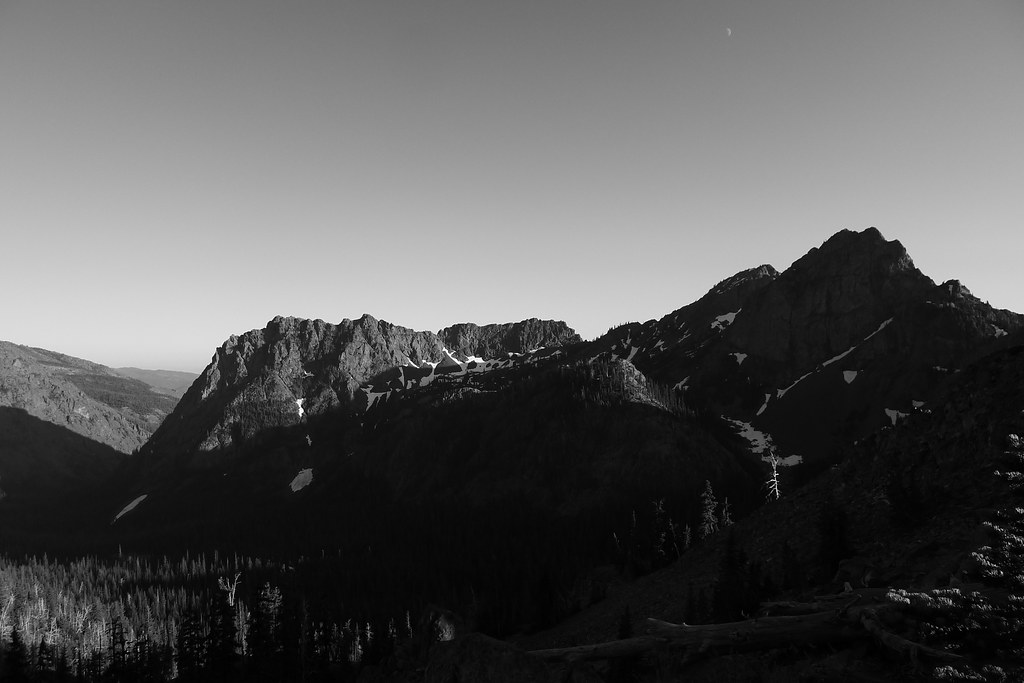
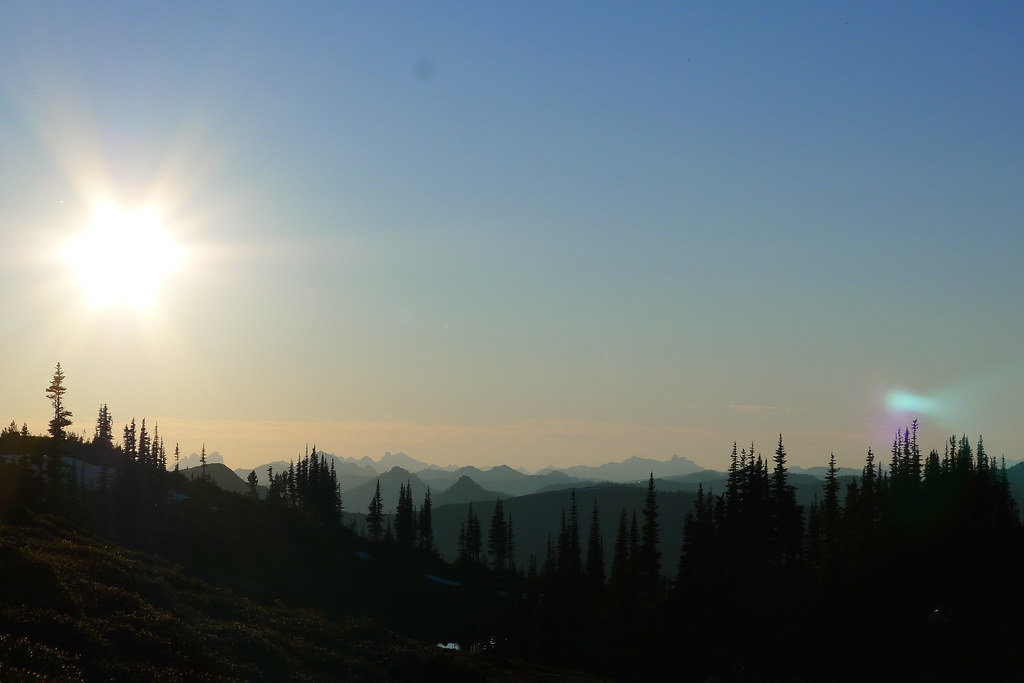
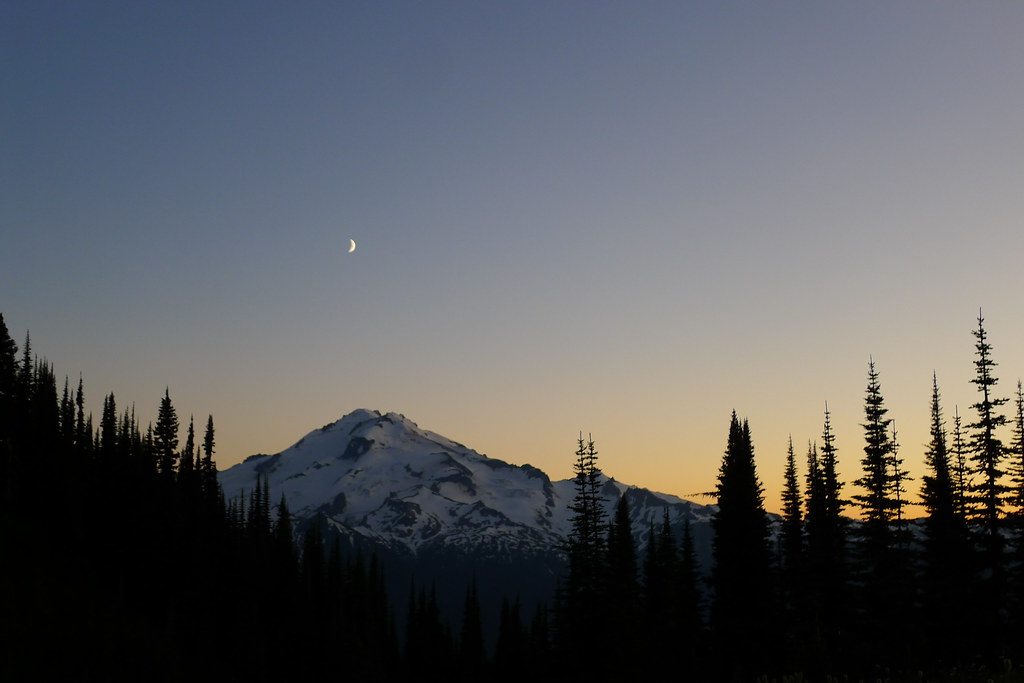
I rise at half past five to a clear dawn. Down comes the tarp, and I throw my things into the pack and walk slightly up the ridge on the north shore of the lake. As the sun rises, it sets fire to the summit and upper glaciers of the peak. I eat breakfast as the show progresses, and soon the whole of Glacier is red with the dawn. That’s my cue to leave. I pack up again, and retrace my steps east along the southern slope of Miners Ridge. There are plenty of deer out browsing, or perhaps they are just watching the sun rise.
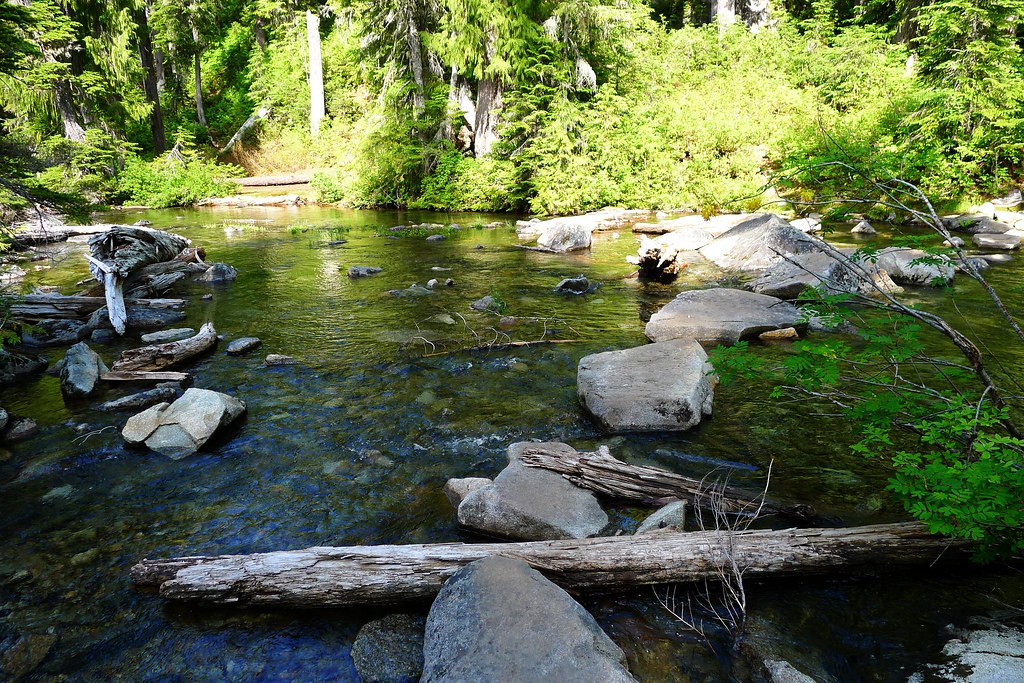
At the bottom of the ridge I come to the end of my detour and once again gain the Pacific Crest Trail. There, the trail descends further to Miners Creek, re-entering thick old growth where the morning light has barely yet penetrated. After the creek is crossed, I leave the PCT and head south, aiming for Middle Ridge and Buck Creek Pass.
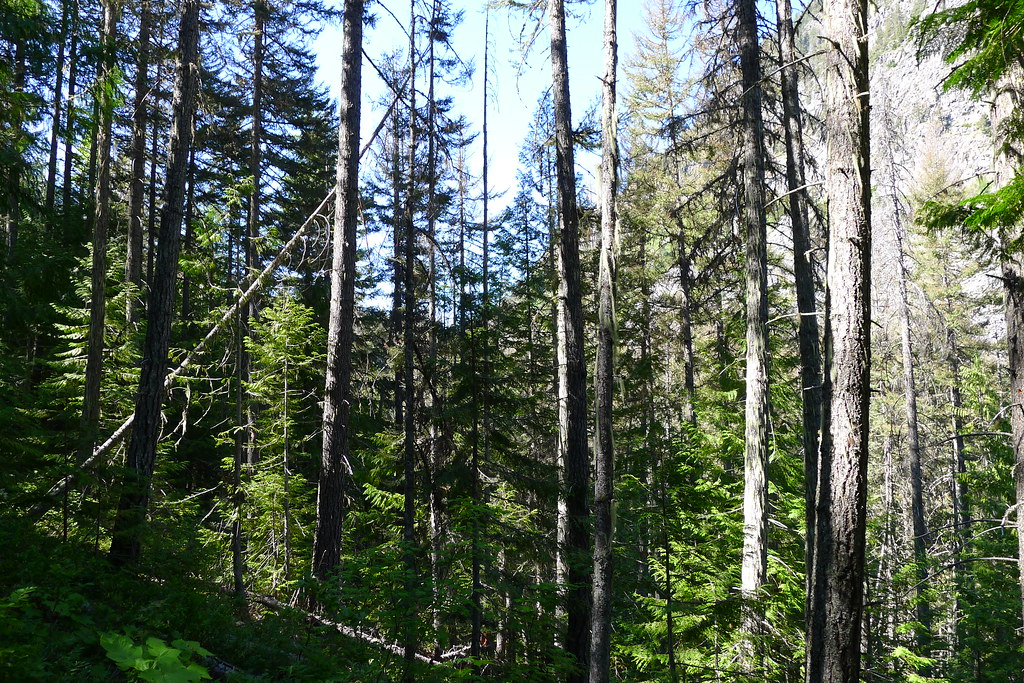
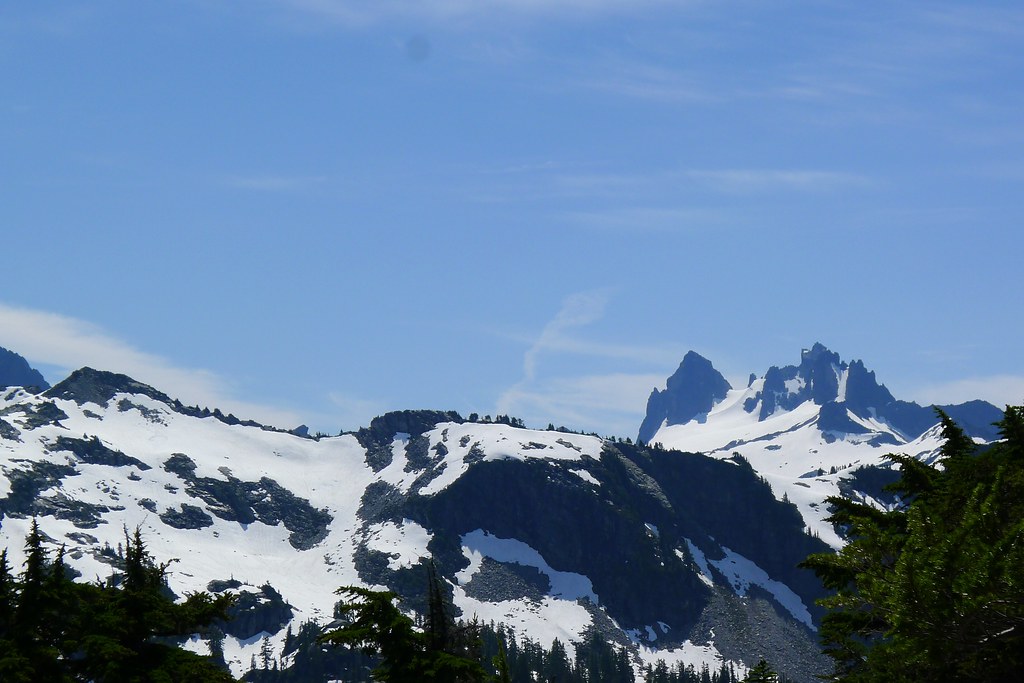
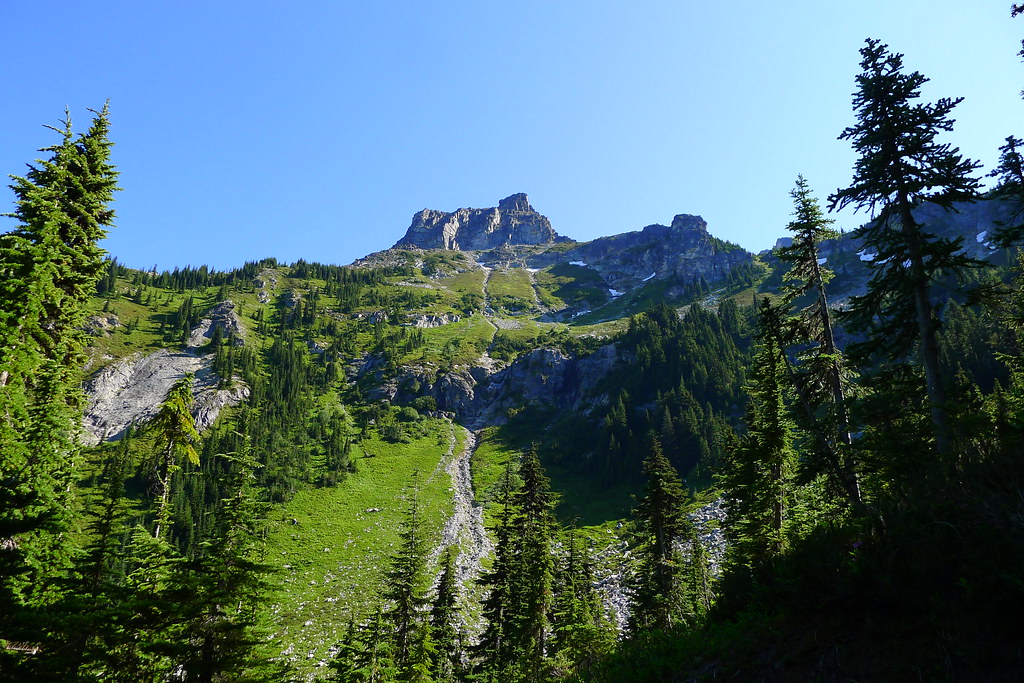
I spend the rest of the morning in the old growth forest. The trail begins to climb, soon opening up to expose the avalanche-scoured slopes of Middle Ridge. The shady trees are left behind just as the sun reaches its peak. Views of the aptly named Fortress Mountain dominate the route.
I stop for lunch at the top of Middle Ridge. The bugs, which have hitherto not been bothersome on this trip, encourage me to cut the break short. I descend once more, this time steeply into the valley of (not so) Small Creek. There is shade down here in the forest. I drop my pack again, this time for a more relaxing break.
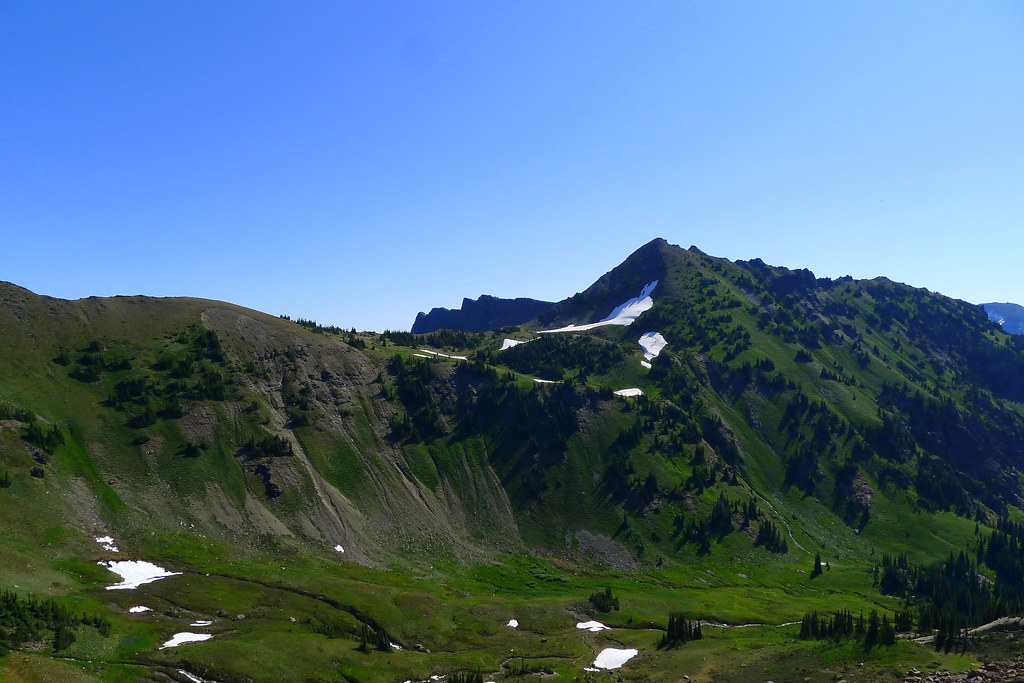
There is one more climb ahead of me: up steep, dusty slopes to Buck Creek Pass, the last high point of the loop. It’s a slog to get up there under the early afternoon sun, but, once gained, the pass offers close-up views of the eastern slopes of Glacier, rising steeply up from the deep Suaittle valley. Flower Dome, Helmet Butte and Liberty Cap surround the meadows here at the pass.
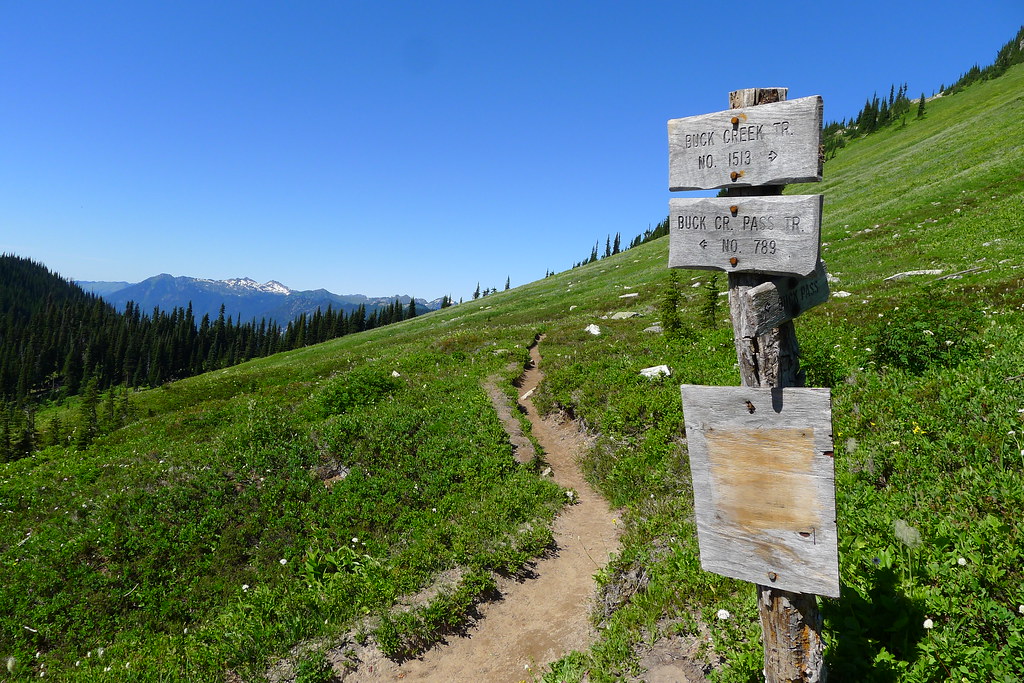
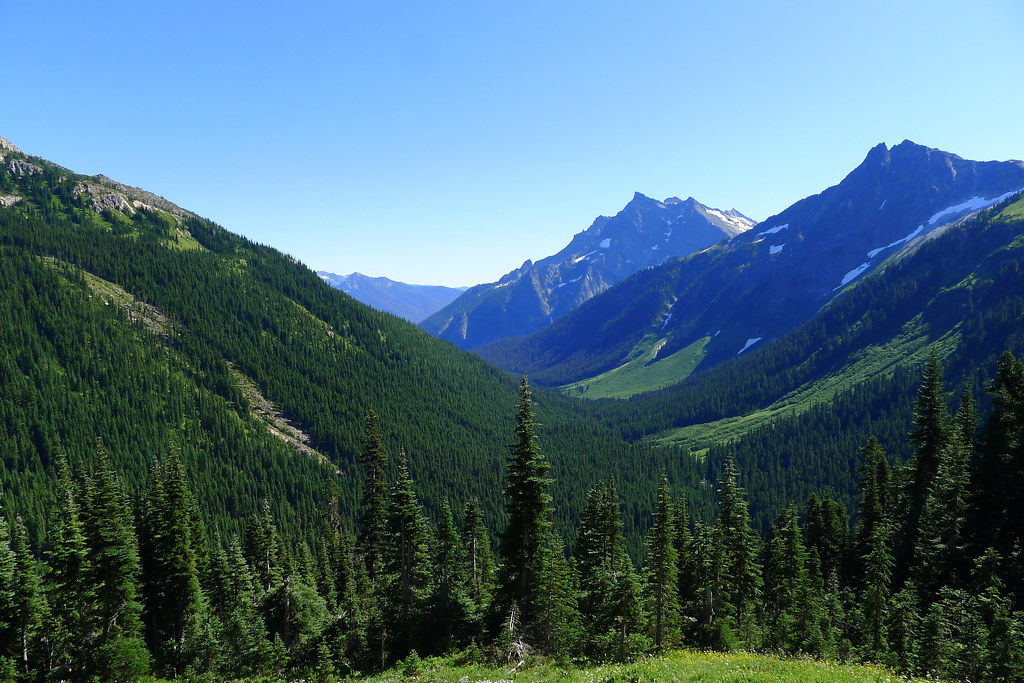
I see two groups camped at the pass, but it is early yet, and after yesterday’s short day I want a longer hike today. The trail leads down to Buck Creek. I follow, into the last valley.
The trail chooses a long and gradual way down to the valley bottom. It is the weekend now. I pass many people on the way up, likely looking to sleep at the pass. I think that it will get a bit crowded up there tonight, and I’m glad that I chose to come down to the cool and largely empty valley.
It’s late afternoon and I figure that I’ve come seventeen miles or so from Image Lake. Another four or five miles and I’ll be at the Buck Creek trailhead, which I don’t want to reach until tomorrow. Branching off the trail, I head close to Buck Creek and soon find a clearing large enough for my tarp. I decide on an early dinner, followed down with the last of the trail mix. Afterwards I entertain myself with a fire built up around the stove.
Trinity
The night is not as cold down in the valley as it was in the high country around Lyman and Image lakes, but it still gets down close to freezing. I wake early, shivering. The sun won’t reach down here for a few hours yet. Quickly, I complete the morning routine and regain the trail, looking to generate some heat with movement.
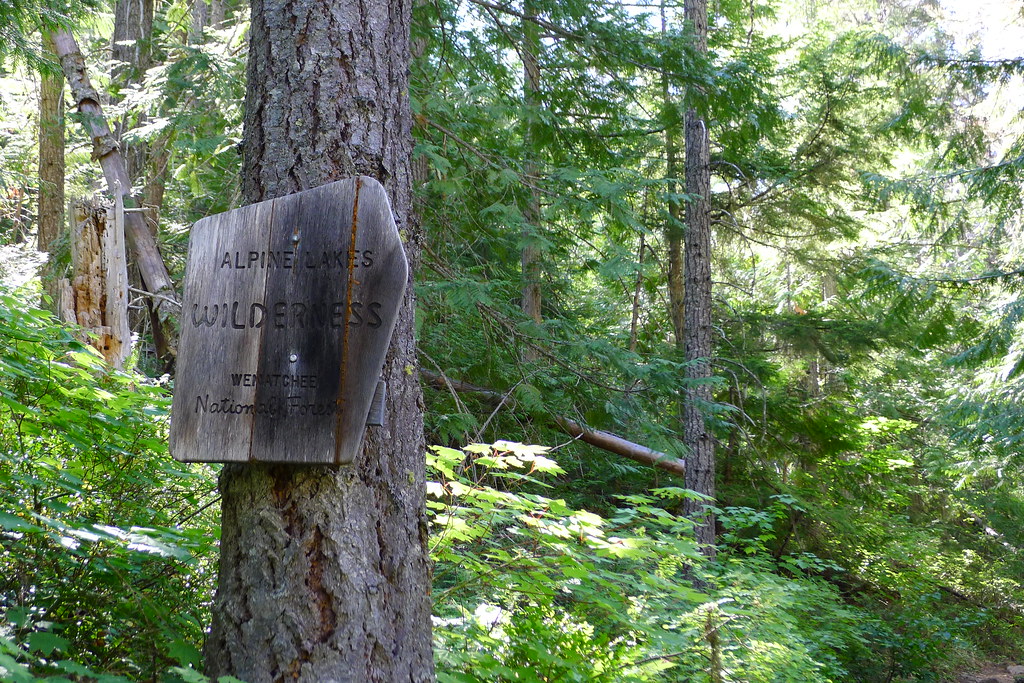
I’ve only been a couple hours on the trail when I reach the trailhead outside of the small town of Trinity (which looks to consist of three buildings). I’m not yet done with the loop – three miles remain, on dirt road, until I reach the Phelps Creek trailhead. I shed a few layers at the Buck Creek trailhead, which the sun has begun to warm, and meet a man preparing to take a mule train up to the pass. Then, it is the dusty road. An hour later I am back where I entered the Wilderness, satisfied in my experience of these mountains.
The secret of the mountains is that the mountains simply exist, as I do myself: the mountains exist simply, which I do not. The mountains have no “meaning,” they are meaning; the mountains are. The sun is round. I ring with life, and the mountains ring, and when I can hear it, there is a ringing that we share. I understand all this, not in my mind but in my heart, knowing how meaningless it is to try to capture what cannot be expressed, knowing that mere words will remain when I read it all again, another day.
As always, there are more photos on Flickr.