You are currently viewing all posts tagged with writing.

A Better Clipboard

One of the things I learned over the years at 2 Meter Critical Mass and other radio events is the value of a good clipboard. The Field Message Pad or Field Memo Pad or even the Field Notebook are great for my own notes, but when responding with a radio on behalf of an agency, said agency will probably have official log and message forms, and those forms will probably be on 8.5” x 11” paper. A clipboard is an important tool for making those forms usable in the field.

Many people end up with a Gibson approved Saunders Storage Clipboard. They’re nice, but too bulky for my tastes. I use a WhiteCoat Clipboard.

These clipboards are hinged, allowing them to fold in half. They are intended to be folded so that they fit in the pocket of a lab coat and protect patient information from shoulder surfing. But when folded they also fit well into a decent sized cargo pocket, or larger jacket pockets. Folding the clipboard also provides some protection to the paper itself. Even if you’re just putting it in a pack, it’s nice to be able to fold the board and not worry about the paper becoming wrinkled.

The WhiteCoat Clipboard is available with different quick reference medical stickers. None of these are extremely useful to me. I went with the EMT Edition because it has a scale for estimating pupil size, which is something I have struggled with in the past. I’ve considered printing my own stickers to put on the board – perhaps with some kind of radio reference material – but I haven’t decided what information would be useful to include.

A simple rubber band is available to secure the bottom edge of the paper. This is critical to one’s sanity in windy conditions. A pen clip to keep your Fisher Space Pen M4B close to hand completes the package.

The system is overpriced, but I am very happy with its functionality.

The Field Memo Pad

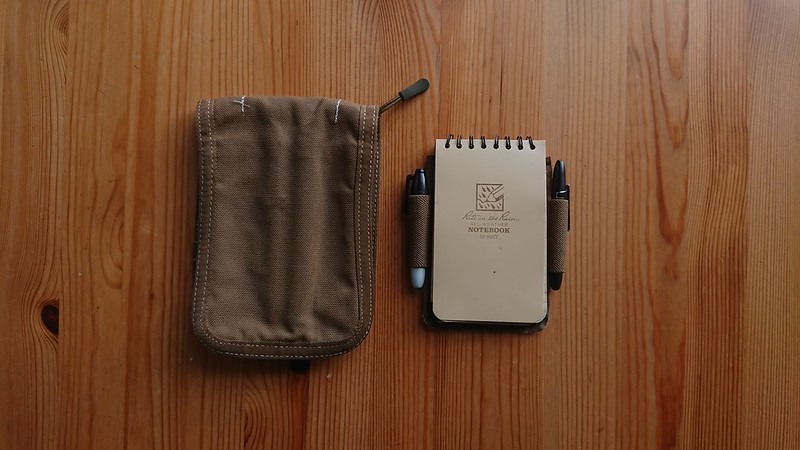
While I still believe in the supremacy of the 4” x 6” Field Message Pad, there are times when something smaller is wanted. Perhaps you need something more pocketable, or you have little room in your bag, and you only need small sheets for incidental notes. For these situations I use the Field Memo Pad.

Field Memo Pad

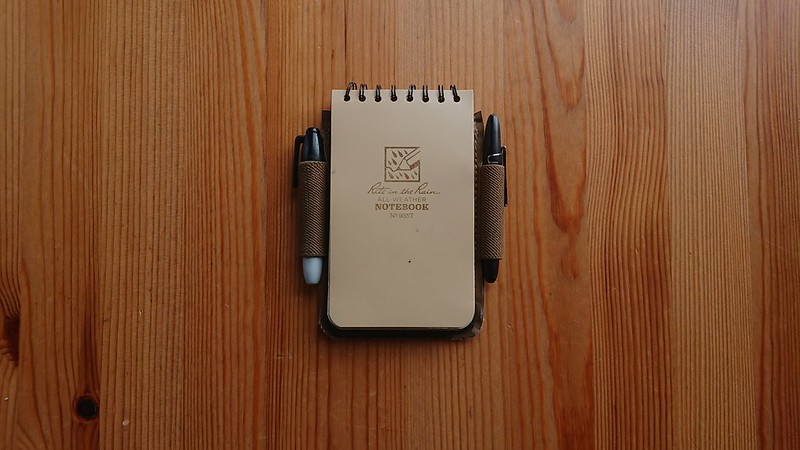
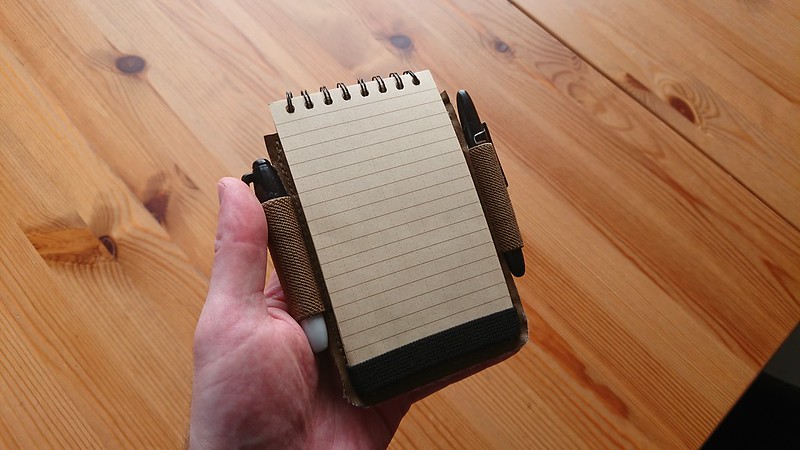
The Field Memo Pad is built around the Mil-Spec Monkey Notebook Cover Plus. This holds 3” x 5” top-bound spiral notebooks, such as the Rite in the Rain 935T. These notebooks are large enough for incidental note taking, and slide easily into a pocket. “Slide” is perhaps not the correct word when the notebook cover is added. The cover is made of Hypalon, which is quite tacky. However this is a feature, not a bug. When you are seated or kneeling and using your leg as a writing surface, the tackiness prevents the pad from slipping around, which is actually quite useful.

Field Message Pad vs. Field Memo Pad

Field Message Pad vs. Field Memo Pad

The rear flap of the notebook slides into a pocket on the front of the cover. An identical pocket sits on the other side of the cover. I use this rear pocket to hold a few business cards and a universal device reset tool (it’s also a great place for your Bogota Pi picks). An elastic band across the bottom of the cover marks your current page, making it easy to flip to wherever you left off when opening the notebook. Two elastic bands on either side hold writing instruments. I most often use these to keep a Fisher Space Pen 400B Bullet with clip and a black Sharpie Mini, though full-sized writing tools will also fit. The spiral binding of the notebook sits above the top of the cover, allowing the notebook to be opened and folded over completely.

Field Memo Pad

The Field Memo Pad provides everything needed for an all-weather analog data dump, in a pocket friendly format.

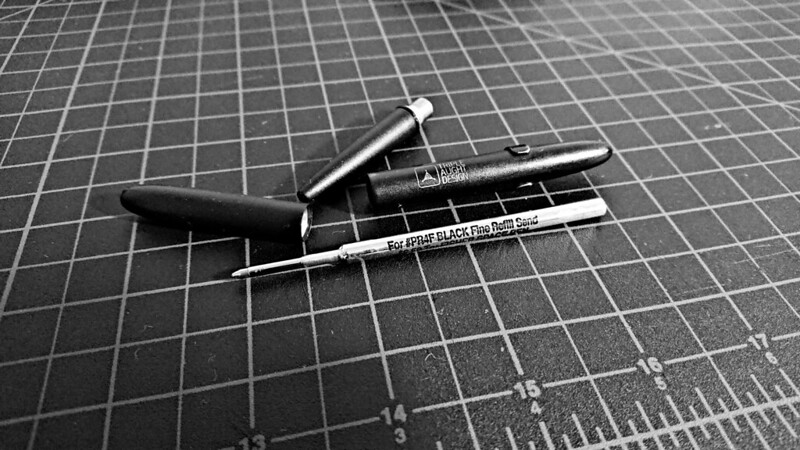
Use #361 for the Thyrm CellVault is storage of spare ink cartridges.

I keep half a dozen of the aforementioned fine Fisher cartridges (black, red, and blue), as well as a Parker Ballpoint Refill and a Parker Gel Refill in a standard CellVault. Keeping small, infrequently used items like that organized is key for future sanity.

I prefer to use the fine cartridge in my Fisher Space Pens.

The difference in line width is negligible – only noticeable when compared side-by-side – but the fine cartridge writes more smoothly and avoids the build-up at the tip that often occurs when the medium cartridge is unused for some time.

IMG_20190212_193341

The Field Message Pad

My first experience with a field message pad was in 2005. I carried a Field Message Pad Cover by Canadian Peacekeeper – now CP Gear – filled with the Canadian military standard issue pad. I was introduced to the concept by one of the early episodes of Patrolling with Sean Kennedy. The idea of having a cover for one’s notepad, which not only protected the pad but also contained pens and the other tools necessary for a dead tree data dump, simply made sense. The system was a pleasure to use, but after filling my last Canadian pad in 2006, I left it in favour of more conventional notepads. The refill pads, being available only from Canada, were difficult to acquire, and all the cool kids were using Moleskines and similar products. I forgot about the old field message pad until this year.

I keep a box that holds all of my filled notepads. Last March I was digging through the box, looking for a particular note (sadly, you can’t grep dead trees), when I came across the Canadian pad and cover. I was reminded of the pleasure the system previously provided me, and the practicality of it. No more digging around for a pen – if you have your notepad, you have your pen. Need to toss your pad into the dirt to free both hands? No problem, it’s protected by the cover. I decided that I would like to revisit the system, but perhaps with a more commonly available pad, and a more mature eye brought to the market’s current offerings.

Graph Paper

One of Sean Kennedy’s original requirements for the notepad was that the paper was gridded. I agree with that. Graph paper can be incredibly useful in certain circumstances, and the rest of the time holds no disadvantage for me. The original Canadian pads were gridded, but only on one side of the paper. That made the back of each page less useful, and seemed wasteful to me.

The size of the Canadian pad was acceptable, but a little larger than my ideal. Particularly when the cover was added, it made for just a little bit too much bulk and was sized slightly too large for some cargo pockets. I’d used plenty of the pocket-sized Moleskine notepads. Their size is also acceptable, but if I’m being picky: they’re just a tad too small. Ideally, I would like something sized in between the two.

My third requirements was the the notepad was top-bound. I prefer that over a side-bound pad, as I find them to be easier to access quickly. The binding should be spiral, as that allows the pad to lay open.

It’s a fairly simple criteria, but I was surprised at how difficult it was to accommodate.

The only pad I could find that met the requirements was from Rite in the Rain. Specifically, the 146 (or 946 or 946T for tacticool colors). It is gridded on both sides, is spiral bound on the top, and measures in at 4” x 6” – just slightly larger than a Moleskin, and a bit smaller than the Canadian pad. Rite in the Rain makes an excellent product. I always carry one of their pads when in wilderness environments, but I prefer not to carry them around town. Their waxy paper is unpleasant to write on. If I do not need to worry about the paper getting soaking wet, I prefer to carry a normal notepad. It makes the act of writing more pleasant, which encourages me to write more often.

The nice thing about Rite in the Rain pads, though, is that covers are readily available for them. Tactical Tailor makes a line of covers that Rite in the Rain sells. Maxpedition produces their own. The Tactical Tailor / Rite in the Rain cover for the 146 notepad is the C946. Maxpedition offers a similar cover. They looked great and encouraged me to revisit the notepad search, this time armed with a specific size: 4” x 6”.

Having the dimensions to narrow the search made all the difference. I quickly came upon the Rhodia 13500. It is gridded, 4” x 6”, and top-bound. The exact same as the Rite in the Rain 146, but with normal paper.

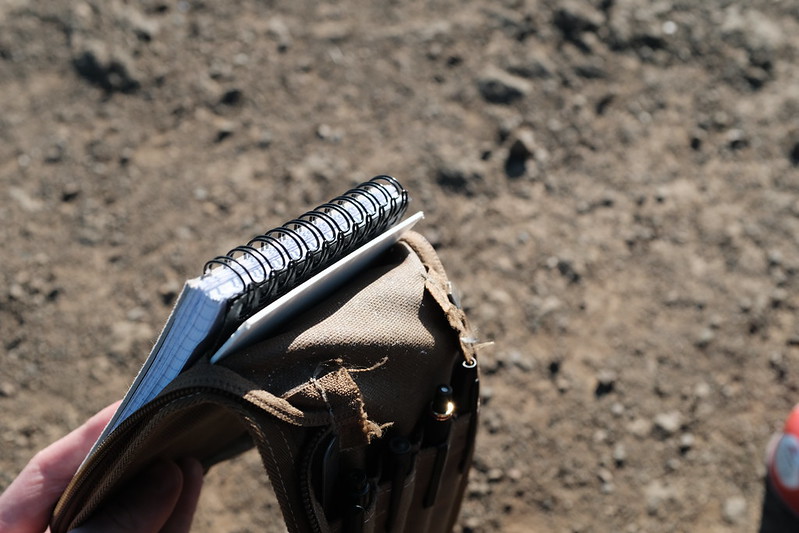
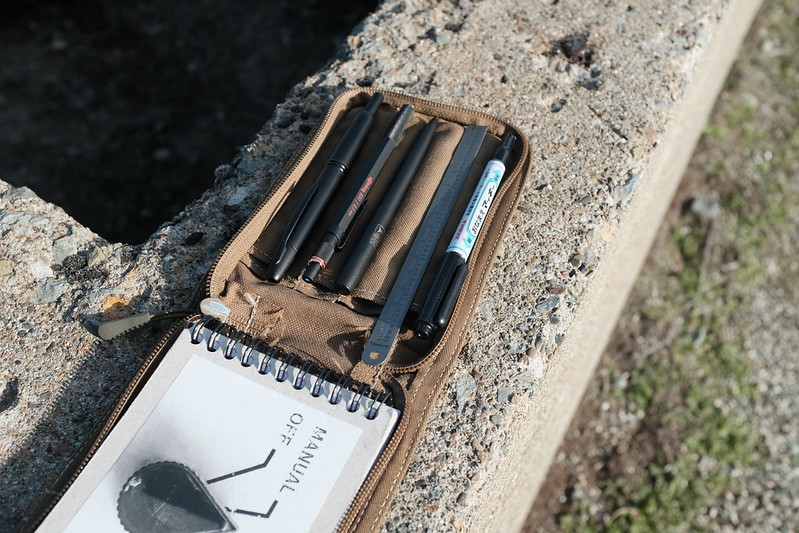
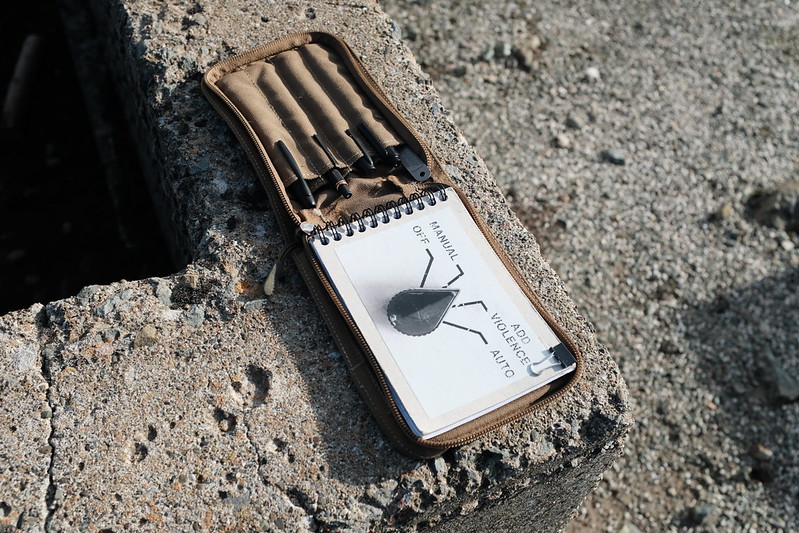
These findings allowed me to put together my new field message pad system: a Rite in the Rain pad, Rhodia pad, and a cover. I chose the Tactical Tailor cover simply because it is made about 60 miles from me, where Maxpedition claims that their covers are “imported”. With that cover and two identically sized pads, I could swap in whichever pad was more appropriate for my environment. Around town I carry the Rhodia pad. When I’m heading to the mountains I install the Rite in the Rain pad. Inside the cover I carry a pen (I’m partial to a Parker Jotter with a gel cartridge), a No. 2 pencil, a Sharpie, and a ruler. When I swap the Rhodia pad for the Rite in the Rain, I sometimes also swap the Parker pen for a Fisher Space pen, but in general I don’t like the way the ink comes out of the pressurized cartridges (and I already carry the pencil, which is field-serviceable and is able to write in inclement conditions just as well as the space pen).

  • Rite in the Rain Installed
  • Rite in the Rain Installed: Open
  • Rhodia Installed
  • Rhodia Installed: Open

I’ve been using this system since April. It is both versatile and functional, and has proved itself perfect for my needs. It is large enough to write on without feeling cramped, and small enough to place in the cargo or ass-cheek pocket of my pants when running around the woods in the middle of the night setting up dead-drops. The cover, Rite in the Rain pad, ruler, Sharpie and pencil are all made in the US. The Parker pen and Rhodia pad are made in France.

Field Message Pad

Photo comparisons between this and the Canadian system are available on Flickr.

DIY Field Notebook Hack

Here’s an idea I stole from the excellent BFE Labs: hacking a Rite in the Rain notebook to include a retention strap. The original idea at BFE was just a strap to keep the notebook closed and contain loose leafs that were shoved inside, but while making the strap he accidentally cut the webbing too short. To solve this he sewed on another piece of webbing as an extension and found that the overlap between the two pieces made a good pen holder.

I thought this was a neat idea, but the tri-glide fastener used in BFE’s version seemed a little cumbersome. I knew I would want some sort of quick release buckle. A traditional side release buckle would be too bulky for my tastes, particularly when the notebook is shoved in a pocket. The other thought I had was that using elastic webbing for the pen loop might increase the versatility of the strap, since it could expand to fit different sized tools.

I didn’t have any 1” elastic webbing hanging about, but I did have some spare webbing and an old buckle from a previous project. With those two things along with a knife and my repair kit, I set out to see what I could do about whipping up some kind of strap.

DIY Field Notebook Hack

My initial intention was to create the pen loop the same way as the BFE strap: cut one strap short and sew on an extension piece with a bit of an overlap. But before I got to that part, I had to sew one end of the buckle onto the webbing. In preparing to do this, I realized that I would already be sewing a loop right there. I could just pull a bit more webbing through the buckle to create my overlap, throw in a stitch to hold down the end of the webbing, another stitch closer to the buckle, and between the two I would have the perfect loop for my pen. Simple.

DIY Field Notebook Hack

  • DIY Field Notebook Hack
  • DIY Field Notebook Hack

On the back of the notebook I created two slits for the webbing to pass in and out of, just like in the BFE hack (except I used my knife rather than a Dremel tool).

DIY Field Notebook Hack

I’m happy with how this hack came out and will probably perform it on my other Rite in the Rain notebooks. The whole process takes only a few minutes and does not strain my juvenile sewing skills. My one complaint is with the buckle that I happened to choose. I appreciate the low profile, center-release design, but the male end of it doesn’t grip the webbing very well. This means that while it is adjustable, it doesn’t hold much tension, and so the buckle doesn’t snap open as much as it should when I release it. I’m thinking of sewing the webbing down on the male end of the buckle just like I did on the female end. The strap would no longer be adjustable, but I could be guaranteed the proper tension and that the buckle would open with the speed and ease which I desire. This would also present the opportunity for me to create another loop to hold a second tool. Perhaps a pencil or a highlighter to go along with the pen.

DIY Field Notebook Hack

Weapons

Weapons